Starting a vinyl record collection takes three things: a turntable that plays standard records, a first budget, and enough curiosity to keep digging. Most people can have their first five or ten albums playing in an afternoon, and the hobby stays cheap once you know where money is worth spending and where it is wasted. The trick to learning how to start a vinyl record collection well is knowing what to buy first, how to spot a damaged record before you pay for it, and how to keep everything in good shape afterward.
This site leans hard on punk, garage, rockabilly and classic rock & roll, so those show up a lot below. None of the steps depend on those scenes though. If your taste runs somewhere else entirely, swap the genre names for your own and everything else still works.
The honest truth is that a record collection is not a cheap hobby on day one and a moderate one by year two. What it is, on any day, is a hobby where the tactile part matters as much as the sound: pulling a disc from a sleeve, watching it drop, hearing the noise floor before the music starts.
Table of Contents
- What You Need
- Step-by-Step: Build Your First Collection
- Step 1: Set a Starter Budget
- Step 2: Choose the Right Playback Setup
- Step 3: Pick a Musical Direction
- Step 4: Learn How to Inspect a Record
- Step 5: Buy From Reliable Sources
- Step 6: Organize What You Buy
- Step 7: Protect and Maintain the Collection
- Common Mistakes
- Frequently Asked Questions
- Is it worth starting a vinyl collection?
- What is the best vinyl setup for a beginner?
- What is a good first vinyl record for a beginner?
- How do I tell if a used record is in good condition?
- How often should I clean my records?
- Why are younger listeners buying vinyl again?
- Conclusion
What You Need
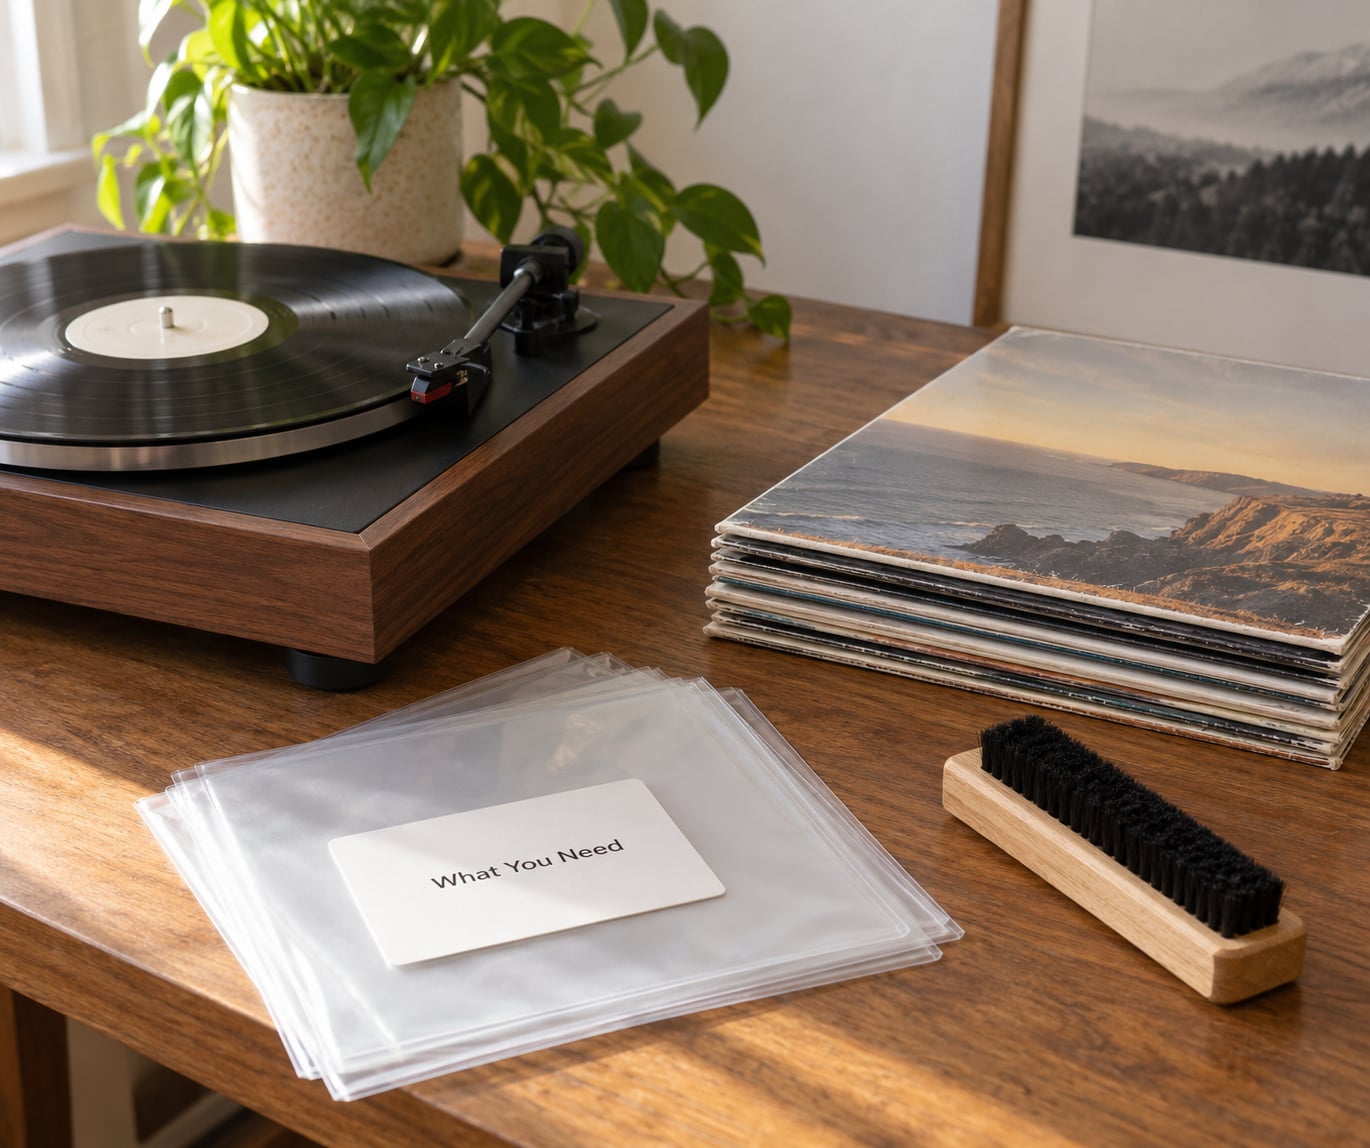
You need far less than the shops want you to believe. A turntable and something to play it through, plus a few dollars of sleeves and a brush, covers the whole starter kit. Everything past that is an upgrade you earn by finding out what you actually listen to.
The turntable is the one piece that matters. Look for a model with a counterweight, a rubber belt, and a cartridge you can replace. That combination tells you the deck was designed to be maintained rather than replaced. Belt-drive models with those features are the standard recommendation among collectors for home listening, and direct-drive models work fine too if that is what you prefer.
Avoid suitcase players. They fold shut, they have a ceramic cartridge, and they have no counterweight to set tracking force with. Several of the people who post setup photos on r/vinyl and r/turntables mention buying one first, scratching records within months, then buying a real deck anyway. You can skip that whole chapter.
You also need a phono preamp, unless your turntable has one built in. A magnetic cartridge produces a tiny signal that has to be boosted and equalized before it can drive speakers, and the preamp is what does that. Turntables with a built-in preamp usually have a switch to route it; if you already own an amplifier with a phono input, you are covered.
For sound, powered speakers are the simple path because they take power themselves and only need a line-level feed from the turntable. Passive speakers are the enthusiast path and need a separate amplifier. Beginners get more out of their records by spending attention on the record itself than by chasing a speaker upgrade.
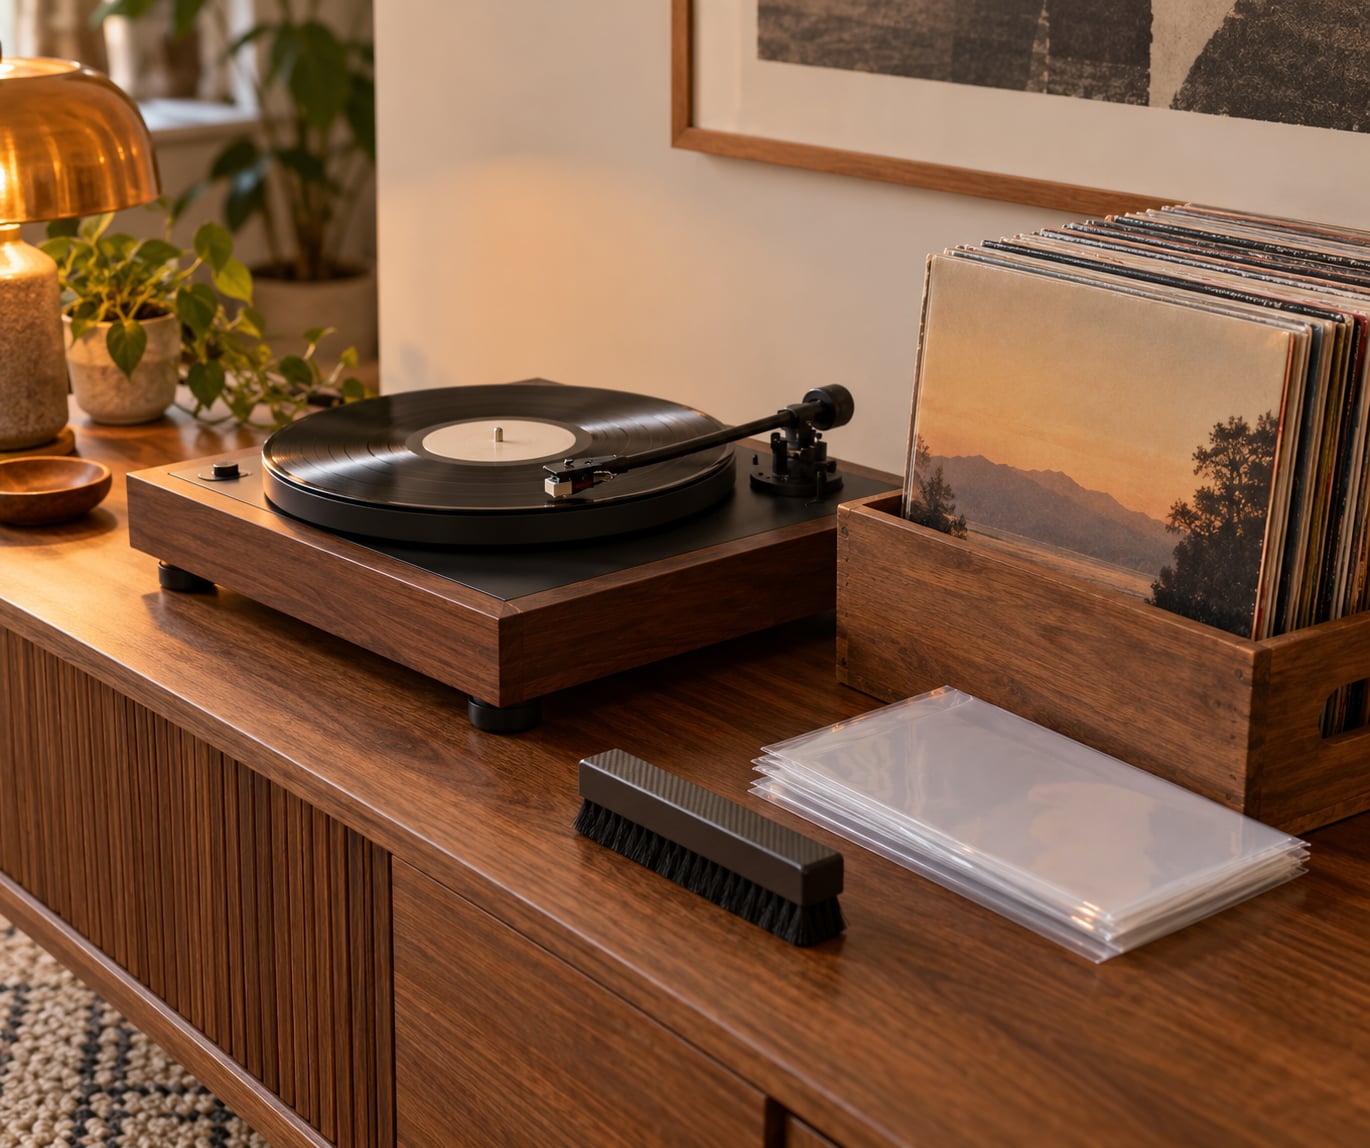
Protection and cleaning gear is cheap and prevents most future problems. Grab outer protective sleeves so jacket corners never bend, anti-static inner sleeves so the disc does not scratch against the jacket, a carbon fiber brush to run along the grooves before each play, and a soft microfiber cloth. A cube shelf or a bookcase with upright dividers keeps records standing on edge, where they will not warp under their own weight.
Finally, use the free research tools. Discogs documents pressings, runout and matrix numbers, and the app doubles as a collection log and a wantlist. The Goldmine grading scale is the shared language sellers use to describe condition, so learning its labels pays for itself the first time you order used.
Step-by-Step: Build Your First Collection
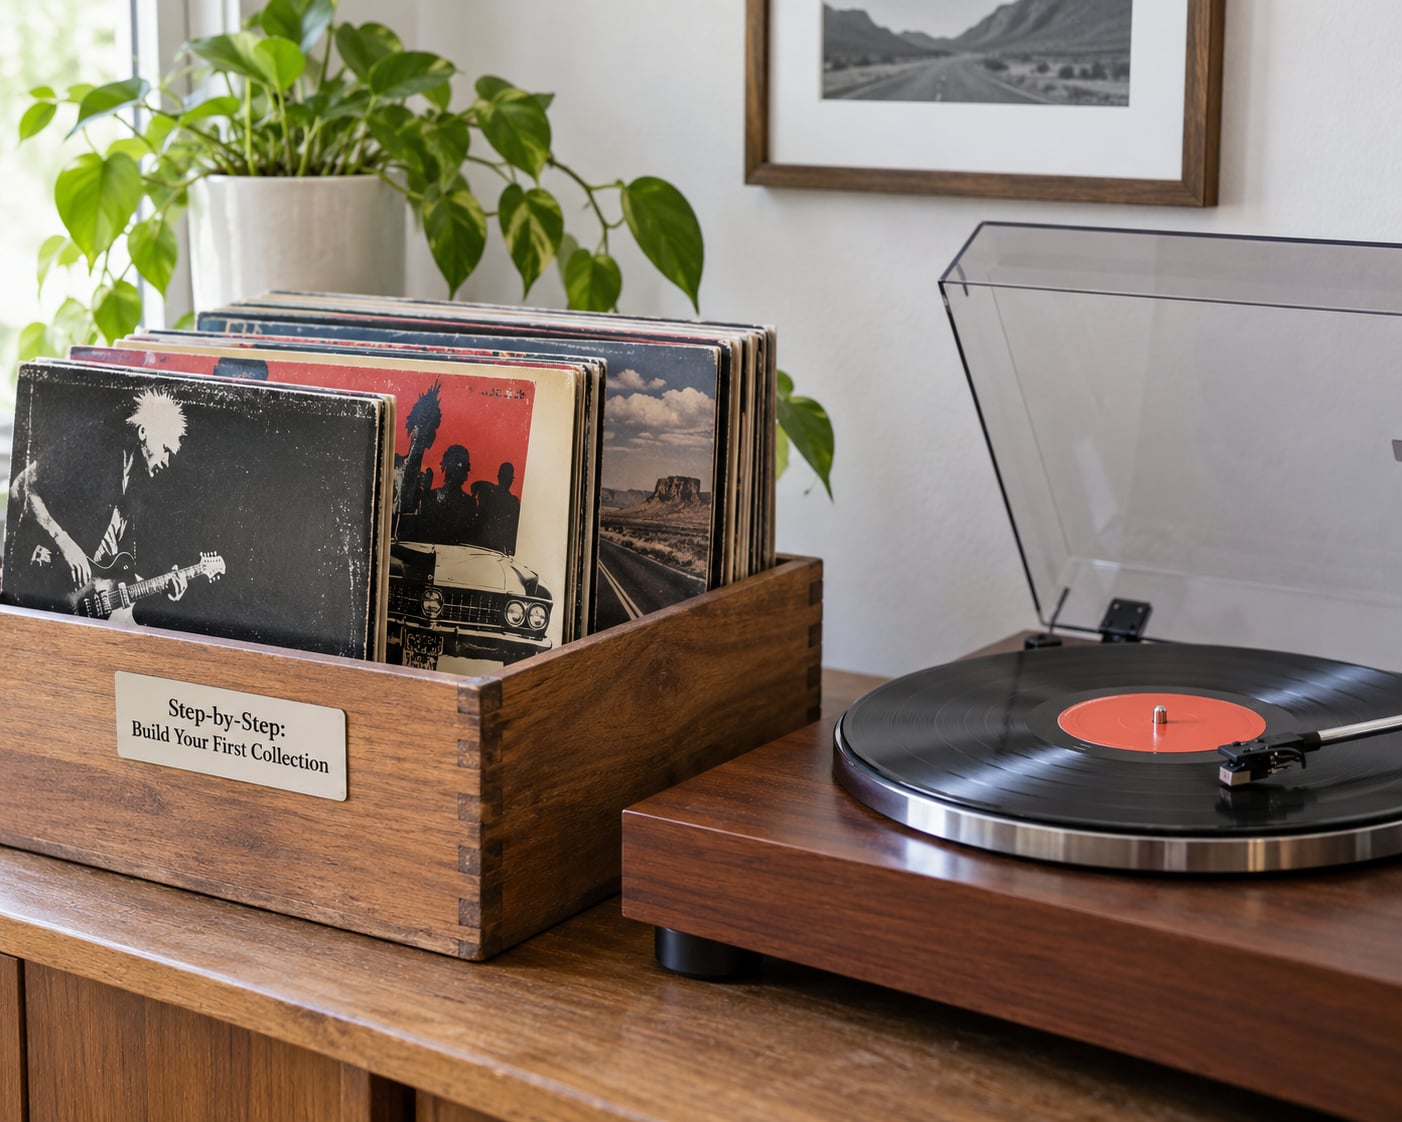
Here is the whole process in order. Do them in this sequence and the first mistake you would normally make never happens.
Step 1: Set a Starter Budget
Split your first pot of money into four buckets before you spend any of it: the playback setup, the records themselves, sleeves and cleaning supplies, and a reserve for finds you did not plan on. A common split puts most of it into the setup, because gear lasts years while records are the part that keeps expanding.
The reserve matters more than beginners expect. Going into a shop with a fixed number of records to buy makes you check condition properly, while an open-ended budget fills your bag with whatever is cheapest in the pile. Write the number down, and stop when you hit it.
Step 2: Choose the Right Playback Setup
There are three honest routes. A ready-made turntable with a preamp and built-in speakers is the fastest way to hear a record tonight. A used belt-drive deck gives you more for your money and lets you replace parts as they wear. An all-in-one player with speakers is fine for a small room or a first setup, and you can move up later.
Whichever you pick, confirm it plays standard 12-inch LPs and 7-inch singles, and that the 45 rpm spindle is included. Some very cheap decks skip the small record adapter entirely. When buying used, check the belt for cracks or glaze, make sure the counterweight threads freely, look for a bent or missing tonearm rest, and confirm both RCA cables are present.
Step 3: Pick a Musical Direction
Start with albums you already know well. Buy the records you would be sad to lose, because those teach you what you actually want more of. Then choose a thread to follow so that the pile grows into a collection instead of a pile.
Genre threads suit beginners well because shops are sorted by genre. Punk, garage, rockabilly, surf and instro, and classic rock & roll all have deep catalogs that are widely available, often in playable condition, and cheap to replace if you wear one out. Pick one or two and let the shelf fill in that direction. A focused collection of a hundred records you have actually played beats a scattered thousand you forgot about.
Step 4: Learn How to Inspect a Record
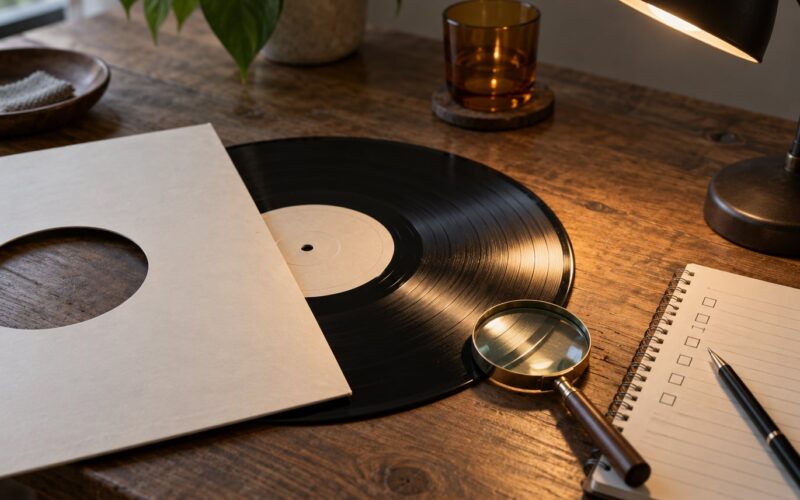
Hold the disc by the edges under decent light and tilt it so the light travels across the grooves. A warp shows up as a curve you can see along the rim, and a warped disc will not sit flat on the platter or lie still on the shelf. Cracks are the dealbreaker; a crack that runs from the outer edge to the label is audible, and you can spot it as a dark line that catches the light.
Surface scratches that catch a fingernail are fine. Deep grooves, scuffs, and a fuzzy or glittery area usually mean heavy noise or a skip. Look at the sleeve too: check for a split seam or bulging at the top, mold or water staining, and ring wear that has worn the print off the edge. Look inside for a torn or missing inner sleeve, and check that the disc is not sitting loose against the jacket.
Ask to play it. A store that lets you put a record on a turntable before buying is telling you something about the rest of their inventory.
Step 5: Buy From Reliable Sources
Local record stores still win on used buying, mainly because you can inspect and play before paying. Get to know a couple, tell them which genres you want, and ask them to pull titles aside. That relationship is where most consistent collectors find their best material.
Online sellers and marketplaces work well when the listing is specific. Ask sellers what grading standard they use, whether the photos show the actual copy for sale, what the return policy looks like, and how the item is packed and insured for transit. On anything you hope to resell, check the runout and matrix numbers against Discogs, since those reveal the pressing and sometimes an original cut. Label and artist sites and subscription boxes are fine for filling gaps, but they are curated rather than browsable, so they are a supplement rather than a main source.
Step 6: Organize What You Buy
Keep the record-keeping simple enough that you will actually do it. A notebook or a phone note per record with artist, title, pressing details, condition notes, what you paid, and one line about how it sounds covers everything you need for years. Once a collection gets past a few hundred, move that into Discogs so the same fields double as a catalog.
For shelving, sort alphabetically by artist within each genre crate, spine out, with a divider card between genres. Upright with bookends or in cube shelves is the practical layout, and it makes flipping through your own collection a genuine pleasure. Face-out wall display looks good for a handful of favorite sleeves, not for everything.
Step 7: Protect and Maintain the Collection
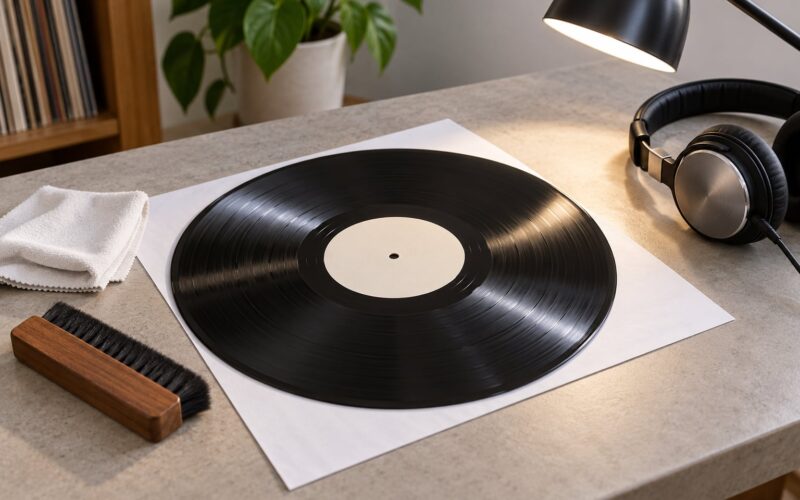
Build two small habits. First, run the carbon fiber brush along the grooves in the direction of the spin before every play, and wipe the disc with a dry microfiber cloth. That takes fifteen seconds and it is the difference between a record that sounds good for decades and one that does not.
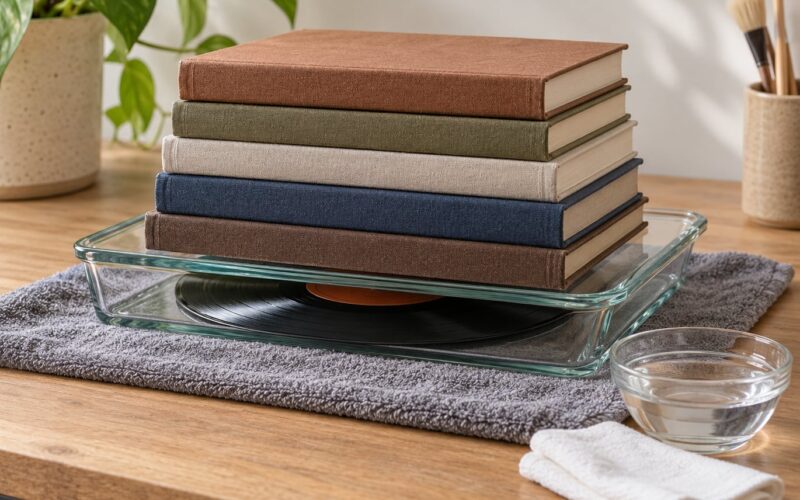
Second, handle discs by the edges with two clean, dry hands, and store them upright somewhere with no direct sun, no radiator or vent nearby, and no big swings in humidity. Do not lay records flat in a heap for long periods, and do not leave a car interior anywhere in the equation. Outer sleeves keep jacket corners from chipping, and swapping a tired inner sleeve for an anti-static one takes seconds.
Keep the stylus fresh too. A worn needle dulls into the record rather than sitting on the surface, and replacement styluses are inexpensive compared to the damage they can do.
Common Mistakes
Most beginner problems come from doing things in the wrong order. These are the ones I would fix first, each with the practical correction.
- Buying a suitcase player. The fix is to choose a deck with a counterweight, a belt, and a replaceable cartridge. You avoid the most common cause of early record damage and the most common expensive regret in this hobby.
- Buying quantity before direction. The fix is to pick a genre thread and a fixed number per visit. A crate of records you have actually listened to is worth more than a stack you grabbed because the cover looked good.
- Chasing rare pressings in the first year. The fix is to learn the Goldmine scale and to compare mastering, not weight. A well-mastered reissue from recent years frequently sounds better than an original pressing that was cut from a worn lacquer, and record collectors on Discogs forums will tell you the same.
- Ignoring sleeve and inner sleeve condition. The fix is to check every seam, corner, and the inside of the jacket before buying, and to carry a few spare inner sleeves. Mold or a split seam can spread to neighbouring records in a crate.
- Cleaning with the wrong thing. The fix is a dry brush and a dry cloth, applied before the record goes on the deck. Water, household spray, and alcohol-based products can haze the surface permanently, and wet cleaning is never the beginner’s job.
- Storing records where they warp or fall. The fix is upright storage with bookends, away from sunlight, heaters, and attic or basement temperature swings. Also anchor the shelf so a leaning stack of LPs cannot tip.
- Spending without a stopping rule. The fix is a per-visit limit set before you leave home. The hobby is happy on a fixed allowance and gets expensive fast without one.
One last piece of beginner advice: ask your local shop what they are happy to order in for you. That is a service most collectors wish they had started using sooner.
Frequently Asked Questions
Is it worth starting a vinyl collection?
Worth it if you want a listening habit with a physical component. You get album artwork, liner notes, and a format that cannot be silently replaced by an algorithm. It costs more over time than streaming and takes real shelf space, so people who mainly want convenience tend to regret it and people who enjoy the ritual tend to stick with it.
What is the best vinyl setup for a beginner?
A belt-drive turntable with a counterweight, a replaceable cartridge, and a built-in phono preamp, paired with small powered speakers. That combination covers the whole signal chain without extra boxes or cables. Add a carbon fiber brush and a stack of outer sleeves, and you have a complete setup.
What is a good first vinyl record for a beginner?
Buy the newest pressing of an album you already love, from a record you know inside out. A recent reissue is easier to find in good condition than a rare original, and you will hear problems with the setup against music you can predict. That makes it a far better first test than picking something unfamiliar for the prestige.
How do I tell if a used record is in good condition?
Use the Goldmine grading scale labels, then check it yourself under good light. Look for a visible curve in the disc, cracks that run to the label, deep scratches that catch a fingernail, and sleeve seam splits or mold. A record that plays through with light surface noise is usually worth buying; a warped or cracked one rarely is.
How often should I clean my records?
Brush off every record with a dry carbon fiber brush just before you play it, and wipe the disc with a dry microfiber cloth. A full wash is rarely needed at the start. Skip water, spray, and alcohol-based cleaners, which can haze the surface permanently and make noise worse rather than better.
Why are younger listeners buying vinyl again?
The format offers something streaming does not: an object, a ritual, and album artwork at a usable size. Younger buyers also treat record shops as social spaces in a way older generations never did. It is a slow, deliberate medium, which is a novelty in a culture built around skipping to the next track.
Conclusion
Learning how to start a vinyl record collection comes down to four decisions made in the right order. Set a budget and split it before you shop. Choose one musical direction so the shelf fills in a shape. Learn the condition checks for warping, cracks, and sleeve damage. Then buy a small number of records you will play often and take care of properly.
Everything else, the grading knowledge, the pressing trivia, the wall display, is a second-year hobby, and it is a good second-year hobby. Start with ten records you love and a deck you can keep for a decade.