How to train your ears for better listening comes down to attention, not talent: play a record, listen to one element at a time, and write down what you hear before you check anything. Give it 20 to 30 minutes a day for a month and most people start catching things in albums they have owned for years.
Vinyl makes this easier than most formats for one practical reason. The music stays in one unchanging place, the room between tracks is genuinely silent, and a worn spot is a specific, repeatable sound. That gives your ear a clean target to practise against, which is exactly what a drill needs.
None of the exercises below require you to read notation or play an instrument. The whole method is describe, check, write. Most of the work is deciding what to listen for before you press play, because attention is the thing being trained, not your hearing itself.
Table of Contents
- What You Need
- Step-by-Step
- Start With Focused Listening
- Identify Rhythm, Tempo, and Groove
- Separate Instruments and Voices
- Hear Tone, Texture, and Distortion
- Train Your Dynamic Range
- Compare Versions and Pressings
- Build a Repeat-Listening Practice
- Common Mistakes
- Frequently Asked Questions
- How long does it take to train your ears to hear better?
- Do I need special equipment to train my ear on vinyl?
- Can I train my ear without reading music notation?
- How do I keep improving my appreciation of vinyl?
- Should I practise ear training every day or a few times a week?
What You Need
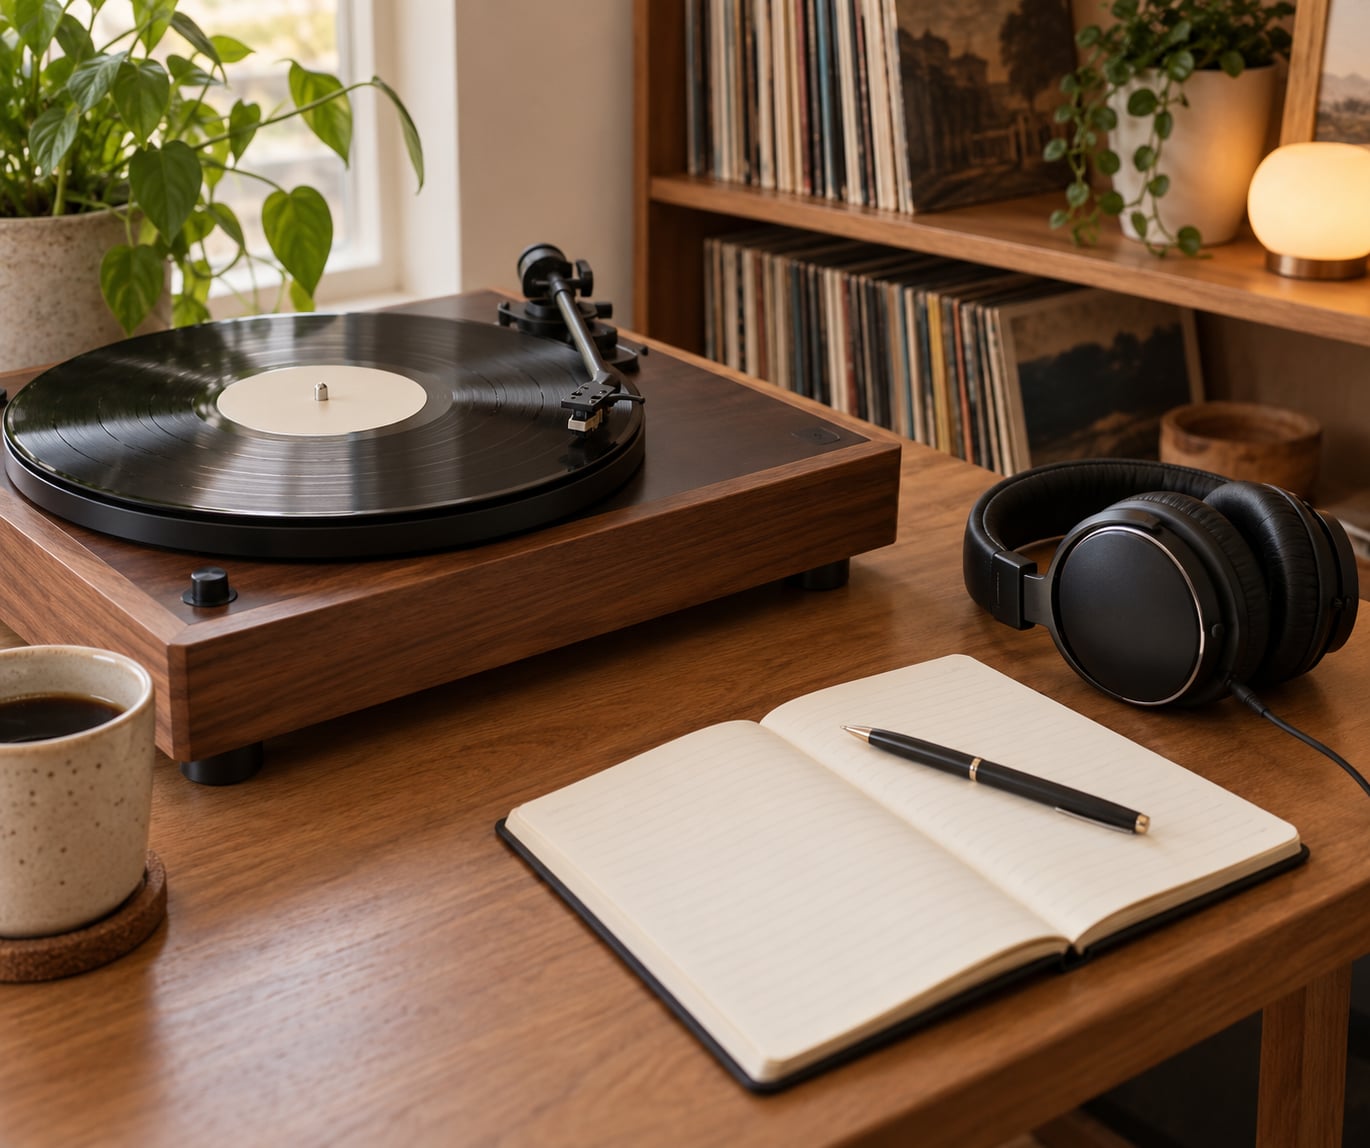
You need a playback setup you will not feel tempted to fiddle with. A turntable with a decent cartridge is plenty, and so is any system you already own. What matters is that the thing plays without menus, and that you can put a record on, sit down, and stay there for half an hour.
Choose monitoring that stays out of the way. Closed-back headphones give you a fixed, repeatable sound, which is valuable when you are comparing one record against another. Open speakers are better for hearing how a record actually sits in a room, including the space between instruments.
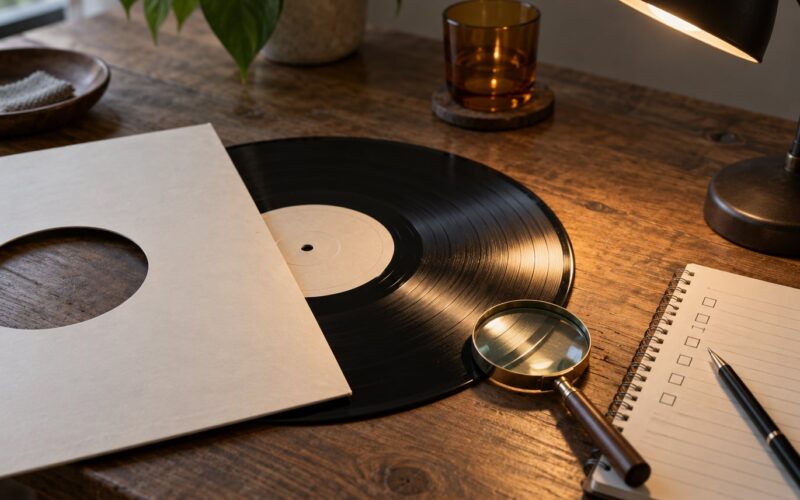
A notebook is the second requirement, and paper beats an app for this. You will write short lines in the dark while a record turns: snare on two and four, the bass sits under the third beat, the second guitar comes in late. An app hides that moment of guessing, and the guessing is the part that builds the skill.
A few small tools are worth having:
- A metronome for setting a slow pulse when you are clapping rhythms back.
- A pitch reference, either a physical pitch pipe or a free tone generator, for checking yourself after you have guessed.
- A second pair of headphones, so you can audition a record on two systems and notice what changes.
- Reference records in the genres you already know: punk, garage, rockabilly, classic rock, soul, jazz. Familiar lines are the ones you can check your hearing against.
Skip anything expensive. The people who improve fastest are usually the ones who spend their listening budget on more albums rather than on hardware.
Step-by-Step
Work through these in order. Each step adds one layer of detail to what you can already hear, and skipping ahead usually produces the muddy, exhausting kind of listening where everything competes at once.
Start With Focused Listening
Put on one track, not a whole side. Before you look anything up, write three lines answering three narrow questions: what are the guitars doing, what are the drums doing, and what is happening in the room around the band.
Start with punk, garage, rockabilly or classic rock because the lineups are small and the roles are obvious. A three-piece band gives you a clear job for each player, which is far easier to name than a record where forty people are playing at once.
A good first exercise works like this: play eight bars, stop the record, hum the melody from memory, then start again and check. If your hum sits in the right place, you have functional relative hearing already, which is the base everything else is built on.
You know it worked when your written description matches what you hear on the second listen, and the drums description gets a little more specific each week.
Identify Rhythm, Tempo, and Groove
Rhythm is where beginners get results fastest, so train it early. Play one bar of a drum track, stop it, and clap what you heard. Then compare against the original and clap along underneath it.
Move through the list in this order: a plain backbeat on beats two and four, then sixteenth notes, then the shuffle that most rock and blues sits in, then syncopation where the accent lands between the beats. Set the metronome slow, around 60 to 72 beats per minute, so you can hear the subdivision instead of racing it.
Live recordings teach the next thing. On a live album the drummer pushes ahead of the click and drags behind it, and the whole band leans with them. Play a live track, then the studio version of the same song, and mark where the timing changes.
You know it worked when your claps line up with the snare on two and four rather than drifting near it, and you can predict where the fill ends.
Separate Instruments and Voices
Hearing the whole mix at once is the default setting and it is the main reason people believe they have a bad ear. You can change it by blocking layers out deliberately, one at a time.
Work down a familiar track. Listen to bass only. Listen to the snare only. Listen to the lead vocal only, with everything else mentally pushed away. On an audio forum you will see people describe a practical version of this: play several sources at once, then silence them one by one until you can hold one thread in your head.
Extend it to the parts that usually vanish: piano or organ, brass and horns, backing vocals, string pads, room noise and tape hiss. Note the exact moment a second guitar enters, because entrance timing is a real mixing decision rather than an accident.
You know it worked when you can point at the bar where a new instrument arrives without looking at the sleeve notes.
Hear Tone, Texture, and Distortion
Tone is where descriptions start to get specific, and specific is the goal. Work in pairs: a clean jazz guitar against a distorted rock riff, a warm acoustic against a bright electric, a fuzz tone against an overdriven one.
To hear the difference, change one thing at a time. Turn a track up and down and ask whether it got warmer or just louder. Warmth comes from harmonic richness and an even top end, not from level, and confusing the two is the most common mix of terms beginners make.
Saturation is the thickening that comes from overdriving a signal, and compression is the sound of the quiet parts being pushed up toward the loud parts. Both are audible as behaviour, not just as tone: on a compressed master the quiet bars are not much quieter than the loud ones.
You know it worked when you can describe the difference between two guitar tones without naming an amplifier or a pedal.
Train Your Dynamic Range
Dynamics are the movement between the quiet part and the loud part, and they are the first thing lost when people judge a record by ear on one system in one sitting. A chorus is not merely louder than a verse. More instruments arrive, the stereo image widens, the top end opens up.
Mark the quietest passage and the loudest passage on a record side, and write down the difference you hear. Then mark the restrained intro that sets up the payoff. Plenty of records put their best dynamics in the first thirty seconds, before anything settles into a groove.
Keep the playback honest here. Vinyl surface noise and wear show up first in the softest passages, so a worn copy can sound like a badly mastered record if you do not know why. The records you already own in 2026 hold more than you have heard yet.
You know it worked when you can feel a chorus coming a bar or two before it lands, purely from dynamics.
Compare Versions and Pressings
This is the step that vinyl makes possible and it is the one most people never do. Take a song you know and collect the versions: the album cut, the single edit, a live version, an alternate take, a later reissue with a different master, and the same record on a different copy.
Switch between them without knowing which is which, write down your guess, then check. A difference between two cuts can come from five places: the performance, the mix, the master, the cut itself, or the chain playing it back. The first three are on the tape. The last two depend on your system and the condition of the copy.
So when two records sound different, resist the verdict until you have run a control. Play the same side of the same record twice and note any difference you hear at all. That is your baseline noise floor for this session, and anything smaller than it is imagination.
You know it worked when your blind guesses are right more often than not after four or five swaps.
Build a Repeat-Listening Practice
One-off listening is where the habit dies. Most people try an exercise twice, feel no difference, and quit. What works is a short routine you can run on a bad evening with no instrument and no plan.
Try this weekly shape:
- One deep listen, 10 minutes. A single track, three questions, written answers, then a check.
- One full side, 35 minutes. No questions, no notes while it plays. Notice what you catch that you did not catch last month.
- One comparison, 20 minutes. Two versions or two pressings, blind, with guesses written down.
- Two minutes of notes. What you heard, what you missed, what to look for next week.
Revisit a track every month or two. Hearing the same eight bars across three months is the cheapest proof of progress you will ever get, and it costs nothing but a record.
Keep it light. Music study turns into homework the moment it feels like homework, and the point of this is to hear more, not less.
Common Mistakes
Trying to hear everything at once. This is the big one. A single pass with no focus produces a vague impression and no memory. Fix: one question per pass, one element per pass, and a written answer before you check.
Judging a record by the system. Headphones, speakers, a bright cartridge and a dull cartridge each reveal different details, and none of them is the record. Fix: do your real practice on one setup, and treat gear changes as an experiment rather than a verdict.
Memorising reviews instead of listening. Reading about a record tells you what to look for and quietly removes the guessing that teaches you. Fix: write your own description first, then read.
Skipping the quiet passages. Intros, outros and the bar before a chorus carry the room, the tuning and the mixing choices. Fix: play the first thirty seconds of a side every session.
Practising without writing anything. An unlabelled sound fades within days. Fix: three lines per session, no exceptions, even when you feel you already know.
Treating it as a test. Fatigue, a low hum, a wrong-speed copy and a cold room all produce wrong answers. Fix: stop and come back rather than practising a wrong result into your memory.
Buying gear instead of practising. Better equipment changes what is easy to notice. It does not change the connection between a sound and its name, and that connection is the whole skill.
One more caution on volume and rest. If you find yourself turning things up to hear the quieter details, your ears are telling you to stop, not push harder. Anyone who struggles to follow conversation at normal levels should get a hearing check rather than more practice volume, and an audiologist can tell you whether what you are hearing is a training gap or something medical.
Frequently Asked Questions
How long does it take to train your ears to hear better?
Most people notice a real difference in three to four weeks of daily practice, and useful hearing inside a song within a few months. The first two weeks are the least rewarding, because you are noticing how much you were missing before. Judge progress by what you can describe, not by what you can name.
Do I need special equipment to train my ear on vinyl?
No. A turntable, any pair of headphones or speakers, a notebook and fifteen quiet minutes will do it. Keep the same playback setup for most of your practice, because switching systems is the easiest way to convince yourself a difference in a record is something other than a difference in a record.
Can I train my ear without reading music notation?
Yes, and the drills here never ask you to read a note. Hum melodies, clap rhythms back, name the instrument you hear and the role it plays. Notation helps later, once your ear already recognises the sound, but starting with symbols adds a second job to a first one.
How do I keep improving my appreciation of vinyl?
Repeat records instead of buying new ones, and write on what you hear so a second listen has something to check against. Compare two versions of the same song, then two copies of the same record, and keep a short log of what you caught. Familiarity is what turns a record from background into detail.
Should I practise ear training every day or a few times a week?
Short daily practice beats one long weekly session, mostly because your ear consolidates between sessions rather than during them. Fifteen minutes a day is genuinely enough. If a day goes missing, do not restart the plan from the beginning, just pick the routine back up where you left it.
So start tonight, not tomorrow. Put on one track you love, ask the three questions, write three lines, and check your answers against the record. Fifteen minutes of that, most days, changes how the next record sounds to you.