Grading a vinyl record means inspecting the disc and the packaging separately, under bright angled light and on a turntable, then assigning each one a letter grade from the Goldmine scale that runs from Mint down to Poor. Get that right and two copies of the same pressing stop looking identical when they are not.
I have graded a lot of second-hand records over the years, and the honest truth is that most grading arguments come down to one thing: how much did the seller actually look? A sleeve examined in a shop under strip lighting tells you very little. Learning how to grade vinyl record condition properly means writing down what you see before you decide what it means, because a grade you can justify is worth more than one you cannot.
This guide covers how the Goldmine grading standard actually works, the eight grades from Mint to Poor, a step-by-step inspection routine, and the sleeve problems that are completely separate from anything happening on the vinyl.
Table of Contents
- What You Need
- The Goldmine grading scale at a glance
- Step-by-Step: How to Grade Vinyl Record Condition
- 1. Identify the record and packaging
- 2. Inspect the vinyl in good light
- 3. Check the grooves and the runout area
- 4. Listen for audio problems
- 5. Assign and record the final grade
- Common Mistakes
- Frequently Asked Questions
- What does Near Mint vinyl record condition mean?
- Should I grade the vinyl and record sleeve separately?
- Can a scratched vinyl record still be Near Mint?
- Does cleaning a vinyl record change its condition grade?
- How should I grade a warped or unplayable record?
- What is the best grading system for selling vinyl?
- Conclusion
What You Need
Accurate grading depends on inspecting the record outside and under direct light before you ever listen to it. Build the setup once and you can work through a crate all afternoon without second-guessing yourself.
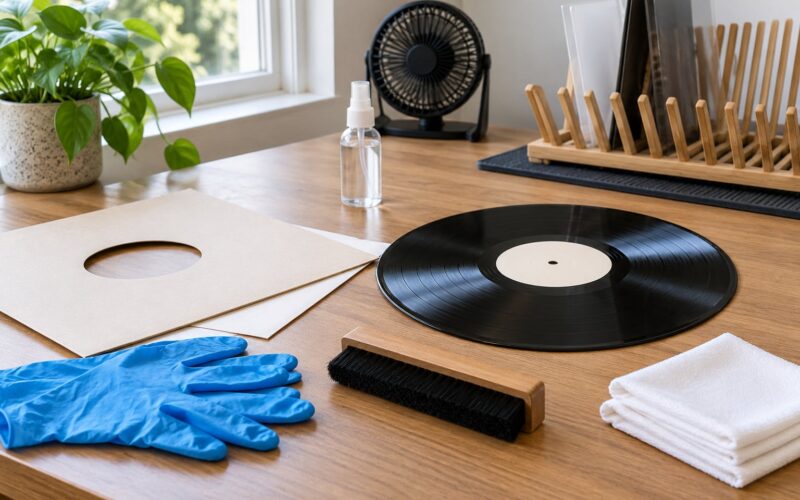
- A clean, flat work surface. A record lying on a fuzzy blanket hides hairlines and picks up static. Bare table or a record crate mat works.
- A strong directional light. A desk lamp or inspection lamp held at roughly a 45-degree angle to the disc surface. Overhead room light hides everything, which is exactly how over-grading happens.
- White paper or a white sleeve. Put a sheet behind the record. Black vinyl against a light background shows scratches that vanish against a dark mat.
- A record brush. Carbon fibre or velvet, for taking off surface dust between cleaning and inspection.
- A stylus-safe cleaner and a lint-free cloth. Cleaning the record before you grade it stops you mistaking dust and paper powder for scratches, which is the single most common inspection error.
- Headphones or a decent speaker pair. Headphones are better for hearing surface noise, speakers are better for hearing warble and speed problems.
- A grading standard in front of you. The Goldmine Grading Guide is the most widely recognised. If you are dealing with UK pressings or a UK seller, the Record Collector Magazine scale (M, Ex, VG, G) is the one they mean, and the letters do not line up with the US ones.
A magnifier helps for seam splits and small writing on a sleeve, and a matrix number reference for the label matters if you are cataloguing pressings. Both are optional for a buyer, useful for a seller.
The Goldmine grading scale at a glance
This is the chart most people are actually looking for. Note that the media column and the sleeve column move independently, which is why a record can be Near Mint vinyl in a Very Good Plus jacket and still be written up honestly as VG+ / NM.
| Grade | Code | Media condition | Sleeve condition |
|---|---|---|---|
| Mint | M | Perfect, factory sealed, no flaws | Pristine, no wear of any kind |
| Near Mint | NM / M- | Nearly perfect, opened, no visible wear | Nearly perfect, opened, no wear |
| Very Good Plus | VG+ / E | Light signs of care, few hairlines, plays cleanly | Minor wear, light ring on spine |
| Very Good | VG | Noticeable wear, pops and surface noise, no skips | Obvious ring wear, corner wear, minor writing |
| Good Plus | G+ | Heavy wear, audible crackle, occasional skip risk | Heavy ring wear, seam splits beginning |
| Good | G | Significant wear, constant noise, skips likely | Split seams, writing, tape, water marks |
| Fair | F | Worn through, playing only for parts | Badly damaged, faded, pieces missing |
| Poor | P | Cracked, chipped, warped or unplayable | Crushed, torn, or missing entirely |
The plus and minus modifiers sit between two grades rather than outside the scale. VG- is the gap between VG+ and VG, and M- is not far from NM. The UK’s Excellent grade is a synonym for VG+, which is where most international confusion starts.
Step-by-Step: How to Grade Vinyl Record Condition
The routine below is deliberately boring, and that is the point. A repeatable process produces the same answer twice in a row, which matters when you are buying from strangers and selling to them.
One thing to get straight first: record grading almost always evaluates the disc separately from its sleeve, insert and other packaging. Never collapse the two into a single grade, because a great jacket on a cracked record is still a cracked record.
1. Identify the record and packaging
Write down the edition, pressing information and catalog number before you touch the condition. Most guides on how to grade vinyl record condition start here, and it is the step people skip. You cannot tell a first pressing from a later one by looking at the surface, and the pressing information is often printed in tiny type on the back of the sleeve or etched into the run-out area.
Remove the disc by holding the edges with both hands. Never grip the label area or the running surfaces, even with clean fingers, because the oils there attract dust that then becomes permanent-looking grit.
Then check what came with it: the inner sleeve, any insert, and whether the packaging is original to that pressing. A generic white inner is normal. A promotional inner or a hand-numbered insert is worth mentioning, and a missing insert is worth noting in the listing because buyers notice it later.
2. Inspect the vinyl in good light
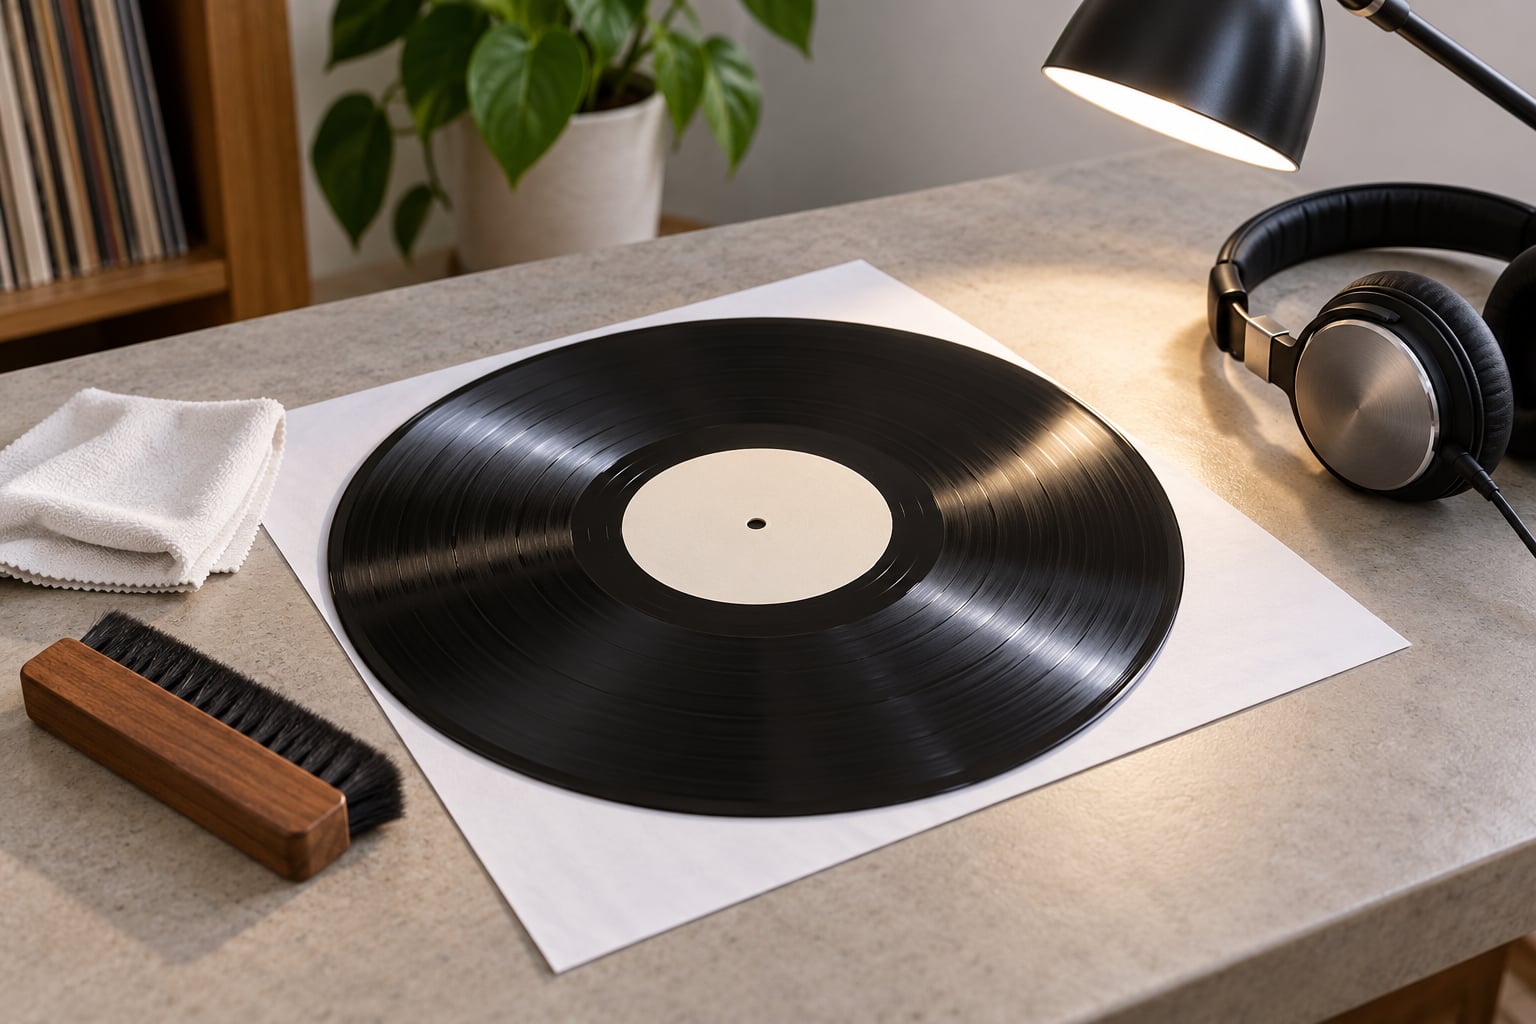
Hold the disc at a 45-degree angle to the lamp so the light rakes across the grooves. Turn it slowly and you will see marks appear and disappear as they pass through the light, which is far more reliable than spinning it under a room light and glancing at it.
Look at both sides separately. You are hunting for scratches, scuffs, hairlines, cracks, warping, rim damage and shine, and the shine is the one people miss. A record with a bright polished band across the outer third of side A has been overplayed, and it will sound thin there whether it looks beautiful or not.
Sort what you find into two piles. Superficial marks, dull haze and light scuffs sit on the surface and do not interrupt playback. Deep grooves that run across the track bands, a chipped edge, or a section where the disc visibly flexes when you look at it edge-on are a different story entirely. Those lower the grade on sight.
3. Check the grooves and the runout area
Look at the outer rim, the lead-in and lead-out grooves, the edge of the label and the run-out area where the tracks fade out. These zones get hit hardest during handling and shipping, and a chipped or cracked outer edge is a serious downgrade no matter how clean the middle looks.
A clean-looking record can still have serious groove wear in the band between the label and the music. That is where a stylus spends years, and it shows up as dull, thin sound rather than as visible damage. Tilt the disc and check whether the light bands look even or whether one zone has gone dull compared with the rest.
While you are at the run-out groove, check the etched or stamped markings. They tell you the matrix number, the mastering engineer code and often the pressing plant, which is the difference between a genuine first pressing and a later repress with a similar catalogue number. Matrix numbers are not condition, but they change what the condition is worth.
4. Listen for audio problems
Play grading means playing the record, not just the first track. The practical protocol is three sections per side, roughly 45 seconds each: the outer edge, the middle band, and the inner grooves near the label. That takes about five minutes a side and covers the three zones where wear shows up differently.
Listen for surface noise, crackle, pops and clicks, repeated skips, distortion, and any change in level or pitch between tracks. Pay particular attention to quiet passages, because that is where a record reveals what it really is: a constant low hiss is one grade, a handful of clicks in a quiet intro is another, and a looped passage where the needle sits in the same groove is a problem of a different order entirely.
Grade on the worst problem you hear across both sides, not on the best section. A record with two beautiful tracks and one repeated loop is not Very Good Plus, and describing it as though it were is how a buyer ends up disappointed.
One honest caveat about play grading: mono pressings from the late 1940s through the early 1960s were cut for a 1-mil spherical stylus, and a modern elliptical or fine-needle stylus makes them sound thin and noisy regardless of condition. That is a playback mismatch, not a defect, and it should not drop the grade.
5. Assign and record the final grade
Combine the visual and audio findings into one media grade, then grade the sleeve and insert on their own. Do not average the two into a single number, because a mint vinyl in a torn gatefold is still a collectable record with a bad jacket.
Write them in the conventional order, media first: VG+ / NM means Very Good Plus vinyl, Near Mint sleeve. Use p/s for picture sleeve, gatefold for a fold-out cover, wos and wol for writing on sleeve and writing on label, and 2xLP for a double album, plus the notation visual only if you did not play it.
A worked example: you find light hairlines, no deep scratches, a faint ring on the spine, one small seam split at the bottom, and a clean play with light surface noise in the quiet tracks. That is VG+ media, VG sleeve, VG+ insert, play graded. If you never played it, write visual only, because a buyer will assume you did.
Common Mistakes
Grading from the sleeve. The cover is the easiest thing to see and the least useful thing to judge. Open it, check the disc, and grade the packaging on its own afterwards.
Not cleaning first. Dust and paper powder catch light at an angle and look exactly like hairlines. Clean, brush, then inspect, and only then decide what you are looking at.
Calling every scuff a scratch. Run the fingernail test: if your nail skates over the mark it is a scuff or hairline and costs the grade very little. If your nail catches in it, it is a scratch and you need to find where it crosses the grooves.
Ignoring warp. A dished record will not sit flat, skips, and can damage a stylus. Check the edge-on profile before you check anything else, and grade it as damaged no matter how quiet it looks.
Mixing up grade systems. UK Record Collector uses M, Ex, VG and G. Its VG is below a US VG, and a UK VG+ is closer to a US VG. Sellers who work in both systems usually write which one they are using; so should you.
Saying playable without testing it. Most returns and disputes come from a record described as playable that was never played. If you cannot test it, say visual only and note why.
Two habits help more than any other trick. Photograph the record under the same light you graded it by, including the run-out groove, because a photo of the actual item is the strongest defence you have when a buyer questions a grade later. And keep the sleeve in a plastic outer sleeve with an anti-static inner for the disc; collectors consistently report that plain paper sleeves leave visible scuff marks on discs that are otherwise fine.
Frequently Asked Questions
What does Near Mint vinyl record condition mean?
Near Mint means the record was opened but shows no visible wear under normal light. A few faint hairlines are tolerated. Most collectors expect Near Mint media to play cleanly, with at most light surface noise in quiet passages. On Discogs, Near Mint is abbreviated NM or M-, and sellers should mark it visual only if they never played it, since groove wear cannot be seen from the sleeve.
Should I grade the vinyl and record sleeve separately?
Yes, always. The disc and the packaging are graded as separate components because they wear in completely different ways. A record can be Near Mint vinyl in a Very Good Plus gatefold, and that is an honest and common description. Writing them as one combined grade hides the real condition of one part and misleads whoever buys it next.
Can a scratched vinyl record still be Near Mint?
Only if the scratch is superficial. Near Mint media shows no visible wear, so a scratch that catches your fingernail rules it out immediately. A hairline that skates under the nail is a different matter and can still sit inside Near Mint, especially if it does not cross the groove area. Play the record too: a Near Mint copy that repeats a passage is a Near Mint copy with a problem, and most buyers would call that VG+.
Does cleaning a vinyl record change its condition grade?
No. Cleaning removes dust, fingerprints and paper powder, but it does not repair a scratch, reduce groove wear or fix a warp. Cleaning first simply stops dirt being mistaken for damage, which makes the visual grade more accurate. Note that cleaning can reveal problems that were hidden under the grime, and an ultrasonic clean does not remove deep scratches either.
How should I grade a warped or unplayable record?
Judge it by the worst defect and label it clearly. A warped record that will not sit flat is Good at best and usually Fair, even if the sleeve is mint. Cracks, chipped edges and sections that skip or repeat put it in Fair or Poor, which most buyers treat as decorative rather than playable. Describe the warp plainly and note whether a weight clamp or a repair would help the next owner.
What is the best grading system for selling vinyl?
Use the Goldmine Grading Guide unless your audience is UK-based, and say which one you used in the listing. Goldmine runs Mint, Near Mint, VG+, VG, G+, G, Fair and Poor, and it is what Discogs expects. Keep your habit of writing media grade first, then sleeve grade, and flag anything you graded without playing it.
Conclusion
Start with the light and the disc. Clean the record so dirt cannot be mistaken for damage, hold it at an angle under a strong lamp, run your fingernail across anything that looks serious, then play three sections per side before you write a grade down.
Grade the vinyl and the sleeve separately, name the standard you used, and say plainly whether the grade is visual only. Two copies of the same pressing can be worth very different amounts to the next person, and honest grading is what keeps buyers coming back. It is also the fastest way to know how to grade vinyl record condition on something you have just inherited or pulled out of a crate.