The honest answer first: you cannot remove a scratch from vinyl. A scratch is a physical deformation of the groove wall, and once the plastic is displaced it stays displaced. What you can do is fix the skipping and cut the popping, and a surprising share of what collectors call scratches turn out to be dirt, a raised burr, or a leftover paper fibre sitting in the groove.
This guide walks through the whole job in order: identify what you are dealing with, clean the record properly, test it on a turntable you trust, use a carbon-fiber brush correctly, try a cautious surface treatment, and know when to stop. Most of it takes under an hour. The glue method takes a day, mostly because of the drying.
If you want the forty-word version: light surface marks usually respond to cleaning and a carbon-fiber brush, burrs along a scratch edge can be shaved flat with a needle under a loupe, and a deep gouge or a warped record is not fixable at home. Everything below explains how to tell which one you have.
Table of Contents
- What You Need
- Step-by-Step: How to Remove Scratches from Vinyl Records
- 1. Identify the scratch type before you treat it
- 2. Clean the record before you judge the scratch
- 3. Test the record on a turntable you trust
- 4. Use a carbon-fiber brush correctly
- 5. Try a low-risk surface treatment for minor marks
- 6. Know when professional restoration or replacement is better
- Common Mistakes That Make Scratches Worse
- Frequently Asked Questions
- Can scratches on vinyl records be completely removed?
- Is it safe to use rubbing alcohol or baking soda on a vinyl record?
- Why does my record skip when it reaches a scratch?
- Can a carbon-fiber brush fix scratches on vinyl?
- Should I repair a record with a deep scratch or replace it?
- Does cleaning a vinyl record remove scratches?
- Conclusion
What You Need
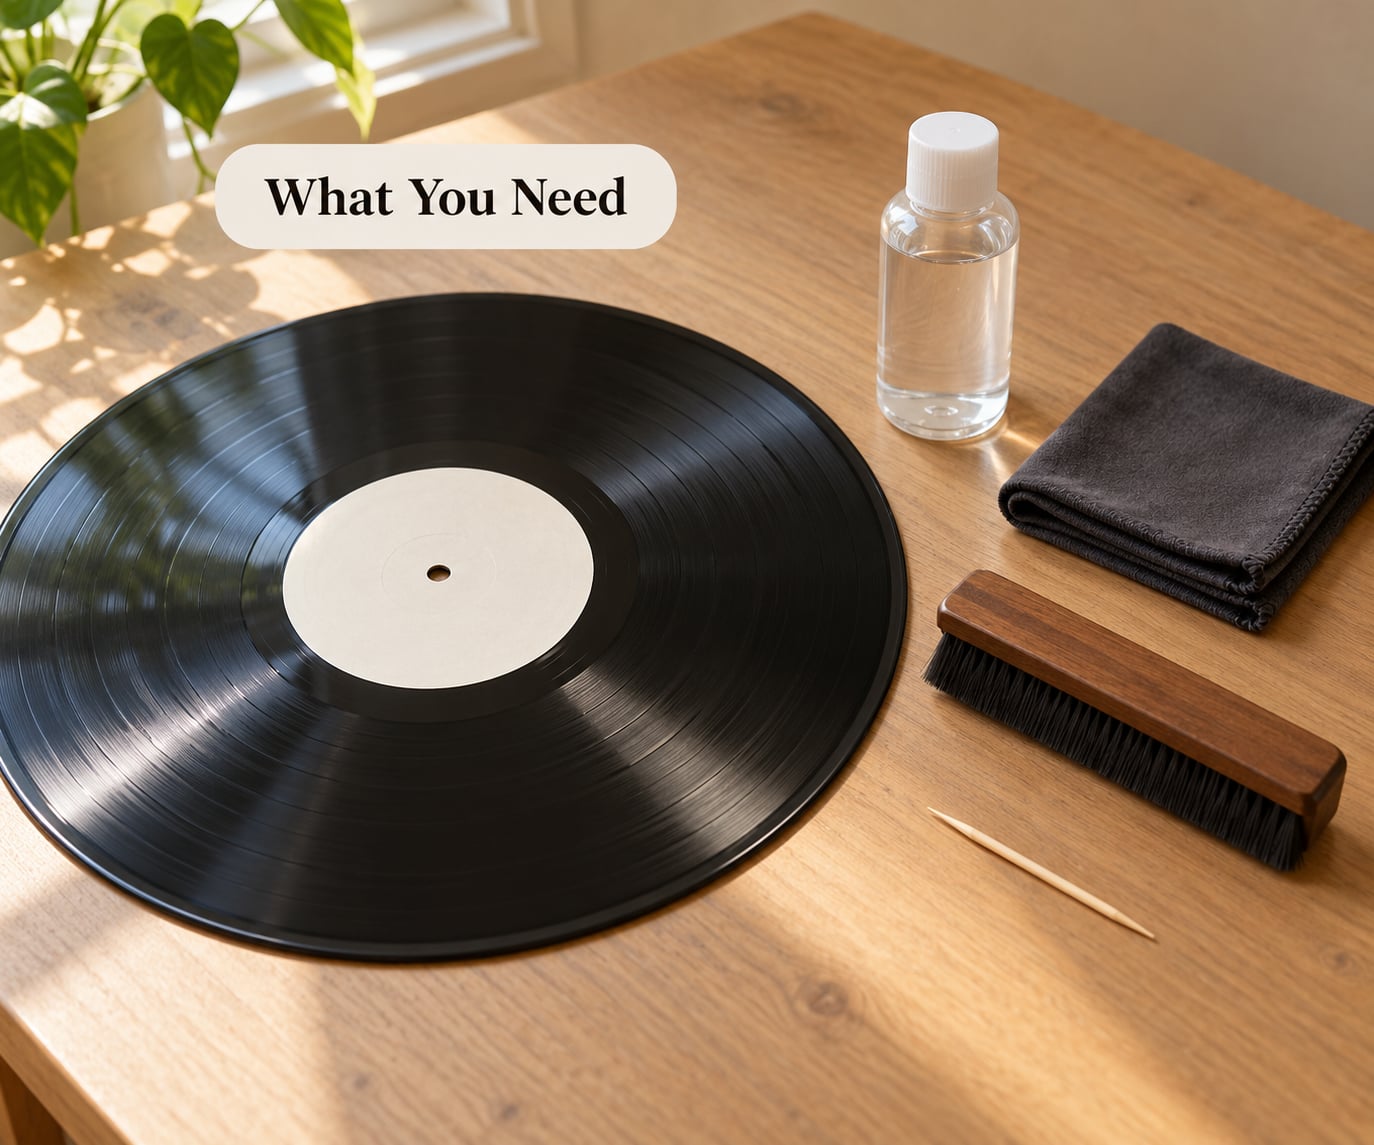
Keep the kit small. Almost every method that people describe online needs one of three things: something that lifts dirt, something that flattens a raised edge, or something that fills a groove temporarily.
- Soft record cleaning brush. A velvet or bristle brush that sweeps along the groove direction, not around the record. This is the first thing you reach for and the cheapest.
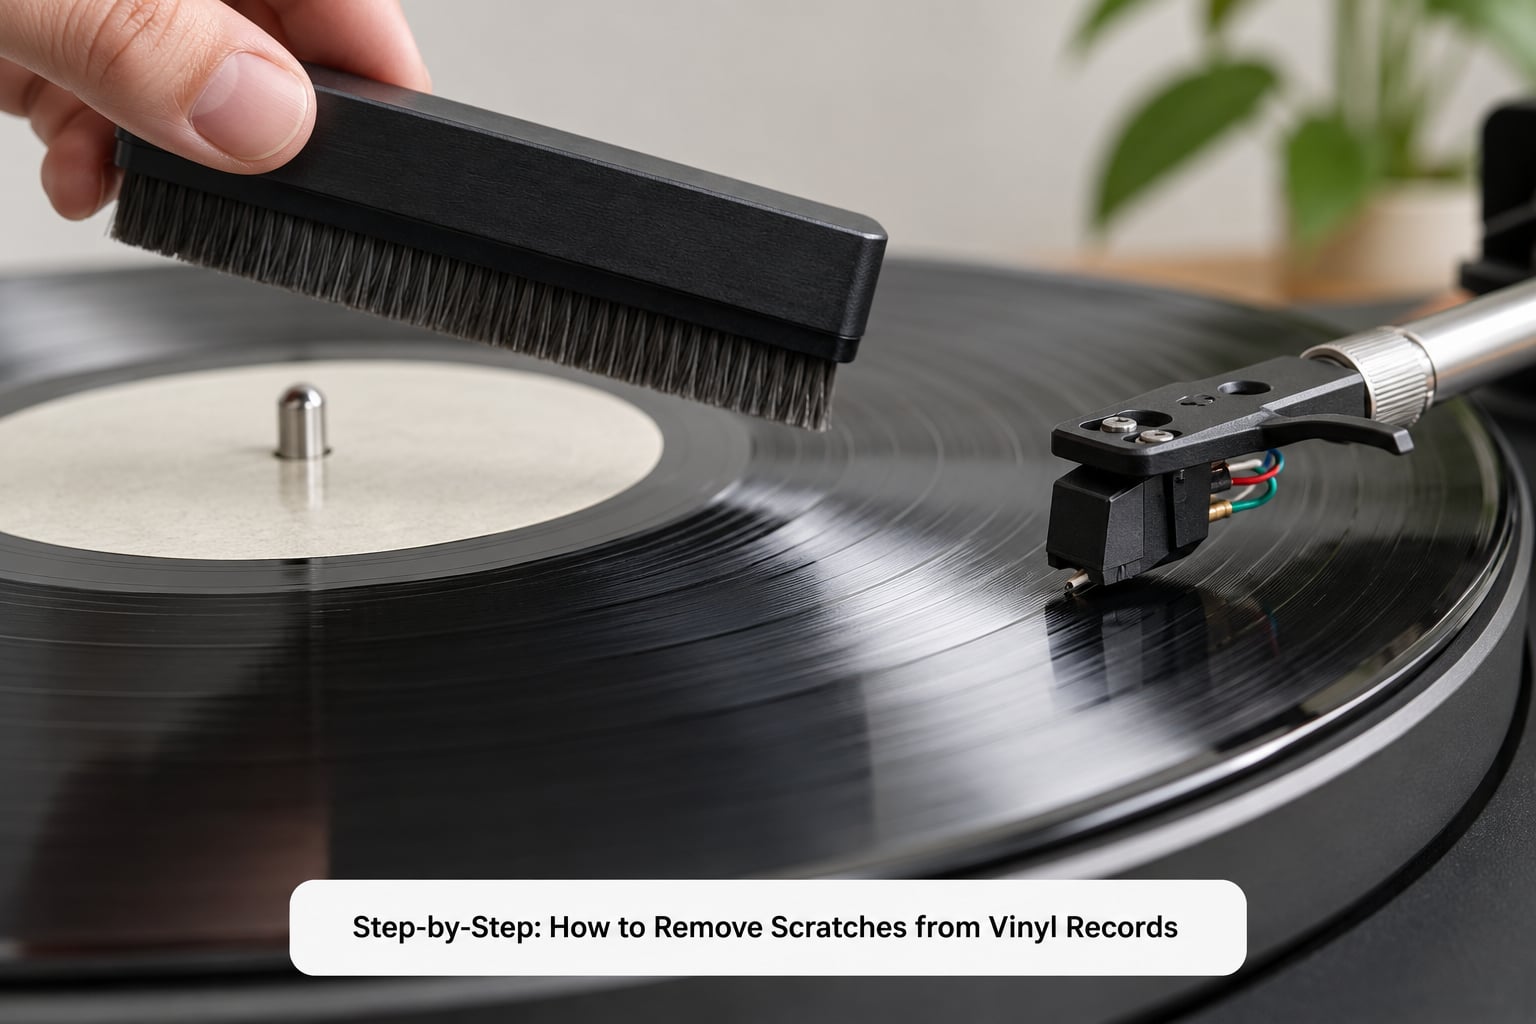
- Carbon-fiber brush. Stiffer than a velvet brush and used after cleaning, with the record stopped. It smooths light surface marks and knocks loose debris out of the groove.
- Record cleaning solution or 91 percent isopropyl alcohol. Alcohol dissolves fingerprints and waxy residue that a dry brush just spreads around. Avoid anything scented, oily or containing ammonia.
- Microfiber cloths. Two of them, so you can keep a dirty one away from the record.
- Distilled water. For a low-cost DIY cleaner, mixed with a single drop of unscented, dye-free liquid detergent. Distilled water matters, because tap water leaves mineral rings.
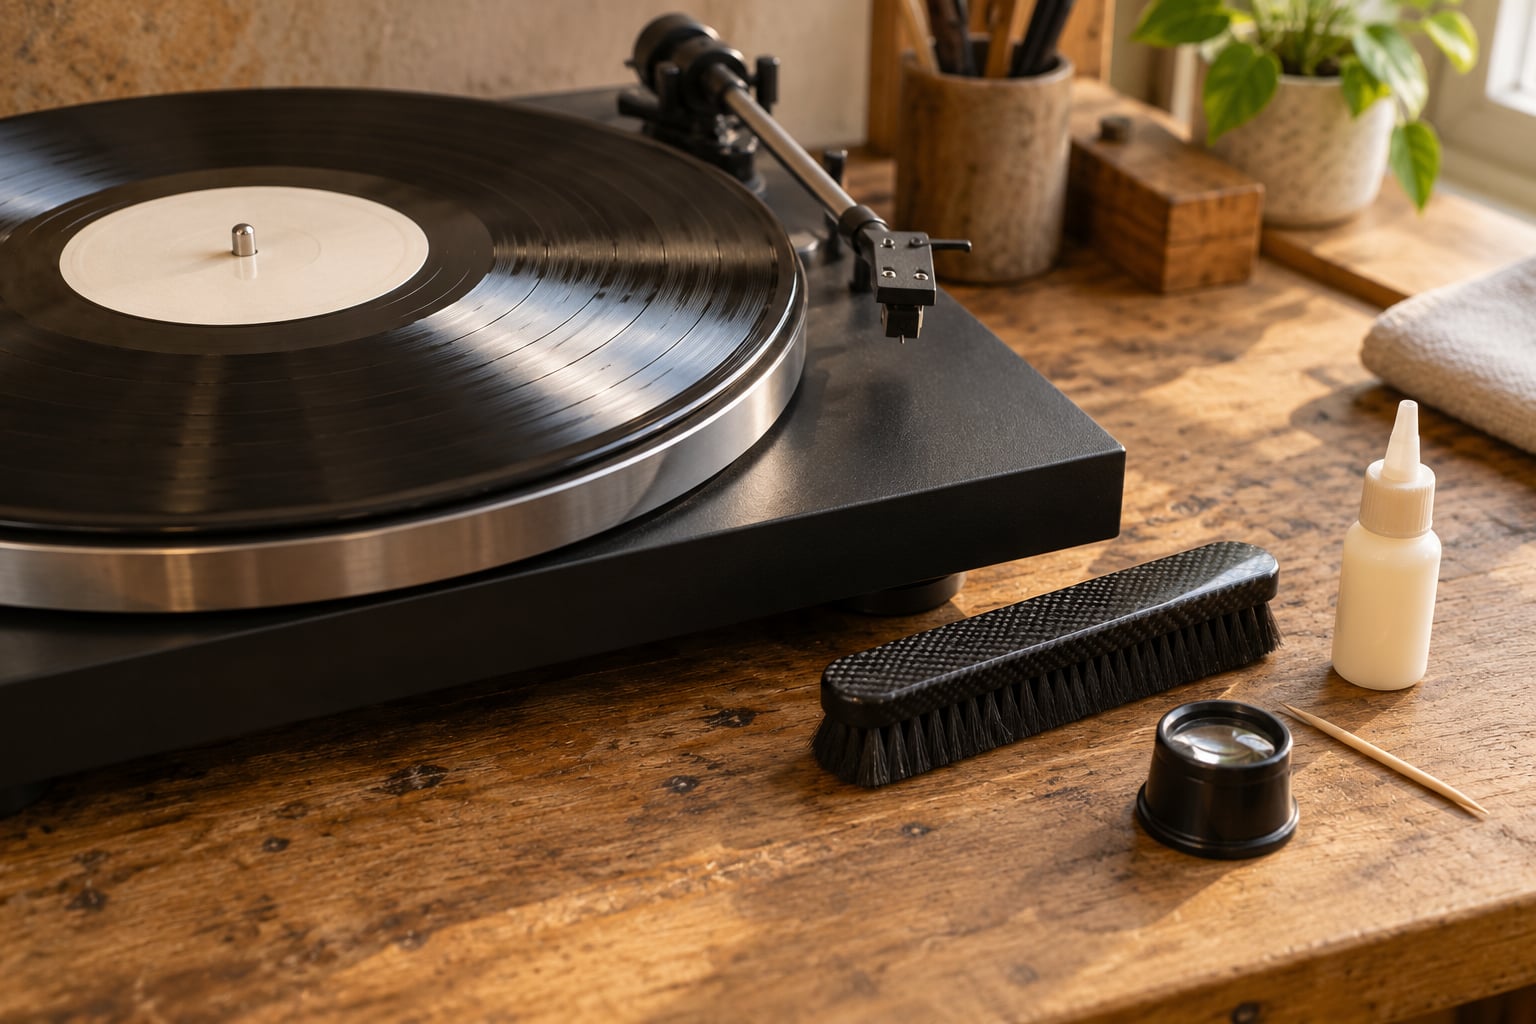
- Magnifying loupe or jeweller’s loupe. 10x is the sweet spot. Without magnification you are guessing where the scratch starts and stops.
- Wooden toothpick or a sewing needle in a pencil eraser. For shaving a burr along a scratch edge while the record turns.
- Wood glue. Specifically a PVA wood glue such as Titebond II, for the peel method. This is optional and only worth it on a record that skips.
- Turntable with a soft cartridge. A moving-coil or fine-line stylus is gentler on a damaged groove than a heavy DJ cartridge.
Two optional additions earn their keep if you own more than a few records: a vacuum-style or ultrasonic record cleaning machine, which does a far more thorough job of extracting embedded dirt than a cloth ever will, and an anti-static gun for handling vinyl without attracting dust.
What you should not buy or reach for: sandpaper, scouring pads, metal polishes like Brasso, WD-40, or any product marketed as vinyl repair fluid. The reasons are in the mistakes section below, and none of them are good reasons.
Step-by-Step: How to Remove Scratches from Vinyl Records
1. Identify the scratch type before you treat it
Hold the record up at an angle to a light source, turn it slowly, and watch how the light catches the mark. What you see tells you which of four categories you are dealing with:
- Surface scuff. A hazy line that catches the light but feels smooth under a fingertip. These are usually harmless and often not audible at all.
- Groove scratch. A visible line that crosses the grooves and, when you run a fingertip along it lightly, feels like a channel. This is the common case. It causes a click, a pop or a crackle at one specific point on the record, and it repeats at the same point on every play.
- Deep gouge. A channel you can feel with a fingernail, often with a visible lip or a lighter-coloured core where the vinyl has been cut through. The record will skip.
- Warp or ridge. The record is not flat. On the turntable it rocks, or it makes a continuous scraping noise through the whole rotation rather than a single click. Ridges from a turntable mat are a common, fixable case.
Then listen. A click that appears at the same track position every time is a physical defect in that spot. Crackle that is everywhere and varies track to track is usually dirt, groove wear from an old or blunt stylus, or both.
How to tell it worked: you can name the category before you touch anything, and you know whether you are chasing a skip, a click, or general noise.
2. Clean the record before you judge the scratch
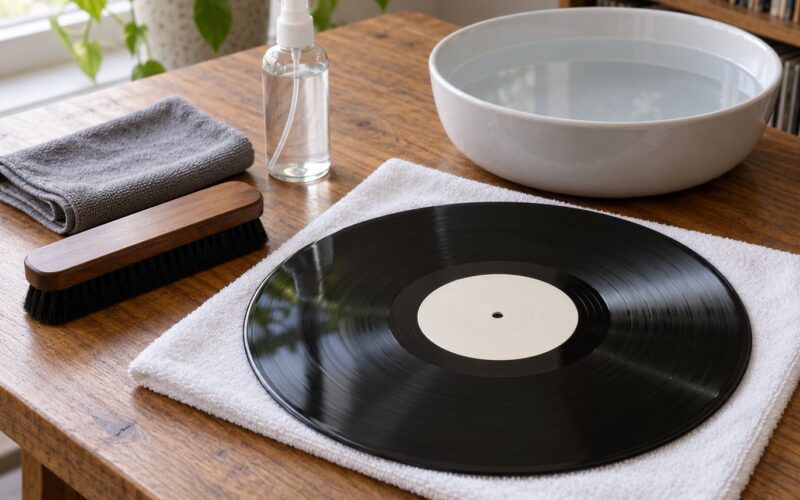
This is the step people skip, and it is the one that solves the most problems. Cleaning is not repair, but dirt sitting in a groove makes a record pop exactly the way a scratch does, and removing it takes minutes.
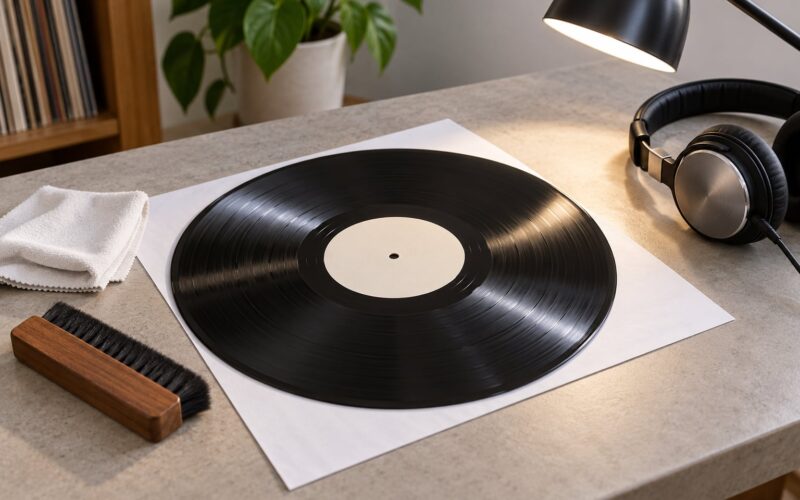
- Dust first, dry. With the record on the platter stopped at the outer edge, use the soft brush in the direction of the grooves, from the outer edge toward the label. Rotate by hand a few degrees after each stroke rather than spinning the platter fast.
- For fingerprints and residue, dampen a microfiber cloth with 91 percent isopropyl alcohol or a dedicated record cleaner. Wring it out so it is damp, not wet.
- Wipe in the direction of the grooves, again working from the outside in. Never scrub in a circle around the record, and never let liquid pool near the label or run into the run-out groove.
- Let it dry fully before it goes on the platter. A record played with alcohol still evaporating can smell odd for a few minutes, and the surface is slightly softer while it is still wet.
- Never touch the playing surface with your fingers. Hold the record by the label and the outer rim, both of which are designed to be handled.
How to tell it worked: the popping drops noticeably and the scratch you were worried about is still there but quieter. That is the expected result, and it tells you the real damage is minor.
3. Test the record on a turntable you trust
Play the cleaned record and note where the noise sits. A scratch produces a click, a pop or a short burst of crackle at one consistent point in one track. A record that skips, jumps forward, or repeats the same second over and over is telling you the groove wall is physically damaged.
Use a stylus light enough not to make things worse. A heavy DJ cartridge or a worn spherical stylus rides deep in the groove and can turn a bad scratch into a permanent skip. A fine-line or elliptical stylus sits higher and reads the undamaged part of the groove wall better.
Also check the turntable itself is not the problem: clean the stylus with a proper brush or gel, confirm the anti-skate and tracking force are not wildly off, and make sure the platter mat is not pushing the record into a warp. A record with a ridge has been shaped by the mat it lived on, and no scratch treatment will touch that.
How to tell it worked: you know whether you are dealing with noise or with a skip, and noise is a much easier problem than a skip.
4. Use a carbon-fiber brush correctly
This is the safest physical step, but almost everyone does it wrong. The rule that matters: the record must be stopped.
- Place the record on a flat, clean surface or on the stopped platter, label side up.
- Set the carbon-fiber brush on the record so the bristles sit along the grooves, roughly parallel to the edge rather than pointing at the spindle.
- Apply light, even pressure. You are smoothing a surface, not scrubbing a stain. Too much pressure is the fastest way to create a new scratch.
- Draw the brush from the outer edge toward the label in one slow, consistent stroke, then lift and reset at the edge.
- Move sideways by the width of the bristles each pass so the whole playing area gets covered, working in bands from the outside in.
- Six to ten passes over a section is plenty. Stop, play the record, listen, and only repeat if the noise actually changed.
On a turntable you can run the brush against slow rotation, but never against full speed. A record spinning at 33 rpm with a brush touching it will generate its own noise and, if the brush catches, its own damage.
How to tell it worked: light surface marks lose their audible signature. If the click is still exactly where it was, the scratch reached the groove and the brush has done all it can.
5. Try a low-risk surface treatment for minor marks
For a scratch that causes a single click, two methods are worth the time. Both are reversible in the sense that neither sands or shaves your vinyl, and both deserve a test run on a record you do not care about first.
The burr shave. A scratch often leaves a raised lip of vinyl along one edge, and it is the lip the stylus hits, which is why you hear a click. Put the record on the platter at about 33 rpm and, watching through a 10x loupe, rest a wooden toothpick or a sewing needle held in a pencil eraser lightly in the groove alongside the scratch. Take the burr down gradually as the record turns. Take your time and lift away at the end of every pass. On light scratches this genuinely works; on anything you could feel with a fingernail, the forum consensus is blunt about it, and it will not save the record.
The wood glue peel. This is the more involved one, and the chemistry is forgiving: PVA wood glue does not bond to vinyl, so the cured sheet peels away cleanly and takes the raised edges of the scratch with it while filling the channel underneath.
- Clean and dry the record first. Glue on a dirty surface locks the dirt in permanently.
- Work somewhere flat and ventilated, and if you can do it outside, do that.
- Squeeze a small amount of PVA wood glue onto the record and spread it in a thin, even coat over the scratch area and slightly beyond it. Thin is the whole trick. A thick coat cures rubbery and peels unpredictably.
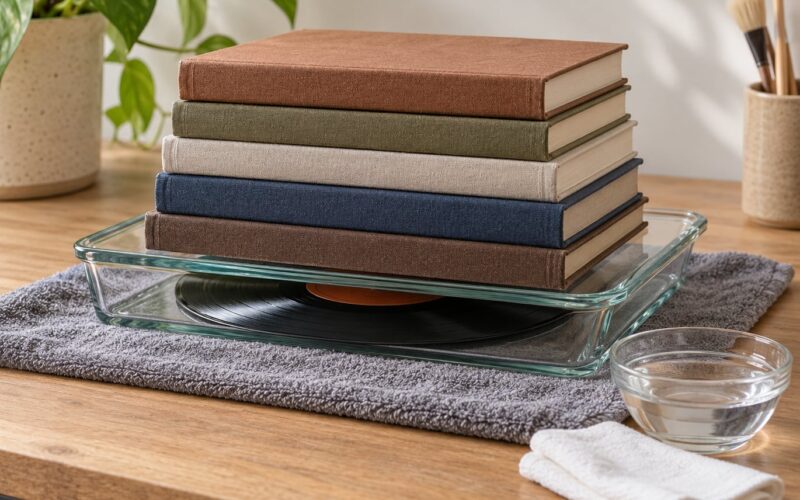
- Leave it flat and undisturbed for 12 to 24 hours. Do not rush this. It should feel completely dry and slightly rubbery, not tacky.
- Peel from the outer edge of the record toward the centre, slowly, keeping the sheet low and pulling at a shallow angle rather than upwards.
- Inspect the surface. You should see the scratch still faintly visible but no raised lip, and the click should be gone or much reduced.
Never let glue touch the label, and keep it well away from the centre hole and run-out. Keep the record flat while it cures, because a propped record will sag and weld itself into a gentle warp.
How to tell it worked: the record no longer skips at that point. The glue is not a permanent fix, so expect to repeat the treatment after many plays, and never put glue on a record you are trying to sell as a mint copy.
6. Know when professional restoration or replacement is better
Some damage is outside what a home setup can address, and pushing past that point risks your stylus and your record for nothing.
Records with a deep gouge, a crack anywhere in the playing area, or a warp that makes the platter rub need a professional or need to be left alone. A record that has been tracked through repeatedly, where the same section has skipped hundreds of times, has lost more groove than any peel can replace. Collectors who posted about an irreplaceable pressing wanted a real restoration service for exactly this reason, because vacuum and ultrasonic cleaning only solve the dirt problem.
There is also a software finish line. Rip the record to digital and declick it, and the pops and crackle largely disappear in seconds of listening. Tools like Adobe Audition, iZotope RX, Parks Audio Puffin for real-time correction while you record, and Dr. Vinyl for older software all do this. The one thing none of them can do is fix a skip, because a skip means the stylus left the groove, and there is no audio to clean up in the gap.
Be realistic about the salvage. It is normal to end up with a record where five or six tracks are tight and two or three are still annoying, rather than a perfect side. Decide in advance which tracks you care about and let the rest go.
How to tell it worked: you have a decision. Restore, digitise, or shelve it untouched and enjoy the tracks that play well.
Common Mistakes That Make Scratches Worse
Almost every damaging method circulating online fails for the same reason: it treats the vinyl as a surface to be polished rather than a precision groove to be protected.
- WD-40. It is a lubricant and degreaser, not a filler. It cannot rebuild a groove wall, it smears into a film that traps dust, and the tacky residue makes future handling worse. It also risks migrating to the turntable mat. Forum advice recommending a WD-40 wipe followed by a water rinse is the myth this guide exists to end.
- Brasso, car headlight polish, metal polish. These are for metal and plastic headlamp lenses. On a record they do nothing useful and can leave an abrasive film in the groove that then destroys your stylus. Worth noting that a lot of the Brasso conversation is actually about scratched dust covers and acrylic lids, which is a different problem from a scratched record.
- Sandpaper and scouring pads. This physically removes vinyl to reach the scratch, which means you are cutting the groove shallower. It can only take off marks that were not audible anyway, and it can turn a playable record into a skipping one.
- Oils, polishes, furniture wax. Any oil-based product leaves a film in the groove and on the label, and vinyl is porous enough to hold it. This is the one irreversible category on the list, because a clean record will not clean itself.
- Alcohol without checking the concentration. High-concentration alcohol can craze some label plastics and shellac finishes if you saturate them. Keep the cloth damp, not wet, and keep liquid away from the label and run-out groove. Keep denatured alcohol and any solvent with dye or fragrance away from vinyl entirely.
- Scrubbing in circles. Circular motion cuts across the grooves at an angle and creates a fan of new scratches. Always work along the groove direction.
- Applying product to the label. Solvents lift printing and can dissolve adhesive. Mask the label or keep the treatment to the playing area.
- Using a brush on a spinning record. At speed the bristles chatter and jump, which is exactly how a brush becomes the scratch. Brush with the record stopped or on slow rotation.
Prevention is the better half of this. Replace paper inner sleeves, which are the abrasive surface most records rub against for years, with anti-static outer sleeves and soft inner liners. Store records vertically rather than stacked flat, keep them out of direct sunlight and away from heat, and clean the stylus regularly so a dull tip is not ploughing through your collection. Lift records out by the label and the rim, every time.
One more distinction worth keeping straight: a record that skips on two tracks and plays clean on the rest is a repair candidate. A record that crackles on every single track, every side, usually has a worn stylus meeting a tired groove, and the answer is a new cartridge rather than a new treatment.
Frequently Asked Questions
Can scratches on vinyl records be completely removed?
No. A scratch is a physical deformation of the vinyl groove, and displaced plastic cannot be put back. What you can fix is the symptom: cleaning removes dirt, a carbon-fiber brush smooths light surface marks, and shaving or peeling a raised burr removes the lip that causes the click. A deep gouge stays audible or skips no matter what you do to it.
Is it safe to use rubbing alcohol or baking soda on a vinyl record?
Isopropyl alcohol at 91 percent is the standard choice, used on a damp cloth with no liquid pooling near the label. Baking soda is not a cleaner for vinyl; its alkaline grit can leave residue in the groove. Never use household glass cleaner, degreaser or anything scented, and keep every liquid away from the label and the run-out groove.
Why does my record skip when it reaches a scratch?
The stylus is following a groove wall that is physically interrupted, so there is no signal to track and the tonearm drops forward until it finds a solid section again. Skip is a depth problem, not a dirt problem, which is why no cleaner fixes it. Deepening tonearm weight to push through only damages the record further and wears the stylus.
Can a carbon-fiber brush fix scratches on vinyl?
It can improve light surface marks and it clears loose debris out of the groove, so it is always worth trying first. It will not repair a scratch that reaches the groove wall, because the brush smooths the surface rather than rebuilding the channel. Use it with the record stopped, light pressure, strokes following the groove direction from the outer edge inward.
Should I repair a record with a deep scratch or replace it?
Repair it if the record skips only on one or two tracks, because the wood glue peel or a burr shave can restore those sections and the rest of the side is fine. Replace it if the gouge is deep, if there is a crack, if the record is warped, or if the same section has already skipped hundreds of times. Then digitise it and declick in software.
Does cleaning a vinyl record remove scratches?
No, cleaning removes dirt, and dirt can sound exactly like a scratch: a click, a pop or a burst of crackle at one spot on the record. This is the most common misdiagnosis in the whole topic, which is why cleaning comes before any treatment. If the noise is identical before and after a proper clean, it is a real scratch and you are looking at the burr methods instead.
Conclusion
Start where this guide starts: look at the record under angled light, work out whether you have a scuff, a groove scratch, a gouge or a warp, and clean it properly with a soft brush and 91 percent alcohol. Play it on a well-set-up turntable with a light stylus and listen for noise at a fixed point, which means a scratch, or a skip, which means damage the brush cannot fix.
After that, a carbon-fiber brush with the record stopped handles light marks, and a burr shave or a wood glue peel handles the raised edge that causes a single loud click. Try all of it on a record you do not care about first, and skip the wood glue entirely if the record is a mint copy you plan to sell.
No treatment rebuilds a damaged groove, and nothing makes a crack go away. When you reach that point, rip the record, declick it in software, and keep the tracks that play well.