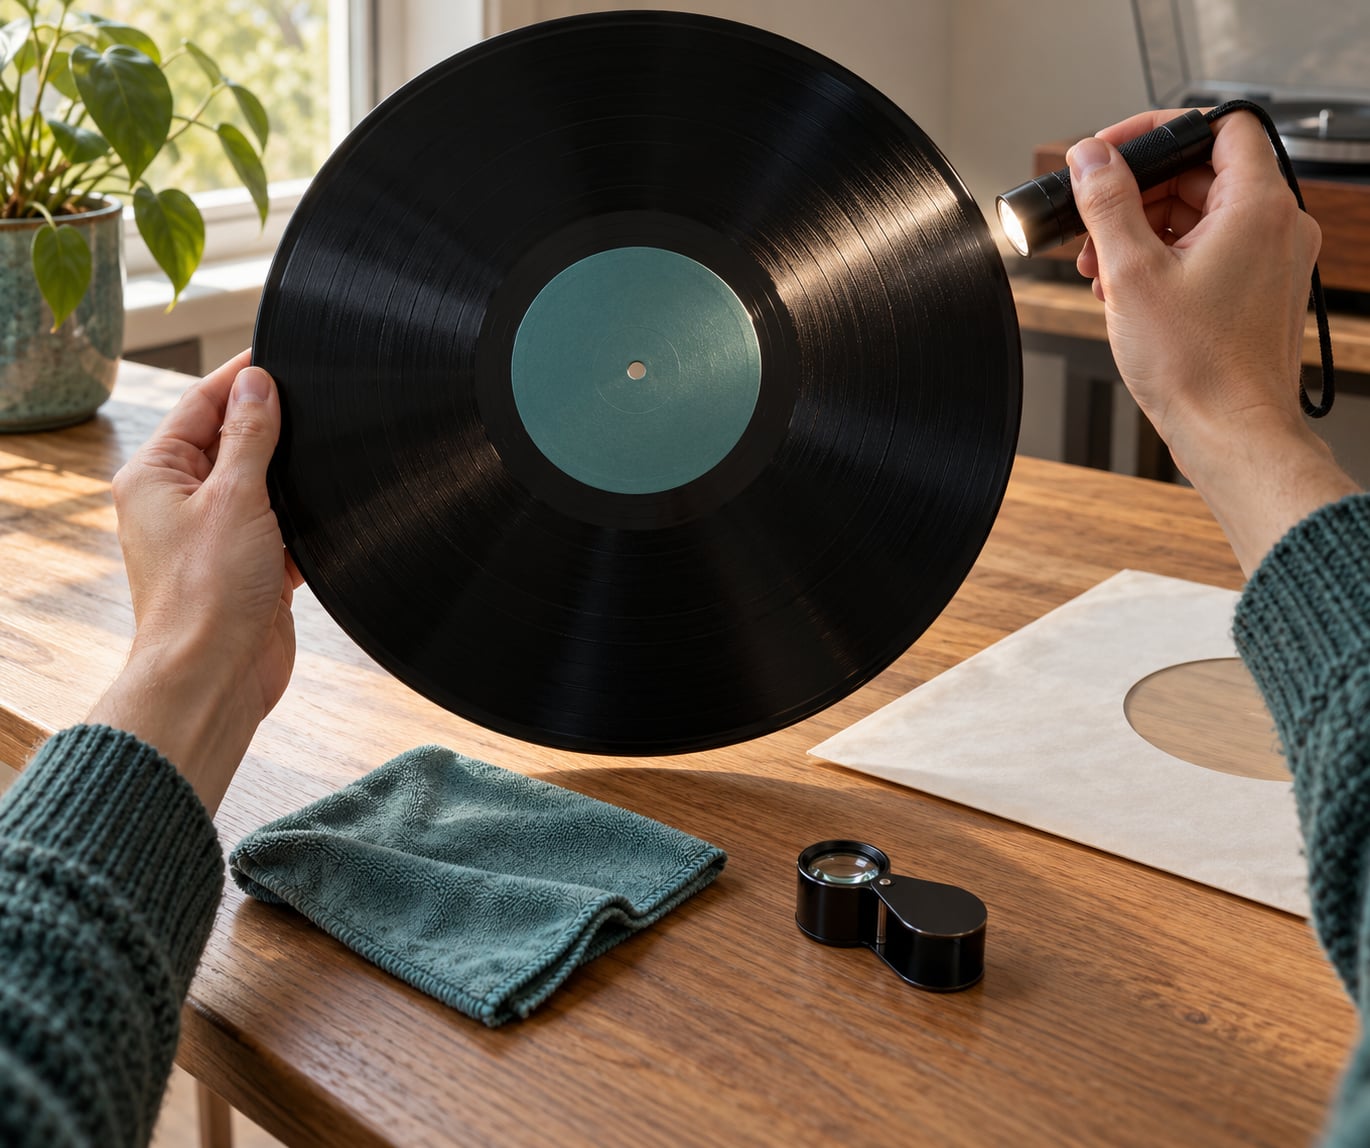
Inspecting a record before buying takes about ten minutes and needs nothing more than a flashlight, a flat surface and a steady hand. Hold the vinyl at eye level under raking light, rotate it slowly, and run a fingernail gently over every mark you find. A scratch that catches your nail will cause audible pops, and one running across the grooves can make the stylus skip. This is how to inspect a record before buying, in the order that catches the most problems fastest.
The habit matters more than it sounds. Used records are graded on how they look, and looks are a poor predictor of sound. A scuffed disc plays fine, a clean-looking disc can be worn out to the run-out groove, and a sealed reissue can be warped from twenty years in a hot attic. Inspection is the only moment a bad copy costs you nothing.
Ask the shop before you pull anything from a sleeve. Collectors on Reddit’s r/vinyl are near-universal about this: staff would much rather you ask than watch you split a seam, and a polite “mind if I check the vinyl?” takes two seconds. Once the record is out, keep it off the counter edge and slide it back the way you found it, disc down on the right-hand side of the jacket.
Table of Contents
- What You Need
- Step-by-Step: How to Inspect a Record Before Buying
- Check the Sleeve and Packaging First
- Identify the Pressing Before You Judge the Price
- Inspect the Vinyl Under Good Light
- Test the Record in the Store
- Common Mistakes When Inspecting Records
- Frequently Asked Questions
- How do I tell if a vinyl record has deep scratches?
- Is it OK to play a vinyl record at a record store before buying it?
- Should I buy a sealed, unopened vinyl record?
- How can I tell if a record is warped before buying?
- What does VG+ vinyl actually sound like?
- The seller says Near Mint but the record is scratched. What should I do?
What You Need
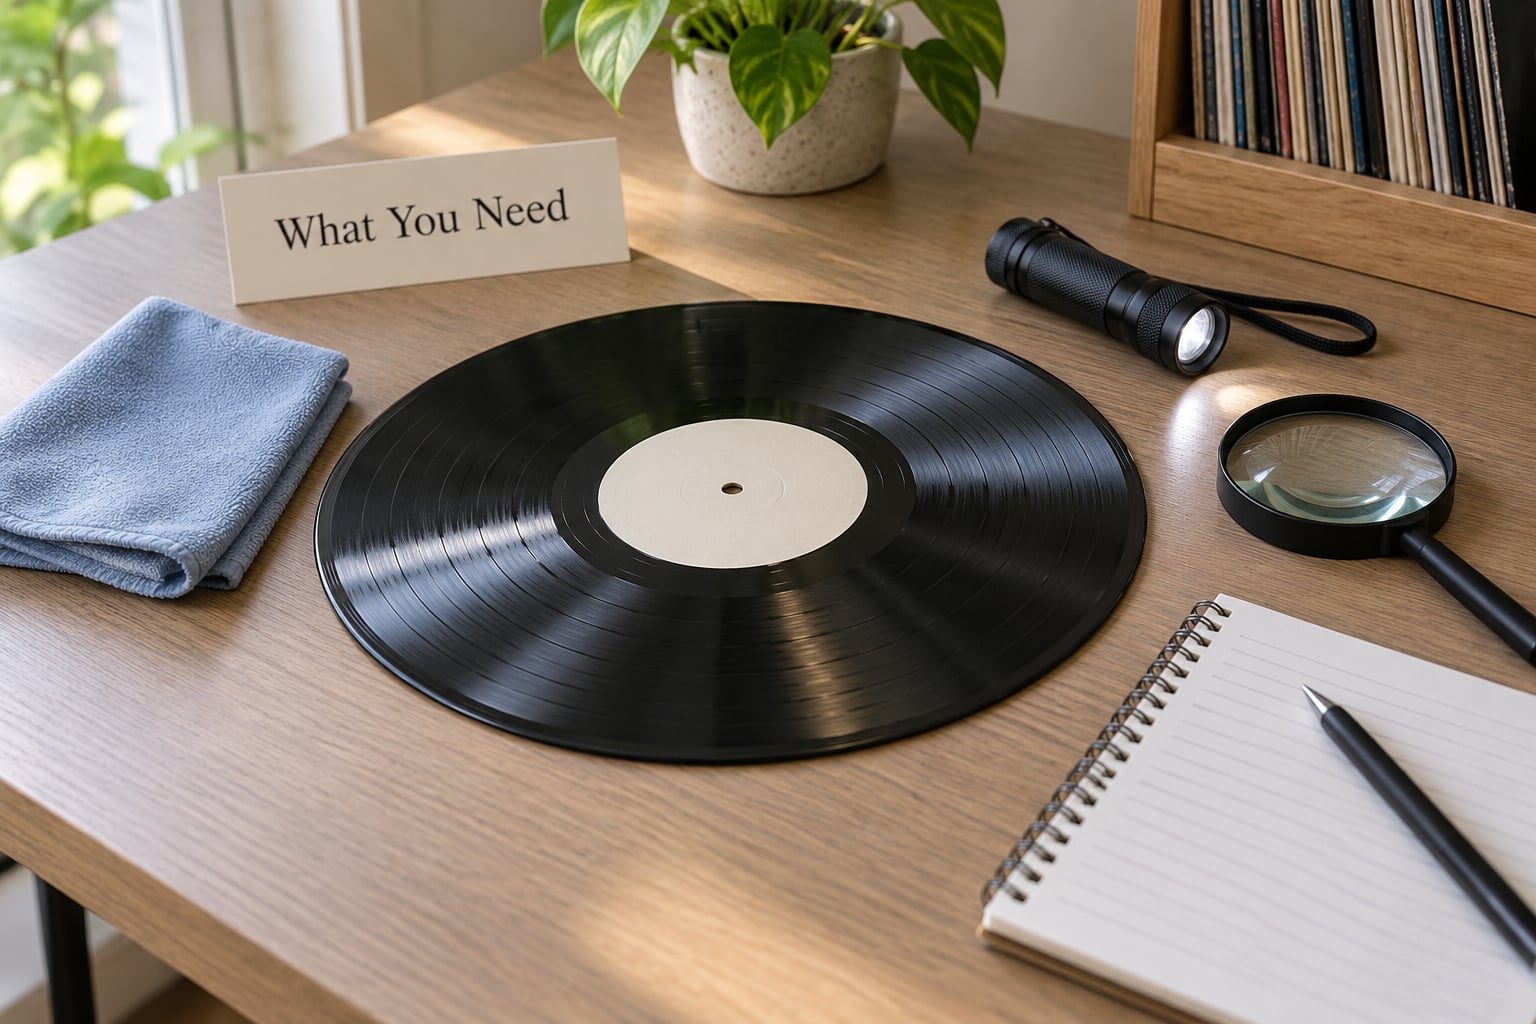
Four things cover almost every inspection, and three of them cost less than a lunch. The rest are optional upgrades for when you start buying serious pressings.
- A small LED flashlight. A penlight or a phone flashlight works, but a narrow-beam LED is better because you can hold it almost touching the record and sweep the beam across the grooves. A wide room light hides hairlines.
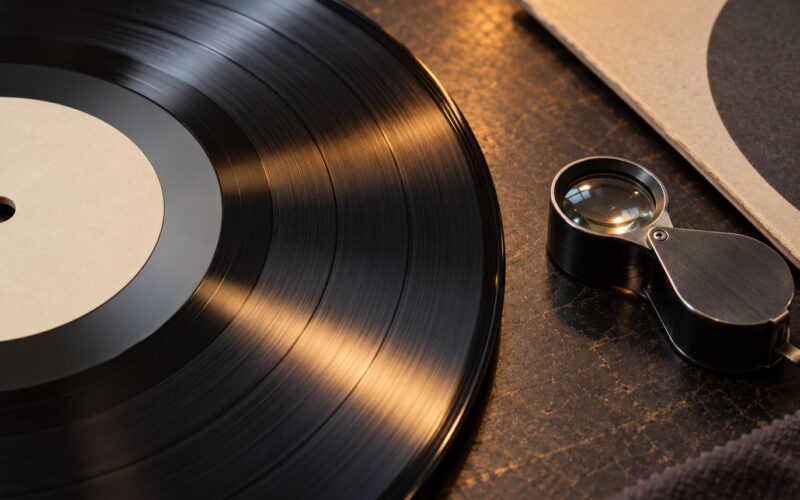
- A 5x to 10x jeweler’s loupe. On an Audiogon inspection thread, collectors argue about 60x microscopes versus ordinary loupes, and the consensus lands on the loupe. It is plenty for surface work and costs a fraction of a microscope.
- A clean, flat, uncluttered surface. A felt mat, a towel, or a scrap of cardboard on the counter. You need a place to lay the disc flat for the warp test and a place to set the jacket so it does not dog-ear against the counter.
- A soft microfiber cloth and a record cleaning fluid. Not for the inspection itself, but so you can wipe a dusty disc and judge it fairly. Plenty of records that sound awful in the store simply need a thirty-second clean.
- Your phone, for the pressing. The catalog number on the sleeve plus a quick Discogs check tells you whether you are holding a first pressing, a licensed reissue or an unlicensed bootleg before you commit.
One rule about light matters more than the gear: never inspect in direct sunlight. Sunlight rakes across a record beautifully and will warp a disc in minutes, which is not a defect you caused but one you will feel bad about. Flat, bright, indirect light is what you want.
Step-by-Step: How to Inspect a Record Before Buying
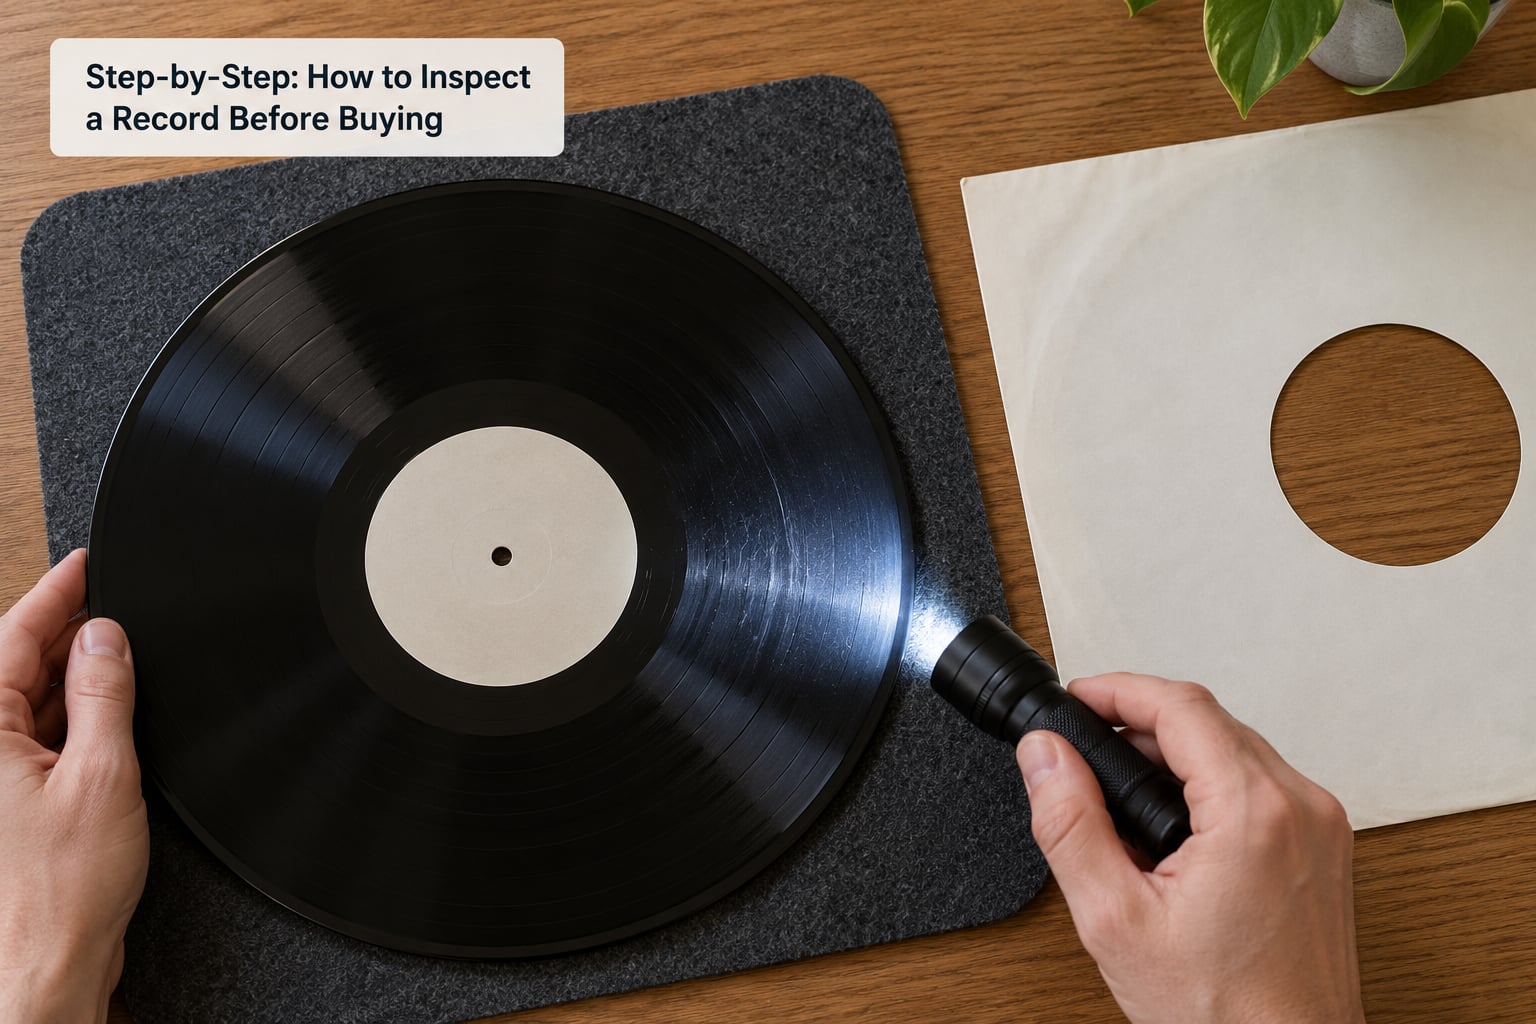
The full routine runs about ten minutes for a careful inspection and two or three for a quick pass. Work through it in this order.
- Ask, then open the jacket. Look at the outer sleeve flat-on, at an angle, and edge-on in the light. Note splits, dents and wear before the disc comes out.
- Check the inner sleeve. A missing or generic inner sleeve is a red flag, because a bare disc stored in a jacket collects dust and hair. Confirm the record matches the jacket.
- Read the pressing. Find the catalog number, the matrix or run-out markings near the label, and the country of manufacture. Check them against Discogs.
- Look at the disc in raking light. Hold it at eye level, tilt it until the light glances off the grooves, and rotate it slowly. Watch for scratches, dull patches, cracks and a wobbling edge.
- Run the fingernail test. Any mark that catches your nail is deep enough to matter. Marks that disappear under the nail are cosmetic.
- Test the warp. Hold the disc at eye level and rotate it, then lay it flat on the surface and press gently across the label. A cupping record rocks or lifts at one point.
- Play a sample. Ten to fifteen seconds of the opening track, a middle track, then the final track. Listen for crackle, repeated clicks, a stuck loop, warble or pitch shift.
Steps one and two are where new collectors get burned. The sleeve looks perfect, the vinyl is a mess, and the damage is only visible once the record is in your hands. Grading the two separately is not pedantry; it is the single most useful habit on this list.
Check the Sleeve and Packaging First
The sleeve tells you how a record was stored, and storage is what causes most permanent damage. Four things on the jacket are instant deal-breakers: a seam split, a bowed or buckled front, a musty or sour smell, and visible mold. A seam split means the jacket is coming apart and the disc inside may already be bowing. Mold is a hard stop, always, because spores spread to neighbouring records in the same crate.
Then work down the list of ordinary wear. Dog-eared corners are the most common problem and usually the least serious. Ring wear means somebody wore it on a bare table, and the record inside has probably been dropped a few times. Spine lean, faded or sun-bleached colours, and writing in the gaps between tracks on the back cover are cosmetic. Foxing, those small brown fox-shaped stains on the inner sleeve or on printed card inserts, are moisture damage and tell you this record has been somewhere damp.
Turn the jacket over and look at the corners and edges straight on. Split edges, especially at the bottom corner where jackets fail first, cost you nothing to find now. Check the back for a hype sticker or price sticker residue, and check that the disc is actually the record the jacket advertises, because mismatched inserts are more common than anyone would like to admit.
A word on inner sleeves. Collectors consistently treat a missing innersleeve as a condition red flag rather than a minor gap, since a record stored bare almost never stays clean. It also means the next owner has to buy a sleeve before they can file the disc safely.
Identify the Pressing Before You Judge the Price
Condition tells you whether a record is good. The pressing tells you what it is worth, and you cannot judge one without the other. The catalog number sits on the label, the back of the jacket, or both. The run-out groove, the narrow band just inside the label edge, carries etched or hand-etched matrix numbers, and those numbers are the fastest way to identify a specific pressing.
Cross-reference the catalog number on Discogs before you buy anything expensive. A first pressing, a licensed reissue and an unlicensed bootleg can share artwork and a title, and the difference is usually the entire value of the purchase. First pressings from the 1970s or earlier often command multiples over later reissues of the same album, so the pressing check protects you in both directions. Bootlegs tend to have a thinner or lighter disc, noticeably louder surface noise, and a run-out groove with no matrix number at all.
Price the copy in front of you, not the album in your head. Check recent sold listings rather than active listings, since asking prices sit well above what things actually fetch. If the seller has one record and asks a collector price, that is worth negotiating down on condition alone.
| Grade | What you see | What it sounds like |
|---|---|---|
| Mint (M) | Perfect, unplayed, original packaging | Silence between tracks. No noise floor at all. |
| Near Mint (NM) | Nearly perfect, played once or twice, no visible wear | Total silence, or one or two ticks on an otherwise clean surface. |
| Very Good Plus (VG+) | Light surface marks that do not catch a fingernail | Occasional soft tick between tracks. Music is clean and detailed. |
| Very Good (VG) | Noticeable marks, light sheen, minor sleeve wear | Steady light crackle. Pops and clicks at track changes, nothing distracting. |
| Good (G) | Obvious scratches, dulled groove, worn or split sleeve | Constant crackle and frequent pops. A few skips on a good turntable. |
| Poor (P) | Deep scratches, warping, cracks, missing or damaged sleeve | Unlistenable in places. Skips, stuck loops, repeated clicks. |
The important detail is the fingernail test, which separates VG+ from VG better than any other single check. VG+ marks stay under the nail. VG marks often catch it, and they show up in the sound. A seller who claims Near Mint on a record with nail-catching scratches is describing a copy you will not receive.
Inspect the Vinyl Under Good Light
This is the step that decides the purchase. Hold the disc by the edges at eye level, tilt it until a light source glances across the grooves, and rotate it a quarter turn at a time. Scratches light up as bright lines that appear and disappear as the angle changes. Nothing visible under good raking light means nothing to worry about.
Run your fingernail gently across every mark. It should not catch on vinyl that has been handled, though clean vinyl is slippery and a light touch helps. A scratch that catches the nail has cut through the groove and will produce an audible pop every single time the stylus crosses it.
Direction matters as much as depth, and almost nobody explains it. A scratch running perpendicular to the grooves cuts across the entire signal, so the needle hits it as a single loud pop. A scratch running parallel or diagonal to the grooves sits in the path for a longer distance, so the stylus can deflect, catch, skip or settle into a repeating stuck loop. A diagonal scratch is the worst of the two worlds: long enough to deflect the stylus, deep enough to do it.
Rotate the disc and watch the sheen. Well-preserved vinyl shows an even, glossy reflection of the light across the grooves. Dull or flattened patches mean heavy groove wear, usually from a worn stylus, and no amount of cleaning will fix the loss of high end. A crack reaching from the outer edge toward the label, or any crack at all, is a walk-away: the disc can shatter in a turntable and the crack grows with every play.
Then check the label and the middle. Label separation, where the paper has lifted and curled at the edge, is a warning sign. A spindle hole enlarged by a damaged or non-standard centre hole will wobble on a turntable and grind the inner tracks. Handwritten DJ marks and punch holes in the run-out area are common on dance and hip-hop pressings and rarely matter for sound quality. A ring of pale spots around the label is water damage and usually permanent.
| What you see | What you will hear | Verdict |
|---|---|---|
| Hairline scratch, no nail catch | Nothing, or one tick at a track change | Fine |
| Nail-catching scratch, perpendicular to grooves | One loud pop every pass | Caution |
| Nail-catching scratch, parallel or diagonal to grooves | Skip or a stuck loop repeating | Walk away |
| Edge wobble when held at eye level | Occasional skip, stylus loses grip | Caution |
| Deep bow, disc rocks on a flat surface | Warble, pitch shift, steady skips | Walk away |
| Dull or flattened groove band | Muffled high end, dull mastering | Caution |
| Label lifting or curling at the edge | Rasping on light groove wear | Caution |
| Musty smell, visible mold, foxing spots | Nothing audible yet, but damage spreads | Walk away |
| Fine dust across the surface | Constant crackle that vanishes after cleaning | Clean and retest |
Clean before you judge. A dusty record crackles constantly and the crackle disappears after one pass with a carbon fibre brush and a proper fluid, cleaned in circles from the label outward and dried with a microfibre cloth. Sellers and shops do this routinely, so a lightly played record that still crackles after a clean has a genuine surface problem. If you have no fluid, a dry microfibre cloth and a soft brush will still lift a surprising amount.
Test the Record in the Store
Ask first, then play it if the shop has a listening station. The etiquette point comes up constantly in collector forums because it annoys staff: get permission, handle the record by the edges, and put it back in the jacket the way you found it. Nobody minds a two-minute check. They mind a stack of opened jackets dumped on the counter.
Keep the test to two or three minutes and sample deliberately. Ten to fifteen seconds of the first track tells you about the lead-in and the opening groove. A track from the middle tells you about general groove wear. The final track is the useful one, because the inner grooves are narrow, take more stylus force, and show wear first. If the record has inner groove radius problems, you will hear it on the last track of side two long before track one.
Listen for four things. A steady low crackle means surface noise, usually wear or dirt, and it is tolerable on loud rock and unlistenable on a quiet jazz trio. Repeated clicks in exactly the same spot every cycle mean a deep scratch. A short passage that repeats is a stuck loop from a diagonal scratch. Warble or a wavering pitch means warp.
Give the turntable the benefit of the doubt in reverse, too. Store listening stations have styli that need changing and tracking force set by whoever used the deck last. A record that skips on a shop turntable may play perfectly at home. Reset the tracking weight if the deck allows it, and if a decent turntable is available, put the record on that instead before you condemn it.
Common Mistakes When Inspecting Records
Most expensive buying mistakes come down to six habits, and every one of them is easy to avoid once you know it is there.
Judging the jacket and ignoring the vinyl. This is the most repeated piece of advice across collector forums and the most common way people get burned. The sleeve survives handling, the disc does not. Grade the two separately and write both numbers down before you commit.
Treating sealed as safe. Collectors point out constantly that a sealed record can still be warped, mouldy or poorly pressed after decades in a jacket. Shrinkwrap proves nobody opened it. It proves nothing about the condition of the vinyl inside. Buying sealed is a reasonable strategy for a title you want regardless, not a condition guarantee.
Paying for rarity you have not verified. A promising label means nothing until the catalog number and run-out groove check out on Discogs. Check the sold history, not the listing, and check whether a better copy exists for a similar figure before committing.
Buying from a volume seller with no grading method. Collectors distrust bulk operations for a rational reason: nobody inspects ten thousand records individually. Ask whether the seller grades record and sleeve separately, and how. A seller who cannot answer that question is describing inventory, not condition.
Skipping the return window. Online, you cannot hold the record under a light or drop a needle on it, so you need the fallback. A return policy of at least fourteen days is the minimum that lets you verify a purchase properly. With photos-only listings, ask for high-resolution shots under angled light of both disc surfaces, the label, the run-out area, the spine and every corner of the jacket.
Judging sound in a dusty state. A surprising share of records that sound bad in a store turn out to be dirty. Clean it, then listen again, then decide.
Two more situations deserve their own rule. When a seller’s stated grade and the actual condition disagree, trust your eyes and ask for a price adjustment or a return, not a reassurance. And when you are buying over a message app with no photos at all, a seller who declines to send them has already given you your answer.
Frequently Asked Questions
How do I tell if a vinyl record has deep scratches?
Run a fingernail gently across the mark while holding the record at eye level under a flashlight. If the nail catches, the scratch has cut into the groove and will produce an audible pop every time the stylus crosses it. If the mark vanishes under the nail, it is cosmetic. Direction matters too: scratches running across the grooves give single loud pops, while scratches running along or diagonally to the grooves can cause skips and stuck loops.
Is it OK to play a vinyl record at a record store before buying it?
Ask the staff first. They will nearly always say yes, and asking takes two seconds where an unannounced opening does not. Keep the play test to two or three minutes, handle the disc by the edges, and slide it back into the jacket the way you found it. Sample the opening track, one middle track and the final track, since inner grooves show wear first.
Should I buy a sealed, unopened vinyl record?
Buy it for the collecting, not for the condition. Sealed means nobody has looked at the disc, and collectors regularly report sealed records turning up warped, mouldy or noisily pressed after decades in storage. Inspect the jacket for bowing, sun fading and musty smell even on sealed copies. If the pressing is a scarce first issue, sealed is a reasonable gamble; for an ordinary reissue, inspect the copy in front of you instead.
How can I tell if a record is warped before buying?
Hold it at eye level by the edges and rotate it slowly, watching the outline of the disc rather than the label. A warped record shows a wobble, and a badly bowed one will not sit flat. Then lay it on a level surface and press gently across the label: if the opposite edge lifts, the disc is cupped. Gentle warp from normal storage is minor, but direct sunlight can ruin a record quickly, so keep it out of hot windows and car interiors.
What does VG+ vinyl actually sound like?
VG+, or Very Good Plus, is a lightly used copy with visible marks that do not catch a fingernail. In practice you hear silence between tracks with the occasional soft tick, and the music itself stays open and detailed with full dynamics. If you are hearing steady crackle, you are looking at VG, and repeated pops between tracks usually means Good. The fingernail test separates these grades more reliably than any seller description.
The seller says Near Mint but the record is scratched. What should I do?
Trust your inspection over the description, and back it with the two-grade rule: a good record in a worn jacket is still a good record. Ask for a price reduction, ask for photos under angled light, or ask to return it if the listing was graded inaccurately. Sellers who grade the record and sleeve separately, sell to a return policy of at least fourteen days and answer questions about their grading method are worth buying from again.
Ten minutes and a flashlight will tell you more than any seller grade. Start with the sleeve, then the pressing, then the vinyl under raking light with a fingernail test, the warp check, and a short play test that samples the last track as well as the first.