Setting up a turntable for the first time takes about an hour: put it on a level surface, fit or wire the cartridge, balance the tonearm, set tracking force and anti-skating, align the stylus, then connect the audio cable to a preamp or powered speakers. Almost all of that is small, forgiving adjustments, and the payoff is a record that plays quietly, tracks without skipping and sounds full instead of thin and scratchy.
The reason people put it off is that the box arrives with a lot of unfamiliar parts and the manual assumes you already know what a phono preamp is. You do not need to. What you need is a bubble level, a couple of small screwdrivers, a record cleaning brush, and about an hour where nobody is going to walk past and bump the table.
Here is the whole process in the order that makes sense, with the check that tells you each stage worked.
Table of Contents
- What You Need to Set Up a Turntable for the First Time
- Step-by-Step
- How to set up a turntable for the first time: unpack and place the turntable
- Install the dust cover and connect the audio cable
- Balance and set the tonearm
- Dial in tracking and align the stylus
- Set the speed and test the first record
- Common Mistakes
- Frequently Asked Questions
- Do I need a speaker to play records on a turntable?
- Can I set up a turntable without a phono input?
- What tracking force should I use for a beginner turntable?
- Why does my new turntable pop or skip on the first record?
- How do I know whether my turntable is playing at the correct speed?
What You Need to Set Up a Turntable for the First Time
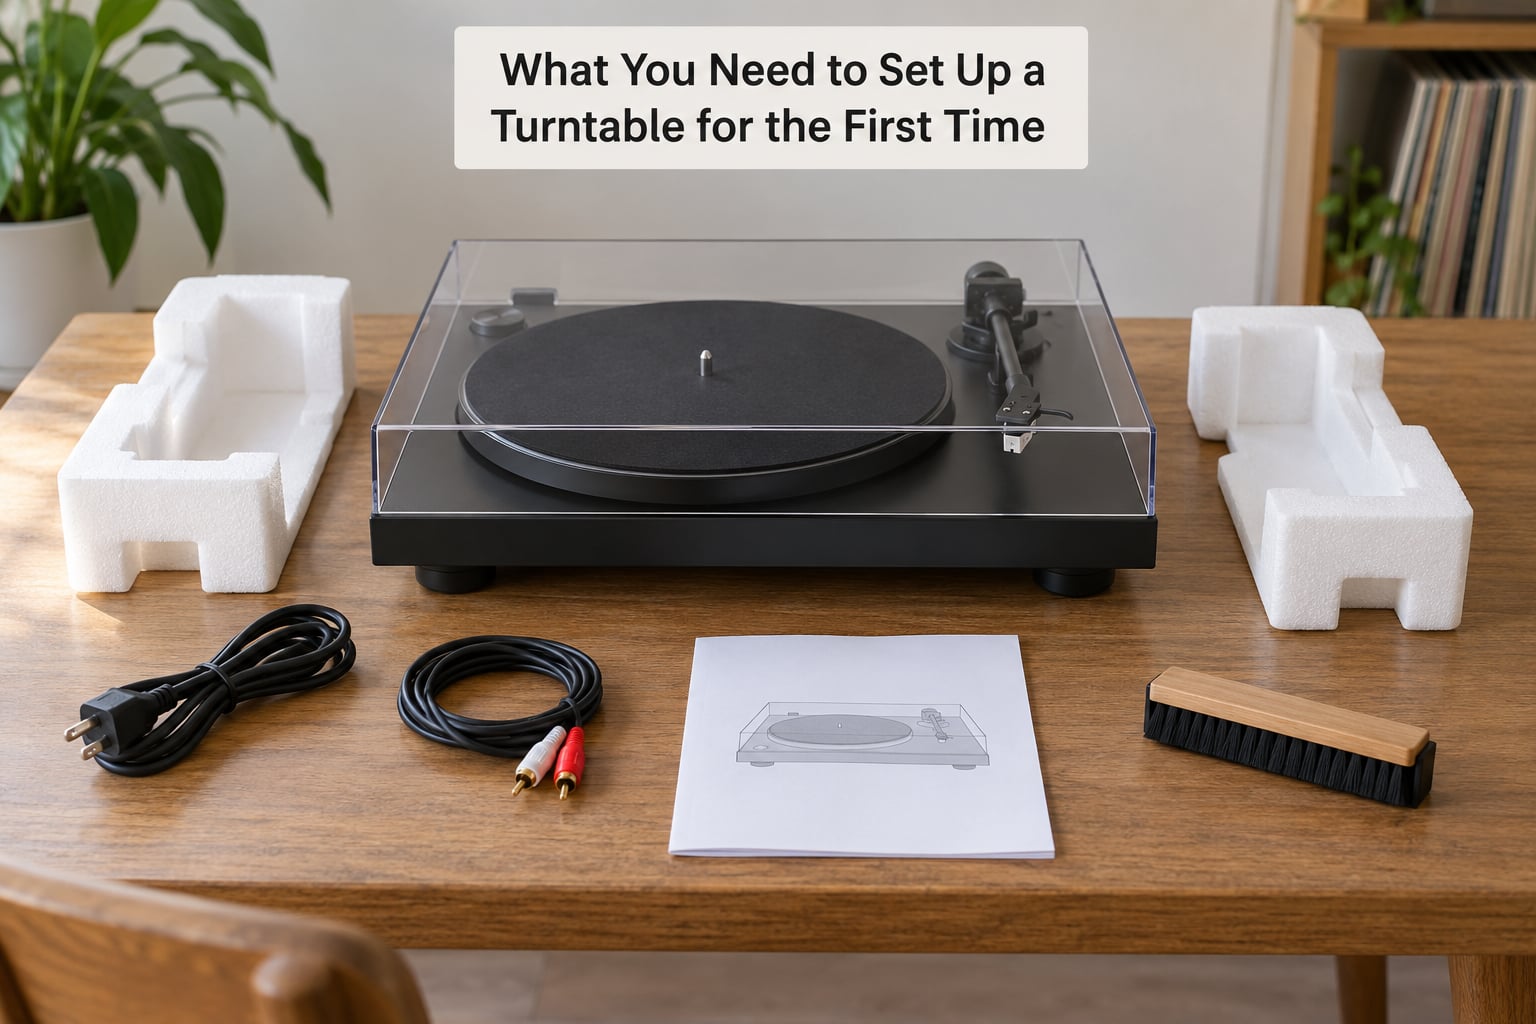
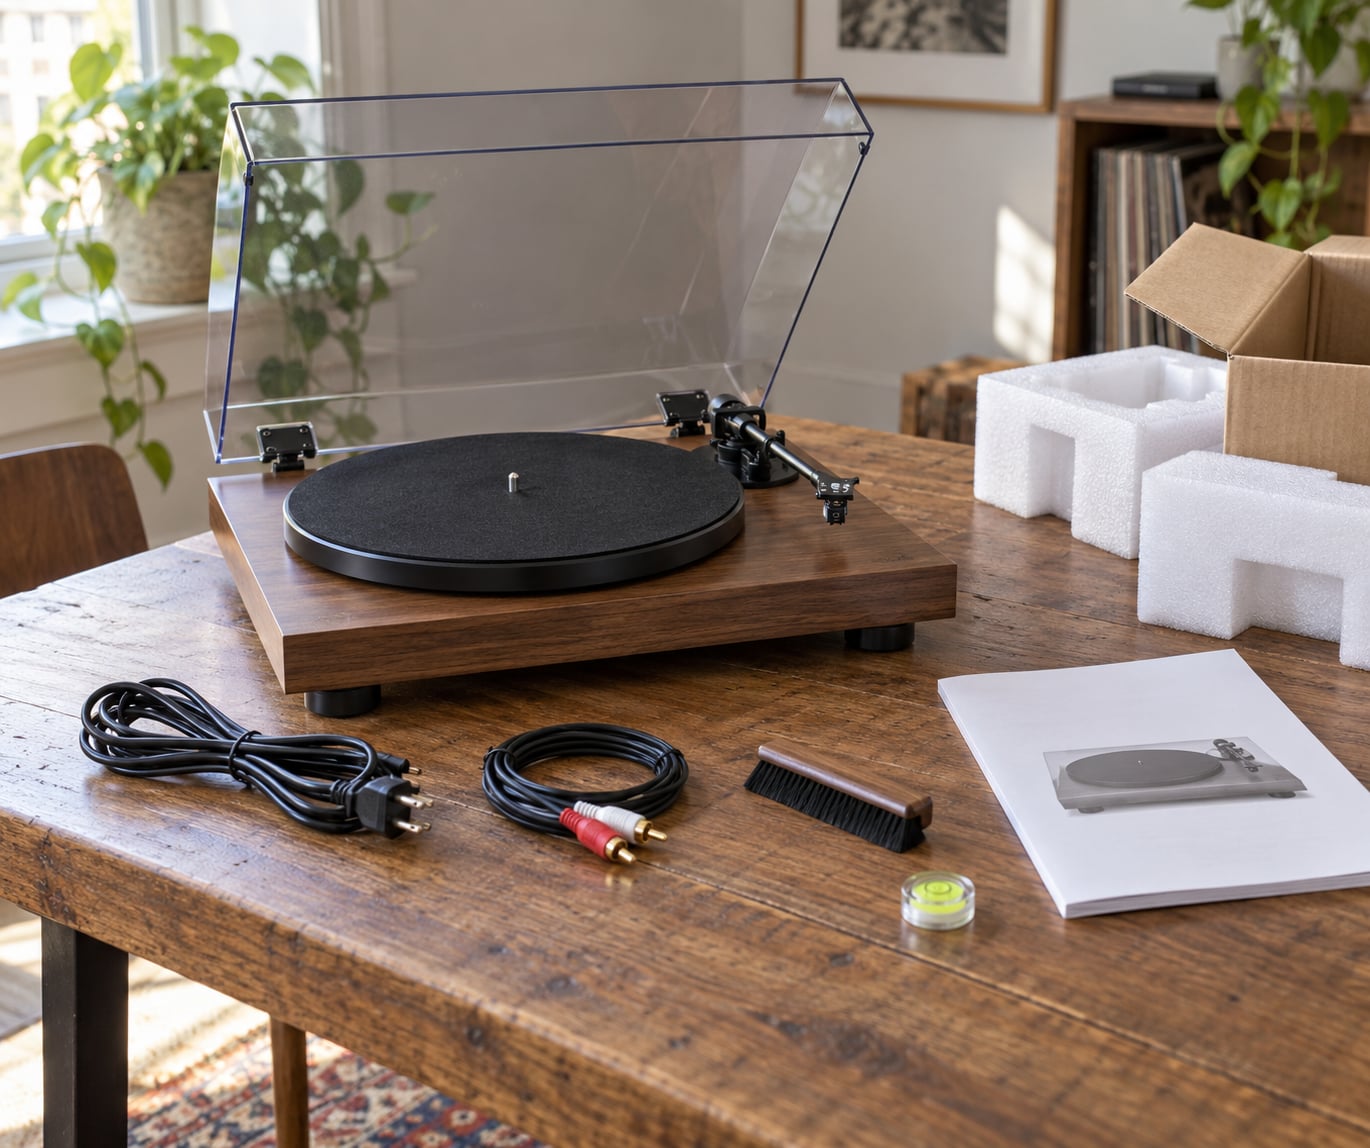
Open the box and spread the contents out before you touch anything. Most decks ship with the tonearm already clamped in its rest, the counterweight fitted, and a cartridge either installed or taped in the packaging foam. A built-in dust cover, a 45 RPM adapter for the spindle, a small Phillips screwdriver and a felt slipmat are usually in the box too.
Tools beyond the box are short:
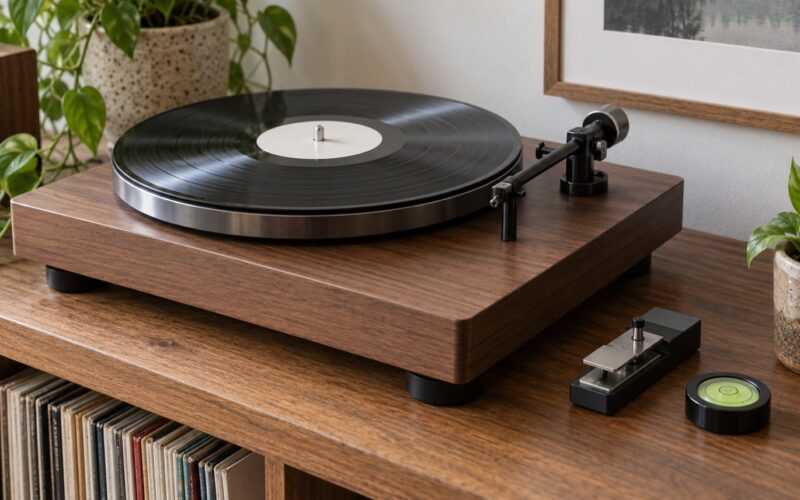
- A bubble level — the single most useful item. A cheap one on the platter or the plinth is enough. A slightly out-of-level deck makes the tonearm drift and the record wobble.
- A tracking force gauge — a small digital gauge that reads the weight on the stylus in grams. This is the one purchase most people regret not making, because the arm’s own scale is often optimistic.
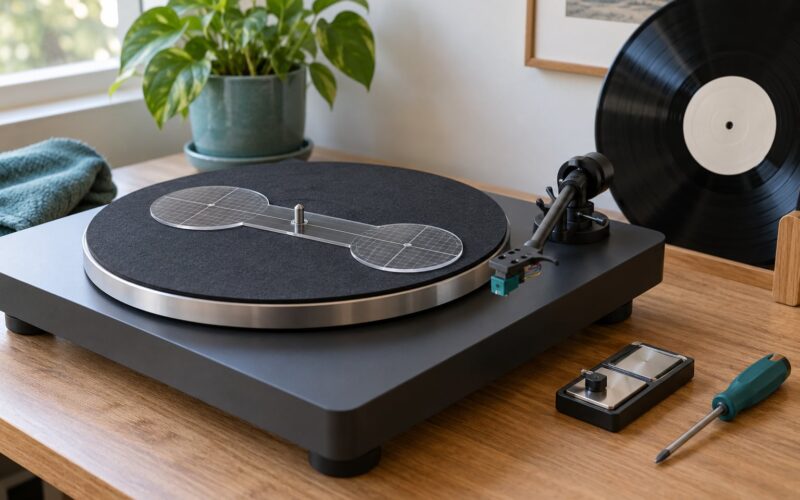
- A printed alignment protractor — free from vinylengine.com and other setup pages. Print it at 100% scale with no page scaling, because a shrunken grid gives you a wrong overhang.
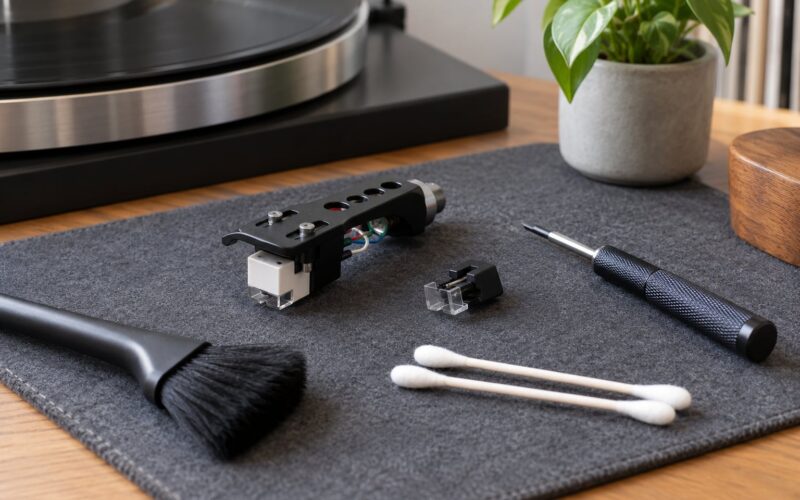
- A stylus cleaning brush and a fluid-safe record cleaner — a new record picks up dust in the box, and dust on the stylus is the most common cause of a scratchy first play.
- Tweezers, a small flathead screwdriver and a spirit level — useful, not essential. Tweezers handle the stylus guard; the small flathead handles back-panel switches.
On the signal side, a turntable outputs a very weak signal called phono level. Something has to raise it to line level before your speakers can play it, and that something is a phono preamp. Many decks have one built in behind a PHONO/LINE switch. If yours does, or if it has Bluetooth or a USB output, you can skip the preamp question entirely. If it has only RCA outputs and no switch, you will need an amplifier or receiver with a PHONO input, or a small external preamp box.
Step-by-Step
Work in this order. Each stage depends on the one before it, and re-doing an early step after setting the tonearm means starting the arm work again.
How to set up a turntable for the first time: unpack and place the turntable
Cut the box open over a clear floor. Foam end caps and cardboard inserts hide in the box and come out later looking like a missing part, and the transit screws that lock the tonearm and platter are usually taped or screwed into the body rather than bagged separately.
Leave the stylus guard on for now. It is a small plastic clip over the cantilever, and taking it off before you are ready to play is the fastest way to put a scratch in a new record — or snap a cantilever on an aligned cartridge.
If the platter is packed separately, seat it on the spindle and turn it until it drops into place. If the deck has a built-in strobe, the rim dots are usually covered by a sticker; peel that off or the speed will read wrong later. The counterweight is sometimes already threaded onto the rear of the arm tube, sometimes packed in a bag with the arm still clamped.
Pick the surface before you plug anything in. A heavy, rigid piece of furniture at roughly waist height is the target: heavy enough not to vibrate with the bass, solid enough not to wobble when the arm swings. Keep the turntable away from the speakers, not directly beside them and never in the same cabinet as a large subwoofer, because the low frequencies coming off the speakers are exactly what shakes a stylus out of the groove.
Now the level. Put the bubble level on the plinth, first lengthwise and then rotated 90 degrees, and adjust the feet until the bubble sits in the middle both times. Check again on the platter itself if the deck has separate feet, and keep in mind that a wide cabinet in an older house can be level in two places and tipped three feet away.
How to tell it worked: the bubble stays centred when you nudge the deck from both sides, and the platter spins with no visible wobble when you flick it gently with a finger.
Install the dust cover and connect the audio cable
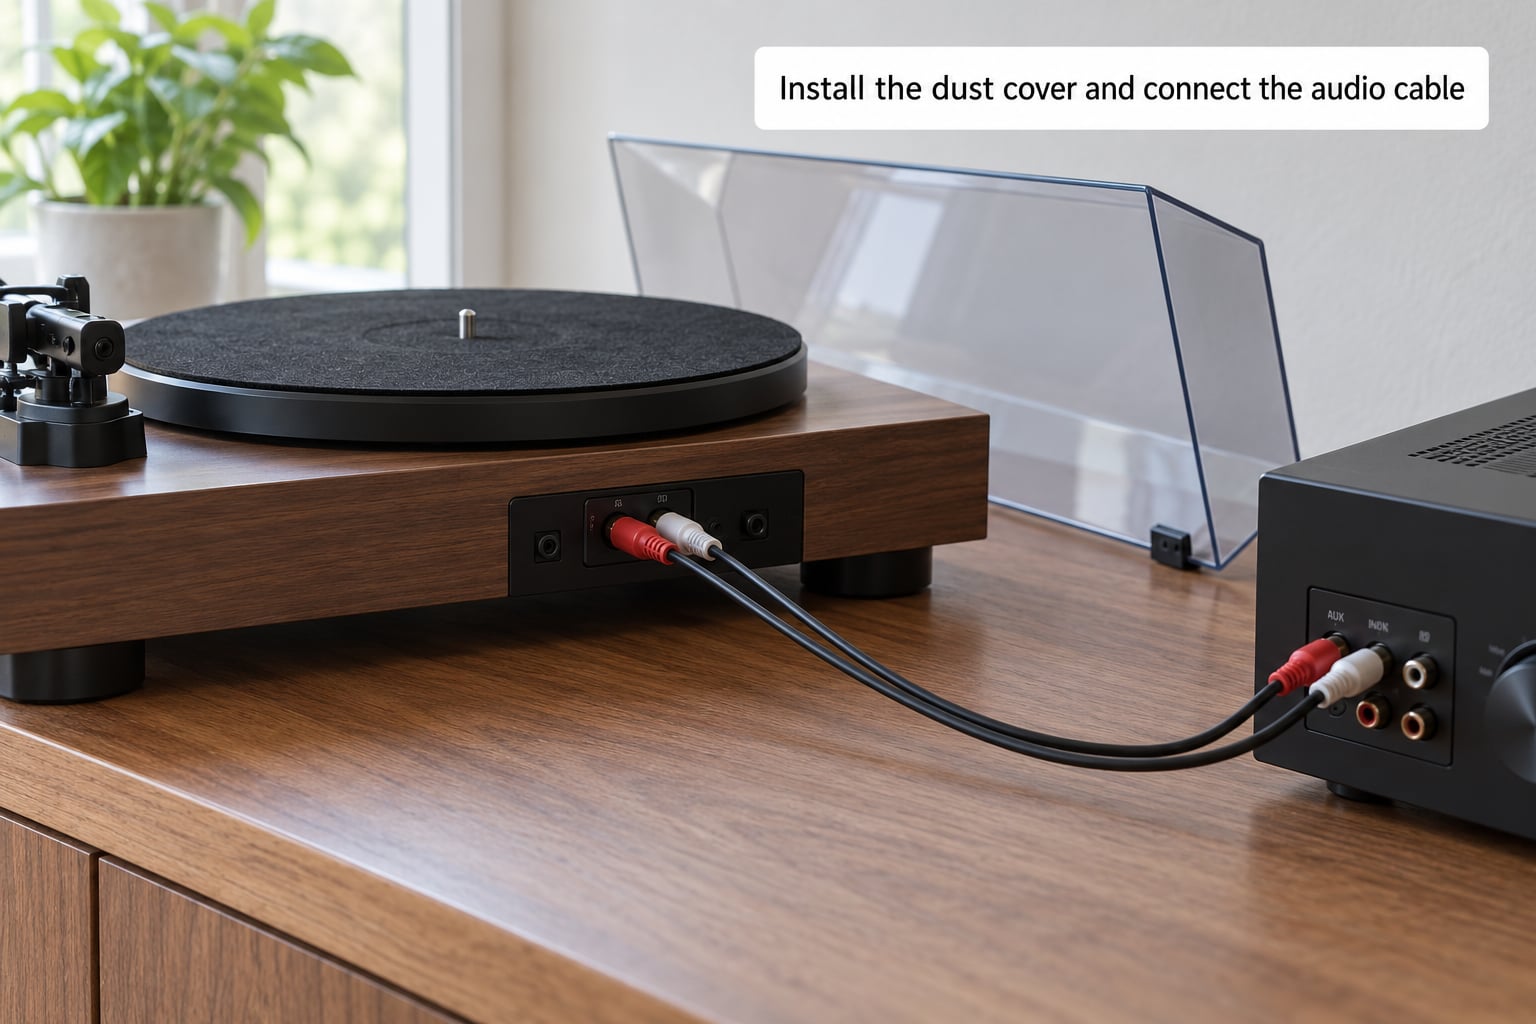
Fit the dust cover while the deck is still clear around it. On most models the hinge pins slot into slots on the back of the plinth, and you fit the cover flat and then push it back until the hinge clicks into place. A cover installed backwards is the classic first-hour mistake, so check the hinge geometry before you force anything.
With the cover open, look at the back panel. RCA outputs are colour coded: red is one channel, white is the other, and the pair goes to the matching pair on your amplifier. If there is a loose ground wire with a small spade or pin on the end, screw it into the ground post on the amplifier as well. That wire is what stops a low hum running underneath the music, so treat it as part of the connection rather than an optional extra.
Now choose the input, and this is the step that catches nearly every first-timer.
- Amplifier or receiver with a PHONO input: RCA into PHONO, ground wire connected, done. The preamp is built into the amplifier.
- Deck with a PHONO/LINE switch on the back: the preamp is on the turntable. Plug into any line-level input, then set the switch to PHONO. If the switch is on LINE, your music will be quiet and thin with no bass, and that is the switch’s fault, not a fault in the deck.
- Bluetooth or USB deck: pair it and play. There is no RCA cable at all, and you can skip the rest of the preamp question. Expect a short delay between the music starting and the sound arriving.
- Anything else: an AUX input on a modern speaker or stereo takes line level, not phono level. Into AUX without a preamp, the result is quiet, bassless and sometimes distorted. A small external preamp between the deck and the speakers fixes it.
How to tell it worked: the deck powers on, the platter starts, and you hear a faint surface noise coming out of the speakers. That hiss is the sound of a working signal chain, and it should be there before the needle ever touches a record.
Balance and set the tonearm
Start with the counterweight. If it is not already on the arm tube, slide it on and turn it until it is a few millimetres from the arm tube, roughly a quarter turn from touching. Hold the headshell with one hand so the arm cannot swing, and turn the counterweight until the whole assembly is balanced: the arm should stay exactly horizontal, at the same height, wherever you point it over the plinth. Once it balances, tighten the collar lock ring behind it.
Most beginners do this step in the wrong order, and the fix is a five-second habit: balance first, then set the force. Setting a tracking force before the arm is balanced means the dial is counting a weight that is not sitting over the pivot correctly, and the number you read means nothing.
Now set the tracking force. Check the cartridge maker’s recommended range — a moving magnet cartridge usually wants something in the region of 1.5 to 2 grams, and a moving coil cartridge typically wants less. If the manual does not say, start around 1.5 grams and adjust by feel. The arms with a numbered ring and a rotating scale let you set the force directly; the arms with a plain weight need the gauge, where you hold the gauge on the stylus, turn the weight until the reading matches, and hold the gauge in position with an elastic band or a finger while you lock the collar.
Anti-skating is the dial that pushes the arm back inward as the stylus moves toward the centre of the record, cancelling the inward pull of the friction it creates. On most decks the simplest correct setting is the number that matches your tracking force: 1.5 grams of tracking force, 1.5 on the anti-skate dial. A weight-and-string system works the same way with less precision. Set it after tracking force, not before, because the two values have to agree.
Everything else on the arm is optional for a first setup. The cueing lever lifts and lowers the tonearm, and the arm height or VTA adjustment at the back changes the angle the stylus sees the groove at. A useful rule of thumb from setup guides: if the arm is too high the sound comes out bright and forward, if too low it goes dull and loses treble, and a slightly higher setting is the safer of the two. Most people never touch it. Anti-skate set wrong is worse than VTA left alone.
How to tell it worked: with the arm balanced and the force set, the arm should stay put when you lift it and let it down over the empty platter, drifting toward the centre only as far as the anti-skate setting allows. Float it and nudge it — it should move freely with no grit feeling.
Dial in tracking and align the stylus
Alignment is what puts the stylus in the middle of the groove, and getting it roughly right reduces wear on both the record and the stylus. A simple cardboard alignment tool works; a free printable protractor works as well and costs nothing. Print it at 100% scale, with page scaling set to none, or the geometry will be wrong.
Place the protractor on the platter, ignore the stylus guard for this step, and point the tool’s pivot hole over the centre of the spindle. The grid lines nearest the outer edge matter most. With the arm lifters up, move the whole arm until the crosshair on the tool lines up with the two outer gridlines, then lower the stylus onto the intersection.
The fix, when the crosshair is off, is always to move the whole arm, never to rotate the cartridge. Slide the arm to one end of the test area, adjust the alignment screw in small moves, and slide back to check. Get it close, then refine.
One warning worth repeating because it shows up constantly in forums: never drop the stylus onto the protractor to test your alignment. A printed sheet has grit, and a diamond that jumps off the groove can be bent sideways by a single landing. Set the force to a normal tracking weight, set the arm down slowly, and move the protractor. If your alignment is correct the arm will not skip or skate, and if it does skip, the alignment was not good enough.
Azimuth is the optional fine adjustment: it rotates the cartridge body so both channels sit at equal angle to the grooves. A digital method is a matter of playing a test record and reversing a channel, but for a first setup the protractor is plenty. If the cartridge has an azimuth adjustment screw, set it so the body sits square to the mounting screws, then tighten the mounting screws gently by hand only. Over-tightening headshell screws is a common way to crack a cartridge body or strip the threaded insert.
Re-check the tracking force after aligning, because moving the headshell can change the effective force slightly.
How to tell it worked: on a test record with a grid or alignment section, the stylus tracks straight across without the arm skating outward, and both channels play at similar volume.
Set the speed and test the first record
Find the speed control, usually a small button or lever on the deck or a switch on the back panel. Most records are 33 1/3 RPM, and 7-inch singles are 45 RPM, which need the small adapter on the spindle first. Start the platter with the tonearm still in its rest and let it run up to speed before cueing, otherwise the arm slows it down as it settles and you will hear the pitch wobble.
To check speed you have three options. The simplest is the built-in strobe: watch the dots on the platter rim under the little lamp, and the pattern should look stationary rather than crawling one way. Beyond that, a phone app that listens to the tone from a test record gives a reading, and a turntable with a pitch slider lets you correct by ear against something else playing.
Clean the record before you play it. A soft brush in the grooves, following the direction of rotation, and a couple of drops of cleaner on a cloth takes about a minute. Hold the record by the edges only, never on the label edges where your fingers can ring it.
Then cue the arm, lift it, swing over the lead-in groove and lower it. Listen for four things: both channels present and about the same level, no skipping or jumping at the start, no looping as the needle reaches the run-out groove, and surface noise that stays low and even instead of crackling.
How to tell it worked: a full side plays through without a skip and without the arm getting yanked sideways in the lead-in. If it does not, go back to the troubleshooting table rather than adjusting the tracking force up first — a heavy arm is harder to undo than a light one.
Common Mistakes
Almost every first-setup problem shows up as one of a handful of symptoms, and the cause is nearly always in this table rather than a fault in the turntable.
| Symptom | Likely cause | Fix |
|---|---|---|
| A low hum under the music | Ground wire not connected, or a phono signal plugged into a line-level input | Seat the ground wire on the amplifier, then confirm you are on the PHONO input or that the PHONO/LINE switch is set to PHONO. Unplugging the ground wire briefly is a quick way to confirm grounding is the source. |
| Quiet, thin sound with no bass | Phono level into an AUX or line input, or a built-in preamp switched to LINE | Move the cable to a PHONO input, flip the switch, or add a small phono preamp between the turntable and the amplifier. |
| Skipping at the start of a track | Tracking force too light, or the arm floating and not set down properly | Re-balance the arm, then raise tracking force in small steps until it tracks cleanly. Check the lead-in groove for a deep scratch, which no setting will fix. |
| Popping or crackle, worse on one side | Dust on the stylus or in the grooves, or a loose cartridge wire | Clean the record and the stylus, then reseat the cartridge wires firmly in the headshell terminals. |
| Running too fast or too slow | Wrong speed selected, 45 adapter missing, strobe sticker left on the rim, or a stretched belt | Check the speed selection and the adapter, peel off the strobe sticker if present, then adjust the pitch slider or replace the drive belt. |
| Pitch wobbling that comes and goes | Cueing the record before the platter reaches full speed, or a sagging shelf | Let the platter settle first, and re-level the deck. A stretchy or hollow surface amplifies every wobble. |
| Wobbling record, arm drifting across the record | Deck not level, platter or mat rubbing, anti-skate set wrong | Re-level in two positions, check nothing touches the platter, and set anti-skating to match the tracking force. |
| One channel silent or much quieter | A cartridge wire loose, or the arm rest latch half engaged | Reseat all four cartridge terminals, and confirm the tonearm is fully seated in its rest or fully lifted. |
| Arm buzzes or hums when you touch it | The system is not grounded through a proper path | Keep the ground wire connected and the deck on a stable surface. A turntable carries a small electrical charge from the motor, and touching it with the system ungrounded completes a circuit through your hand. |
What a first-timer should not do, gathered from the questions that come up most often in the forums:
- Do not drop the stylus onto paper, a slipmat or a blank sheet of paper to “test” the alignment. Move the protractor underneath the stylus instead.
- Do not loosen the counterweight on the back of an arm that is still balanced. Take the arm off its rest and hold it first.
- Do not remove the stylus guard until you are actually about to play a record.
- Do not over-tighten headshell or cartridge mounting screws. Hand tight is enough; the plastic insert strips long before the screw needs it.
- Do not move a working turntable across a room without re-levelling and re-checking the alignment afterwards. Level feet, then tracking force, then alignment, in that order.
A few habits keep the setup stable: clean the stylus every few records with the dry brush, keep the dust cover down while playing, keep the deck out of direct sunlight and away from radiators, and never rest anything on the dust cover while it is closed — most covers are not load-bearing and hinge screws twist first.
Frequently Asked Questions
Do I need a speaker to play records on a turntable?
Yes, speakers or headphones are the last link in the chain, because a turntable makes a tiny electrical signal and nothing else. That signal has to be amplified and turned into sound. The simplest route is a pair of powered speakers, which have the amplifier built in: run RCA cables from the turntable into them, set any PHONO/LINE switch to PHONO, and turn the volume up on the speakers rather than on the turntable, if the turntable has a volume control. An integrated amplifier or an A/V receiver with a PHONO input works just as well and usually sounds better.
Can I set up a turntable without a phono input?
Yes, in three ways. If your turntable has a built-in preamp behind a PHONO/LINE switch, set it to PHONO and connect to any line-level input, including AUX on a modern speaker. If it has Bluetooth or a USB output, you need no preamp at all, though Bluetooth adds a short delay. Otherwise, a small external phono preamp sits between the turntable and your amplifier and does the job for a few tens of dollars. Never plug a phono-level signal straight into an AUX input, because the result is quiet, thin and often distorted.
What tracking force should I use for a beginner turntable?
Start with the cartridge maker’s recommended range, which is usually printed on the cartridge body or in the turntable manual. A moving magnet cartridge commonly wants about 1.5 to 2 grams and a moving coil cartridge less than that, so around 1.5 grams is a sensible starting point if the manual is silent. Set the value with a tracking force gauge rather than trusting the arm’s own scale, which is often optimistic. After balancing the arm, check the reading and if it skips, go up a tenth of a gram at a time.
Why does my new turntable pop or skip on the first record?
Three causes cover almost every case. Dust is the most likely: a record that has been sitting in a sleeve collects particles, and the stylus picks them up and bounces. Clean both the groove and the stylus before changing anything else. Second, tracking force set too light, which is common on a first setup because the arm was never balanced properly first. Third, a deep scratch in the lead-in groove, which forces the arm to skip no matter what you set. If it tracks cleanly on other records, it is the record, not the turntable.
How do I know whether my turntable is playing at the correct speed?
Use the built-in strobe first: start the platter with the arm still in its rest, look at the dots on the rim under the small lamp, and they should appear to stand still. If they drift one way, the speed is off. Remember to remove the sticker covering the strobe window, which is present on many new decks and makes the dots look wrong. A phone app that reads a speed test record gives a number, and a turntable with a pitch slider lets you correct by ear against a reference recording.
Start with the level, then the balance, then the tracking force, in that order, and the rest gets much easier. The first record is usually the one you will judge the turntable by, so give it a clean surface and play a side you already know well: if the bass is where you expect it and nothing skips in the first thirty seconds, the setup is done. Anything still wrong at that point will show up in the table above, and every one of those fixes takes under a minute.