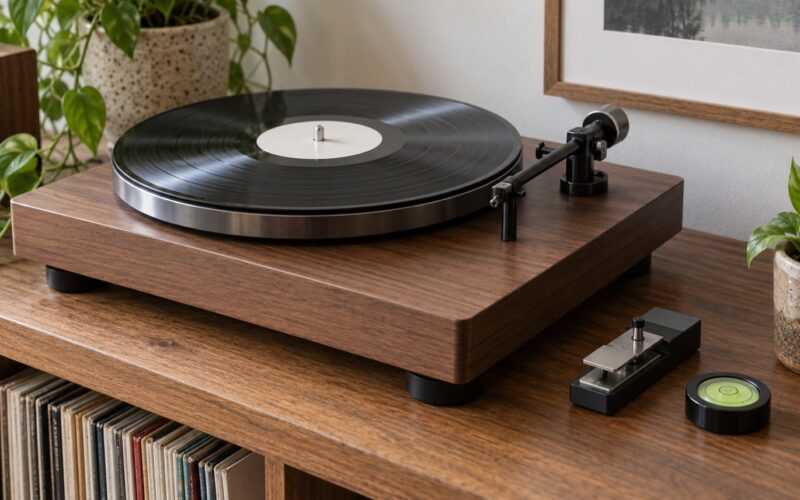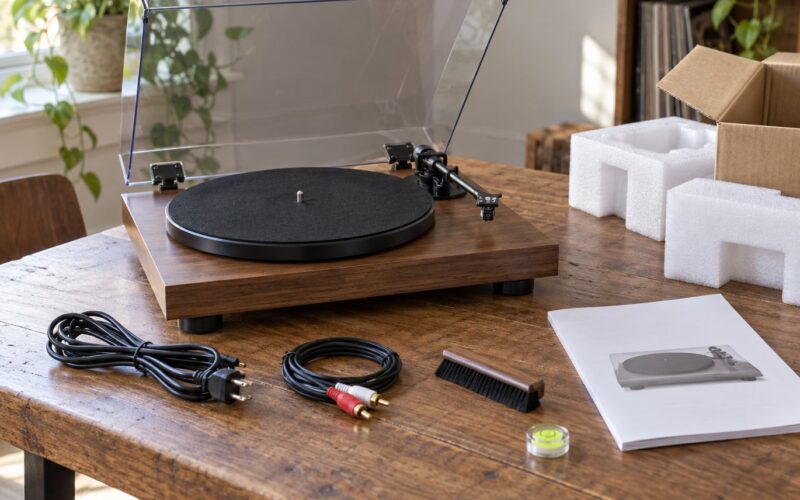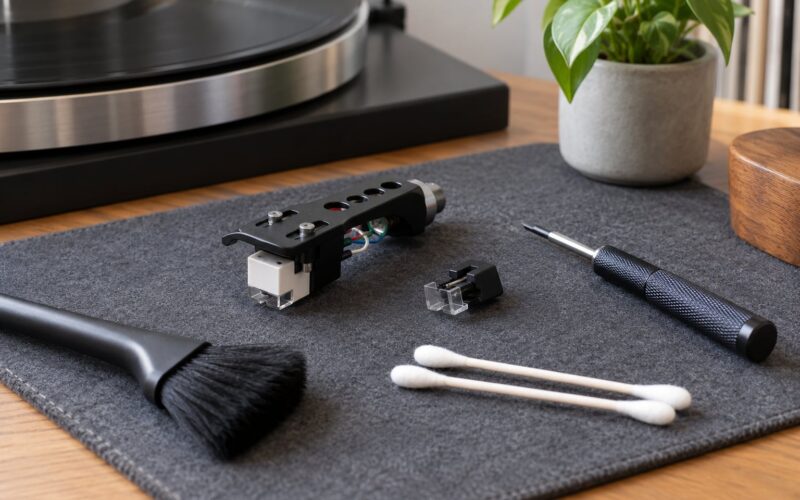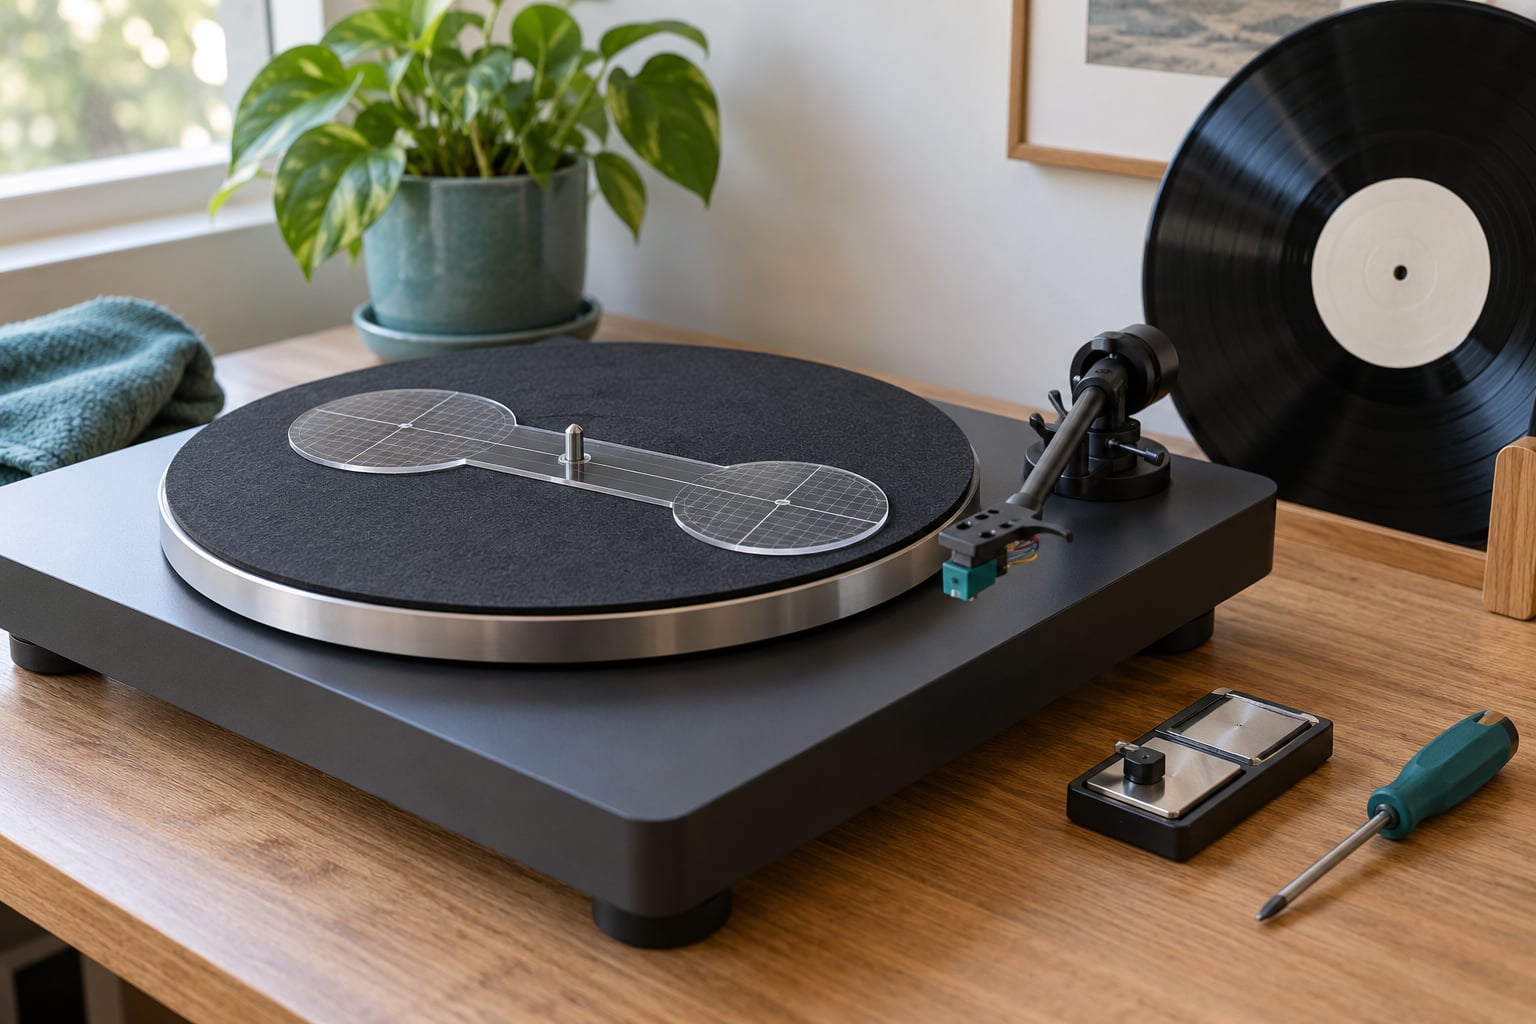
To align a cartridge on a turntable, you set the tracking force to the cartridge maker’s specification, then use a two-point alignment protractor to set overhang and the offset angle until the stylus sits on both null points. The whole job takes 20 to 40 minutes once you have the right tools, and it is the single biggest improvement most new cartridge installs can make.
The reason it matters comes down to geometry. A pivoted tonearm swings along an arc, while the groove was cut as a straight line. The two only agree at two points on the record, called the null points, so you adjust the cartridge until the stylus lands on both of them and the body runs parallel to the printed grid lines. Get it right and the bass firms up, one channel stops sounding louder than the other, harsh sibilance softens, and your stylus and records last longer.
Follow the order in this guide, because it is the sequence that makes the results hold: tracking force, then alignment, then anti-skate, then height. Plenty of people align first, set the force afterwards, and quietly undo their own work.
Table of Contents
- What You Need
- Step-by-Step: How to Align a Cartridge on a Turntable
- How to align a cartridge on a turntable: set the mechanical baseline
- Set the tracking points and stylus pressure
- Adjust tracking and check for resonance
- Verify alignment on a range of records
- Common Mistakes and What to Do Instead
- Setting the tracking force too high
- Moving anti-skate before the alignment is finished
- Using a stylus cleaner as the alignment tool
- Rotating the body past its permitted range
- Confusing a fixed arm with a removable headshell
- Tightening the headshell screws before you finish
- Printing a downloaded protractor at the wrong scale
- Reading the alignment at an angle
- A headshell connector with no slack
- Pivot-to-spindle distance that does not match the cartridge
- Frequently Asked Questions
- Do I need a laser or digital scope to align a cartridge?
- Should I adjust anti-skate before aligning tracking?
- How much tracking force should I use for cartridge alignment?
- What alignment record should I use for my turntable?
- Why does my cartridge image drift sideways after alignment?
- Can I align a permanently mounted cartridge?
- Conclusion
What You Need
Gather everything before you lift the arm. Working with a missing tool is how people end up nudging a cartridge with a fingertip and wondering why it drifted.
- The turntable’s owner’s manual. It tells you whether the headshell comes off, whether the arm is fixed or floating, and where the tracking force dial and anti-skate sit.
- The cartridge specification sheet. You need the recommended tracking force, the recommended VTA, and whether the body is a straight-through or offset design.
- A two-point alignment protractor. A mirrored acrylic gauge such as the Ortofon or Dr. Feickert universal type, or a printed two-point PDF you scale to 100 percent before use. A two-point gauge corrects position and angle; a single-point gauge only sets overhang.
- The correct stylus for the cartridge. Check the cartridge’s specified stylus before anything else, and never fit a stylus meant for a different model.
- A tracking force gauge. A digital gauge is easier to read than a dial on the arm, and it works even when the deck has no force dial at all.
- The right driver for the headshell screws. Most are slotted, some are hex, and a few are Torx. Matching the tool matters because overtightening a small screw cracks the cartridge body.
- Tweezers, a cleaning cloth and a soft brush for handling the stylus and wiping the mat and platter.
- A bubble level and a jeweller’s loupe if you plan to check the platter level and inspect the stylus while you are there.
- A calibration record with frequent side cuts, plus a few records you know well for judging the result.
- A stable work surface and good light. Read the protractor from directly above, which is much easier with daylight across the deck.
Step-by-Step: How to Align a Cartridge on a Turntable
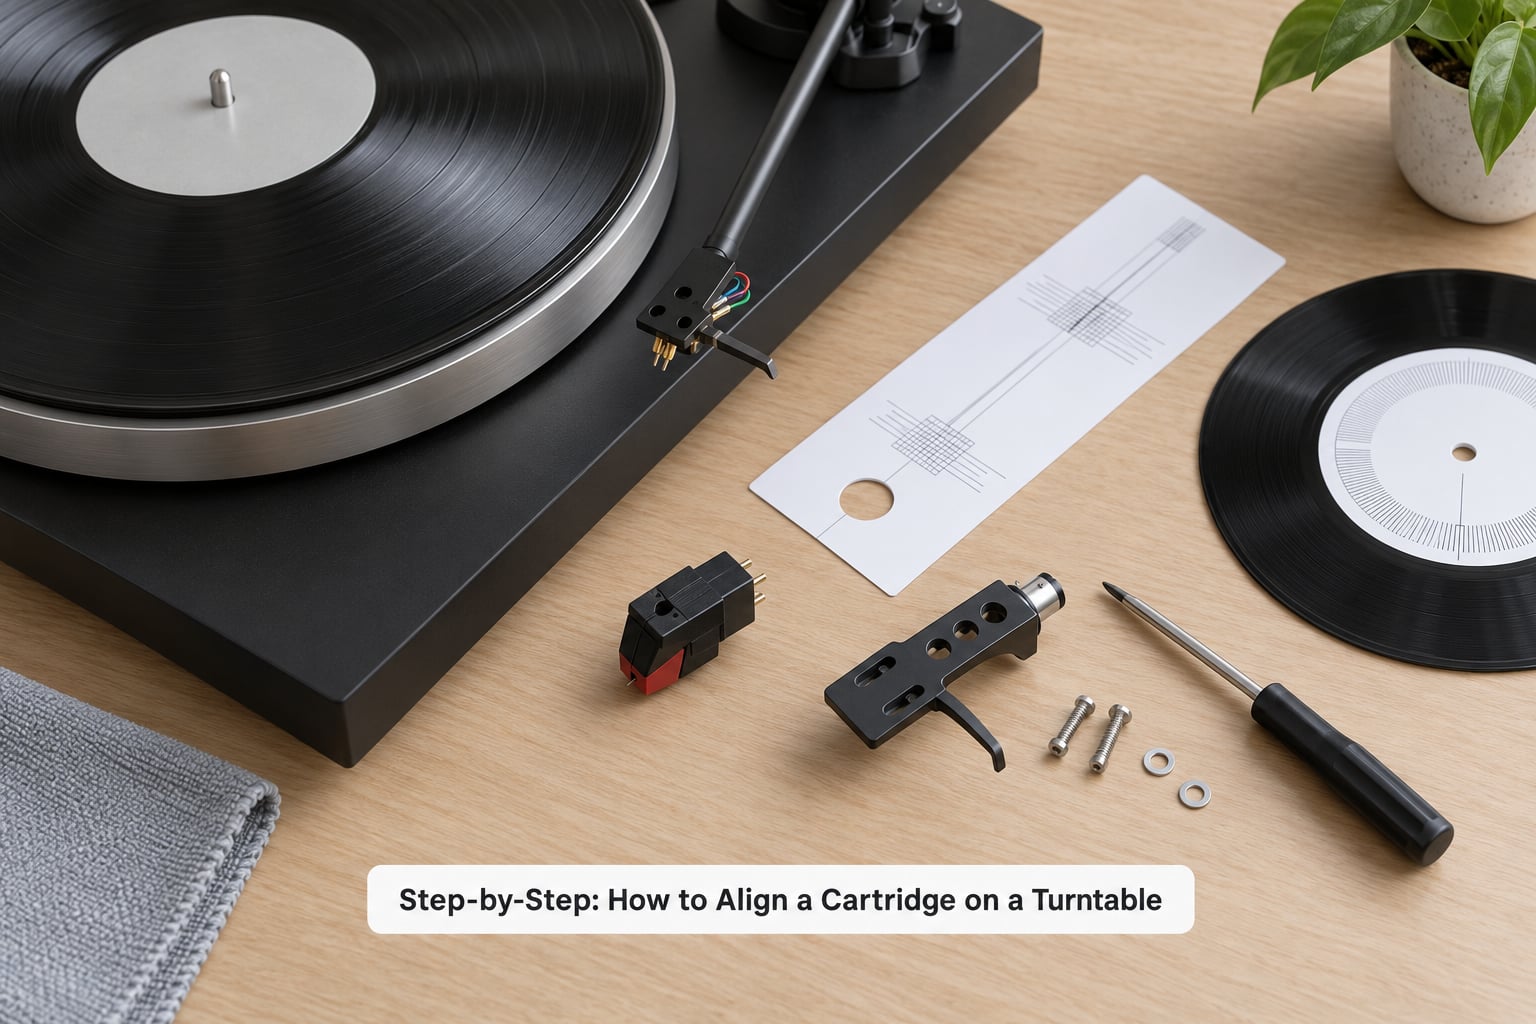
How to align a cartridge on a turntable: set the mechanical baseline
Identify how your cartridge is mounted before you touch it. Most turntables use a removable headshell with two threaded posts, usually half an inch apart, and the cartridge body bolts on from the top. A few decks have a fixed headshell where the pins are soldered directly to the arm, and on those you align the entire body position by hand without the headshell coming off.
With a removable headshell, take it off the arm and work on the bench. Check the manual for the correct pin orientation before you unplug anything: pins are colour coded, and on most arms white and green sit on the same side, with blue and red on the other. Reversing the pins can be fatal to a moving-coil cartridge, so this is the one step where guessing is genuinely expensive.
Fit the correct stylus and confirm the cartridge is seated flat. Finger-tighten the mounting screws first, alternating between them, then snug them evenly. The body should sit square to the headshell with no wobble. Do not fully tighten yet. A body that shifts when you nudge it is the number one reason an alignment will not hold.
Reconnect the headshell and balance the tonearm. Clamp the arm in its rest with the cueing lever down, let it float, and turn the counterweight until the arm is perfectly level at the pivot. Now set the tracking force with your gauge on the record, not on the rest. Most moving-magnet cartridges want somewhere between 1.6 and 2.0 grams, and moving-coil designs often want less, so the cartridge sheet wins over any rule of thumb.
Zero the anti-skate dial completely and release the arm lock. Before you go further, drop the arm over the protractor mat once to confirm the arm floats clear and the stylus cannot reach the mat surface. If it touches, the arm height is wrong and no amount of protractor work will fix it.
Set the tracking points and stylus pressure
Put the protractor on the platter with the hole over the spindle. A mirrored gauge shows the grid through a small window as you lower the arm, which is the only way to see angular error that is invisible from directly above. A printed two-point PDF has two crosshair targets on the left and right, and you read it by looking straight down with your eye directly over the stylus.
Cue the arm onto the outer null point first. With a mirrored gauge, the stylus should sit exactly on the centre of the crosshairs, and you rotate the cartridge body until the grid lines run parallel to the cartridge sides. You are adjusting two things at once here: sliding the body forward or back in its slots for overhang, and rotating it for offset angle.
Typical overhang is 12 to 16 millimetres, but the geometry the null points describe is what really matters. Here are the three standard layouts a two-point protractor is built around.
| Geometry | Inner null point | Outer null point | Best for |
|---|---|---|---|
| Baerwald | 66.0 mm | 120.9 mm | Rock, pop and general listening; the most widely supported |
| Stevenson | 60.3 mm | 117.4 mm | Classical and densely side-cut orchestral records |
| Löfgren | 70.3 mm | 116.6 mm | Heavily cut records where a headshell with less forward reach is needed |
Do not mix the two points. If your protractor prints all three geometries, pick one row and use those two distances for both null points. Alternating between Baerwald and Stevenson instructions puts your stylus in the wrong place twice and wastes the evening.
Keep the same tracking force for both points. Moving the arm to the inner record and back should not require a force change. If the force drifts, the counterweight or the arm rest position is off. Re-check the gauge at each point and note the reading rather than assuming it.
Adjust tracking and check for resonance
Work the two null points alternately, in small movements. At the outer point, slide the cartridge a fraction of a millimetre to set overhang and rotate it slightly for offset. Then move to the inner point and correct the remaining error. Most cartridges need around a 15 degree body rotation, but the exact figure varies with the model and the headshell, so treat that as context rather than a target.
Each pass should be a nudge. If the stylus is visibly off the crosshair, the change needed is larger than you think, and one confident correction is better than six hesitant ones.
Judging the result is a matter of listening for what improves. Bass that sounds bloated or one-sided, vocals that sit left of centre, and sibilance that spits are all classic signs of leftover alignment error rather than a dirty record or a worn stylus. A well aligned cartridge produces a stable, centred image, cleaner transients on cymbals, and noticeably less distortion in the last third of a record. Keep in mind that alignment distributes tracking error rather than eliminating it, which is why arm geometry still matters.
Now set anti-skate to a small, cautious value. A common rule is a fraction of the tracking force in grams on the dial, but the real test is this: the stylus should stay on the groove wall as you draw the arm slowly toward the centre by hand. If it slides inward, raise anti-skate a touch.
Lock the screws, then recheck. Tighten the headshell mounting screws evenly, and where the headshell offers a finger-lift or an anti-skate adjuster, tighten that too. Then look at both null points again. If the stylus has moved, the screws were not tight enough or you overtightened one side first. This is also the moment to set VTA using the cartridge maker’s recommended angle if the headshell has an adjuster, and then reset anti-skate.
Verify alignment on a range of records
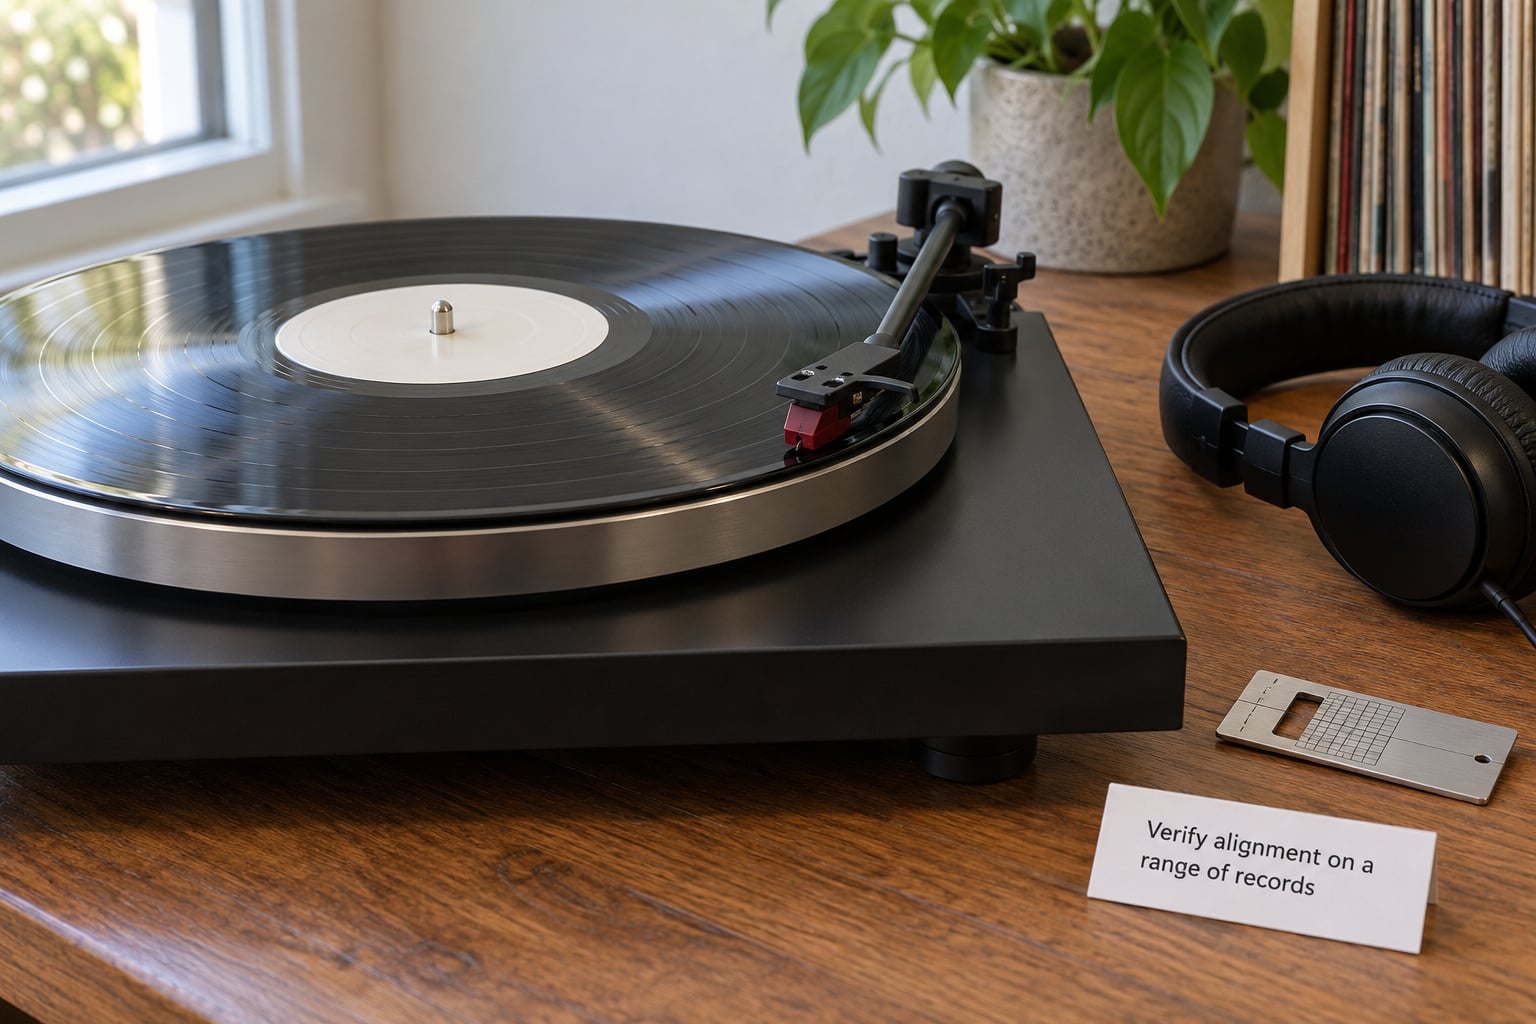
Play the calibration record end to end. These are cut with frequent side cuts at low levels, so groove damage and misalignment are obvious in a way normal music is not. If the record is heavily worn or the run-out area is chewed up, the last track can sound rough no matter how well the geometry is set, so judge the middle of the side first.
Then play several records you know well, including one with hard side cuts and one you have played hundreds of times. What you are listening for is a stable image that stays put, clean attack on cymbals and piano transients, an even tonal balance between the two channels, and no new sense of speed variation introduced by your work. Wow and flutter belong to the platter and the record, not the cartridge, so if the pitch wavers on a fresh record, look elsewhere.
One last check worth knowing: photograph the stylus on the protractor with your phone, zoom in, and overlay a grid. Owners on r/turntables use this when they want a second opinion, because the most common post there is still titled something like “Can you please double check my cartridge alignment”. Just remember that a photo taken from an angle shows a correct alignment as a wrong one. Look straight down, or use the mirror.
Common Mistakes and What to Do Instead
Almost every alignment that fails does so for one of a handful of reasons. Here is what goes wrong, and what to do instead.
Setting the tracking force too high
Cranking the force up to “be safe” pushes the stylus into the groove wall and increases tracking error, which is the thing you were trying to reduce. Use the cartridge maker’s figure, measure it on the record, and do not exceed it.
Moving anti-skate before the alignment is finished
Anti-skate pushes the arm sideways, so setting it first and then aligning means you are chasing a moving target. Zero it, align, and only then set it.
Using a stylus cleaner as the alignment tool
A fluid and brush belong on the stylus, not on the protractor mat, and a cleaner with a raised edge can give you a false reading or a bent cantilever. Clean the stylus with the cartridge at the tracking force you are about to use, keep cleaner fluid off the mat, and read the grid on a clean, dry surface.
Rotating the body past its permitted range
Cartridge bodies are not meant to swivel freely. Forcing one past its stop or hanging it off the edge of the headshell can bend the cantilever and shift the internal suspension. Follow the headshell’s marked reference line and stop at the alignment marks, not past them.
Confusing a fixed arm with a removable headshell
If the pins are soldered straight to the arm, there is no headshell to slide. Removing the arm tube or forcing a headshell off a fixed-arm deck can damage the wiring or the arm. Check the manual, and if the pins are fixed, align with a small shim under the mounting points or have a technician do it.
Tightening the headshell screws before you finish
This one catches experienced people. Finish both null points, then tighten, then re-read both points. Every tightening move shifts the body by a small amount that is easy to miss at a glance.
Printing a downloaded protractor at the wrong scale
A PDF printed at 95 to 98 percent scale moves every null point slightly without looking wrong, and no amount of careful adjustment will make it consistent. Print at 100 percent, confirm the scale with a ruler against a measurement printed on the sheet, and re-print if it does not match.
Reading the alignment at an angle
Parallax is the most common false alarm. Viewed from a normal sitting position, a perfectly aligned stylus can look clearly off. Get your eye directly over the stylus, or use a mirrored gauge, before deciding anything is wrong.
A headshell connector with no slack
The most common real-world complaint on turntable forums is a finger connector so stiff the cartridge cannot slide a fraction of a millimetre. Do not force it. Ease the connector housing along its pin with a thin plastic card or a guitar pick while supporting the headshell, and only apply force to the plastic housing, never to the pins. If it will not move at all, replacing the connector is a five-minute job and far cheaper than a bent cantilever.
Pivot-to-spindle distance that does not match the cartridge
On high-end pivoted arms, the pivot-to-spindle distance has to suit the cartridge’s effective length. If the arm is set wrongly, no protractor can produce a clean result, because the stylus is being forced to the wrong place in the headshell. Check the arm’s specification against the cartridge’s effective length before spending an evening on the alignment itself.
Finally, know when to stop. If the arm scrapes the mat, the cantilever looks bent under a loupe, the arm will not balance, or the headshell is cracked, hand it to a technician. Alignment is a twenty-minute job on a healthy deck, and a second visit to the repair bench costs far more than the alignment ever did.
Frequently Asked Questions
Do I need a laser or digital scope to align a cartridge?
No. A mirrored two-point protractor or a printed two-point sheet at full scale does everything a laser does, and it costs nothing if you print one. The digital aids sold for this are convenient rather than necessary. What matters is that you read the gauge from directly above, or use the mirror, and that the print scale is correct.
Should I adjust anti-skate before aligning tracking?
No. Set anti-skate to zero, set the tracking force to the cartridge specification, then align at both null points, and only then bring anti-skate up. Anti-skate pushes the arm sideways, so if you set it first, every protractor adjustment fights it. Check it afterwards by drawing the arm slowly toward the centre and confirming the stylus stays in the groove wall.
How much tracking force should I use for cartridge alignment?
Use the tracking force printed on the cartridge specification, and measure it with a gauge while the stylus rests on a record. Most moving-magnet models sit between 1.6 and 2.0 grams and moving-coil designs often want less. Align at that same force at both null points, and never align at a higher force than you plan to play at.
What alignment record should I use for my turntable?
Any two-point alignment record with frequent side cuts works, since it will tell you immediately if something is wrong. A single-point record only lets you set overhang and will leave the offset angle untouched. You can also align from a printed two-point protractor alone, without a record at all, and use the record afterwards to check the result.
Why does my cartridge image drift sideways after alignment?
Usually anti-skate is now set too high, which pushes the arm across the groove as it plays, or the cartridge is not square to the headshell because the mounting screws were tightened unevenly. Check the two null points again with anti-skate at zero. If the image is stable on a test record but drifts on ordinary records, suspect the arm setup rather than the cartridge alignment.
Can I align a permanently mounted cartridge?
It can be done, but it is fiddlier. Where the pins are soldered directly to the arm, there is no headshell to slide, so you adjust the body position with shims and check both null points repeatedly. Do not try to remove a fixed headshell. Many arms with a counterweight dial and a factory-set pivot come aligned from the factory, so check the manual before assuming the work is needed.
Conclusion
Start with the tracking force the cartridge maker specifies, measured on a record. Set anti-skate to zero, place the two-point protractor over the spindle, and work the outer and inner null points alternately, moving the cartridge only a fraction of a millimetre at a time. Tighten the headshell screws, read both points again, and set anti-skate and VTA last. Then play a heavily cut test record and a few records you know well before you suspect any other part of the system.
Updated for October 2026.