To balance a tonearm, twist the counterweight at the back of the arm until the arm floats level in mid-air, rotate only the numbered ring to zero, then turn the entire weight until the dial reads the tracking force your cartridge is rated for. Ten minutes and a flat surface, and most skipping and skating problems disappear.
It sounds fiddly, but it is the one setup job that pays you back every time you drop a needle. An unbalanced arm either skates inward across the record in seconds or leans so hard on the stylus that grooves wear out early.
The order matters more than the effort. Balance first, then tracking force, then anti-skate. Skip a stage and the next one will not hold.
Table of Contents
- What You Need
- Step-by-Step: How to Balance a Tonearm
- Prepare the Turntable and Check the Cartridge
- Set the Tonearm to Its Floating Rest
- Balance the Tonearm Horizontally
- Set the Vertical Tracking Force
- Set Anti-Skate and Confirm the Pivot
- Check Alignment and Test the Setup
- Common Mistakes
- Frequently Asked Questions
- How do I tell if my tonearm is balanced?
- Should I balance the tonearm with a record on the platter?
- What tracking force should I set for my cartridge?
- Why does my tonearm skate toward the centre of the record?
- My turntable has no anti-skate dial. Does that mean it cannot be set up properly?
- How often do I need to rebalance my tonearm?
- Conclusion
What You Need
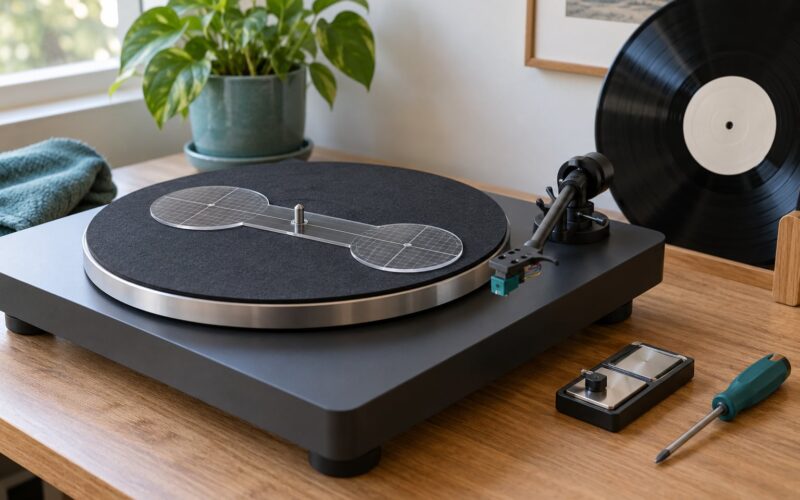
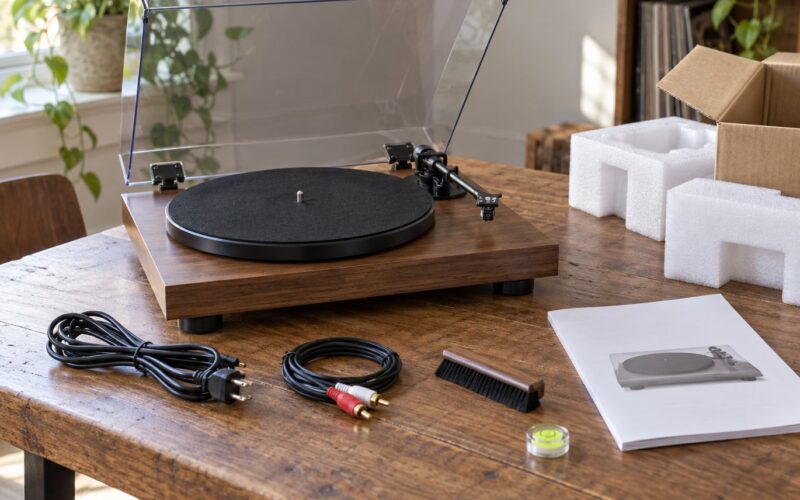
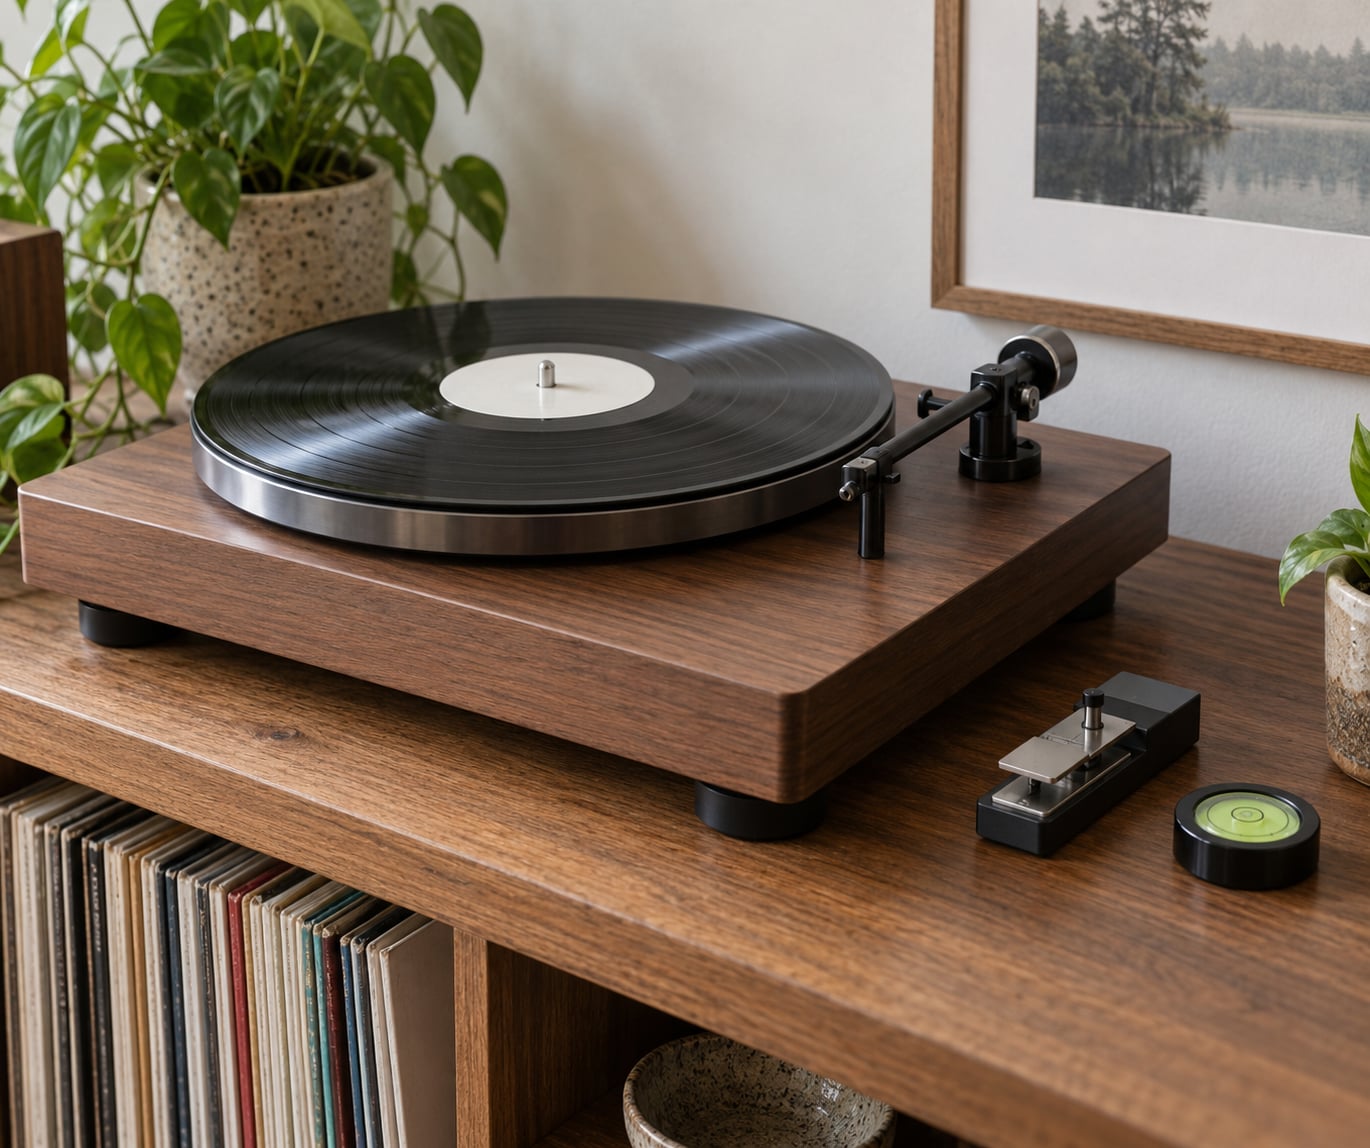
You need a flat, stable surface, a stylus force gauge, a small spirit level, a clean lint-free cloth, and the specification sheet for your cartridge. That last one is what turns guesswork into a number.
The spirit level checks the plinth. A bottle of distilled water and a soft brush for record cleaning sit nearby, plus a good light so you can actually see the stylus. If your turntable has a dust cover, take it off first so it cannot fall onto the arm while you work.
A stylus force gauge reading to about 0.01g is worth the small outlay. It is the only way to confirm a dial that has no printed scale, and it settles arguments in about two seconds.
Before you start, look up your cartridge’s rated tracking force. Moving magnet cartridges usually sit between 1.5g and 2.5g, moving coil ones lower, but the manufacturer’s number beats any general range you find online.
Step-by-Step: How to Balance a Tonearm
Prepare the Turntable and Check the Cartridge
Put the turntable on a level shelf and confirm it with the spirit level. Check the level along the length of the plinth and side to side, because a deck that is out by a fraction tilts the arm and no adjustment will hold.
Set the anti-skate dial to zero. Some arms skip this control entirely, and on those decks you simply move to the next step.
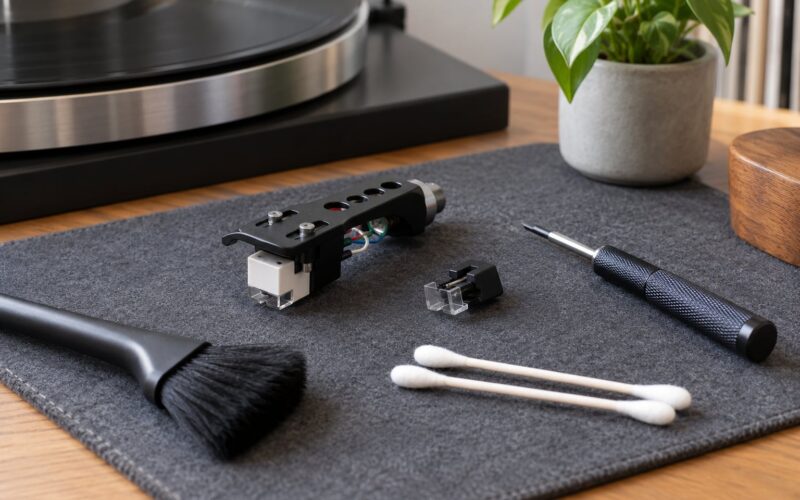
Remove the stylus guard if one is fitted, and set the cueing lever up so the arm is free of any lift. Look at the stylus under magnification. A bent or loose cantilever is the one thing that will make a perfect balance feel impossible.
Check the finger lift and headshell clearance now, with the arm still clipped. Lower the arm over a record with the lift engaged and confirm the cartridge does not touch the record. If it does, the headshell sits too low and needs a shim or a different headshell before you go further.
Set the Tonearm to Its Floating Rest
With the arm on its rest, check the arm rest height so the stylus clears the platter with a couple of millimetres to spare. You never want to lower an uncalibrated arm onto a record.
Release the arm lock or clip and lift the arm off the rest by hand. Everything from here on happens with the arm hanging free in mid-air, not resting on its post. A tonearm that is still sitting on the arm rest is not floating, and balancing it there tells you nothing.
Hold the headshell lightly and keep it over the gap between records, clear of the platter surface, so a wobble cannot drop the stylus onto the mat.
Balance the Tonearm Horizontally
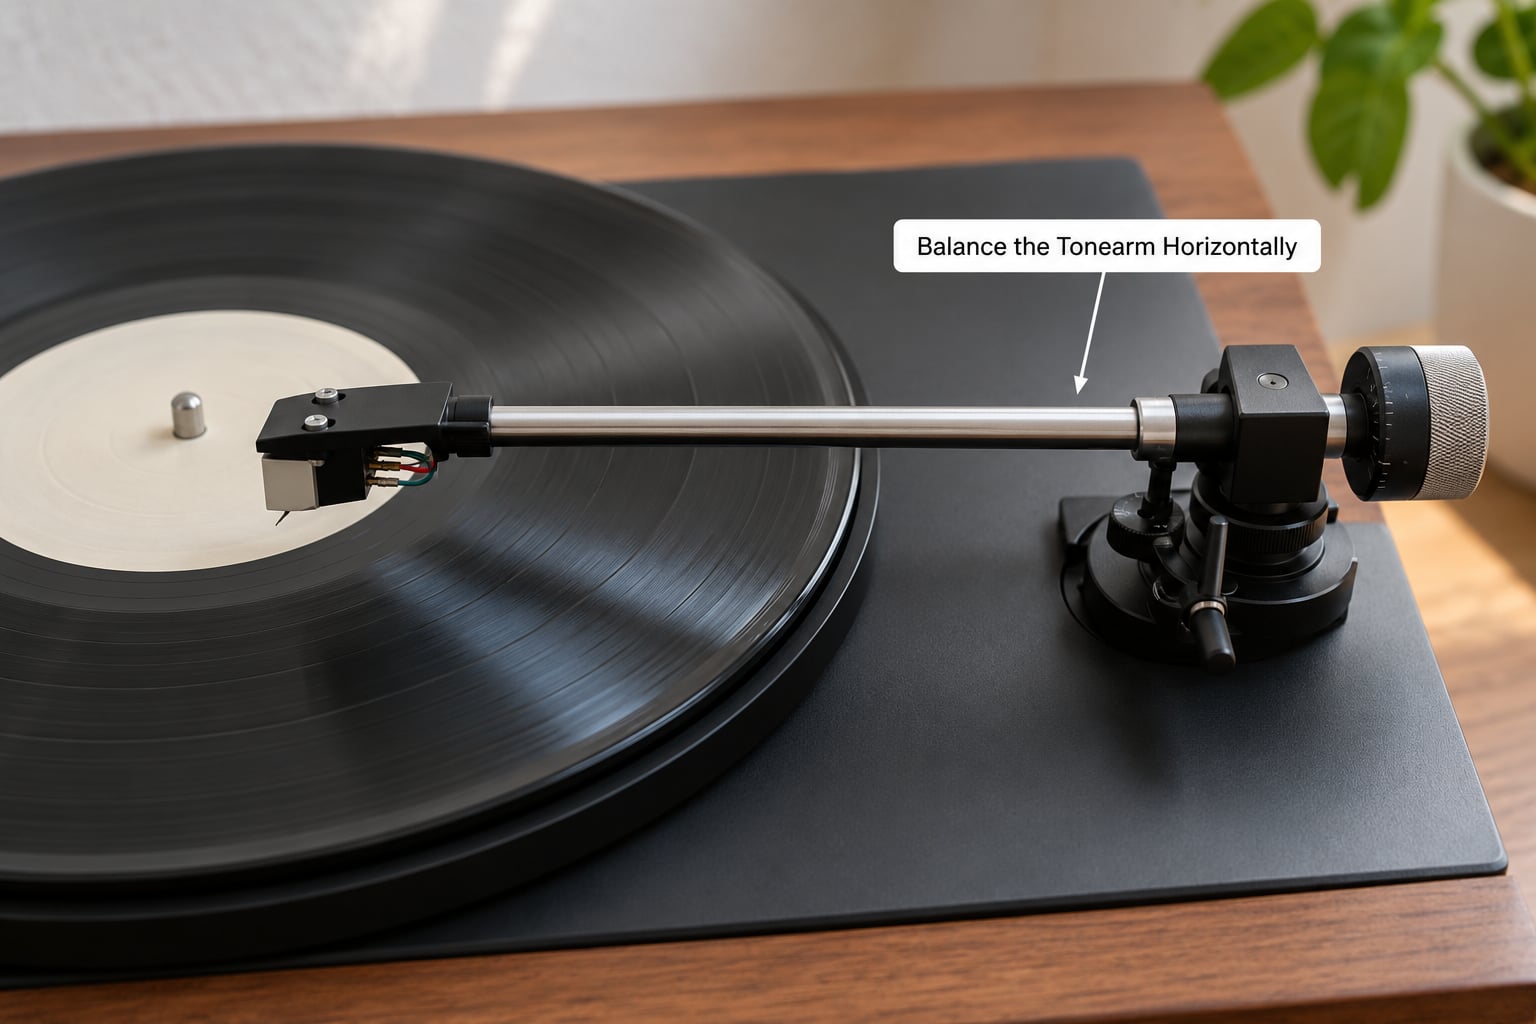
Turn the counterweight body at the rear of the arm in small increments until the arm hangs level, front tip and back end at the same height. Twenty degrees of twist one way or the other is usually enough to get close, then fine-tune by feel.
The arm should be roughly parallel to the platter when it floats. If it stays nose-down no matter how far you turn, or it will not stop dipping, stop and check the surface level first. A tilted deck causes exactly that and no counterweight setting will fix it.
One test worth learning: the arm should hover with very little resistance in either direction. A stiff pivot that only swings one way, or one that swings freely in both, is a bearing that wants cleaning or oiling.
Set the Vertical Tracking Force
Hold the counterweight body completely still and rotate only the numbered ring until the index mark on the arm reads zero. This is the single most common slip in the whole procedure, and everything after it is wrong if you do not.
Now rotate the entire weight as one piece. The number climbing past zero is your tracking force in grams. Stop at the value your cartridge manufacturer specifies.
| Cartridge type | Typical tracking force | Note |
|---|---|---|
| Moving magnet | 1.5g to 2.5g | Most common type; start at the middle of the range |
| Moving coil | 1.2g to 2.0g | Lighter stylus, gentler on the record |
| Moving iron | 1.5g to 2.0g | Between the other two, still check the spec |
| No printed scale on the weight | Measure it | A stylus force gauge is required, not optional |
If the dial on your weight wraps past its maximum back to the same number, the scale covers less range than the manual assumes. Common on budget decks where the printed maximum does not match the printed dial. Set the tracking force with a stylus force gauge and ignore the scale entirely.
Set Anti-Skate and Confirm the Pivot
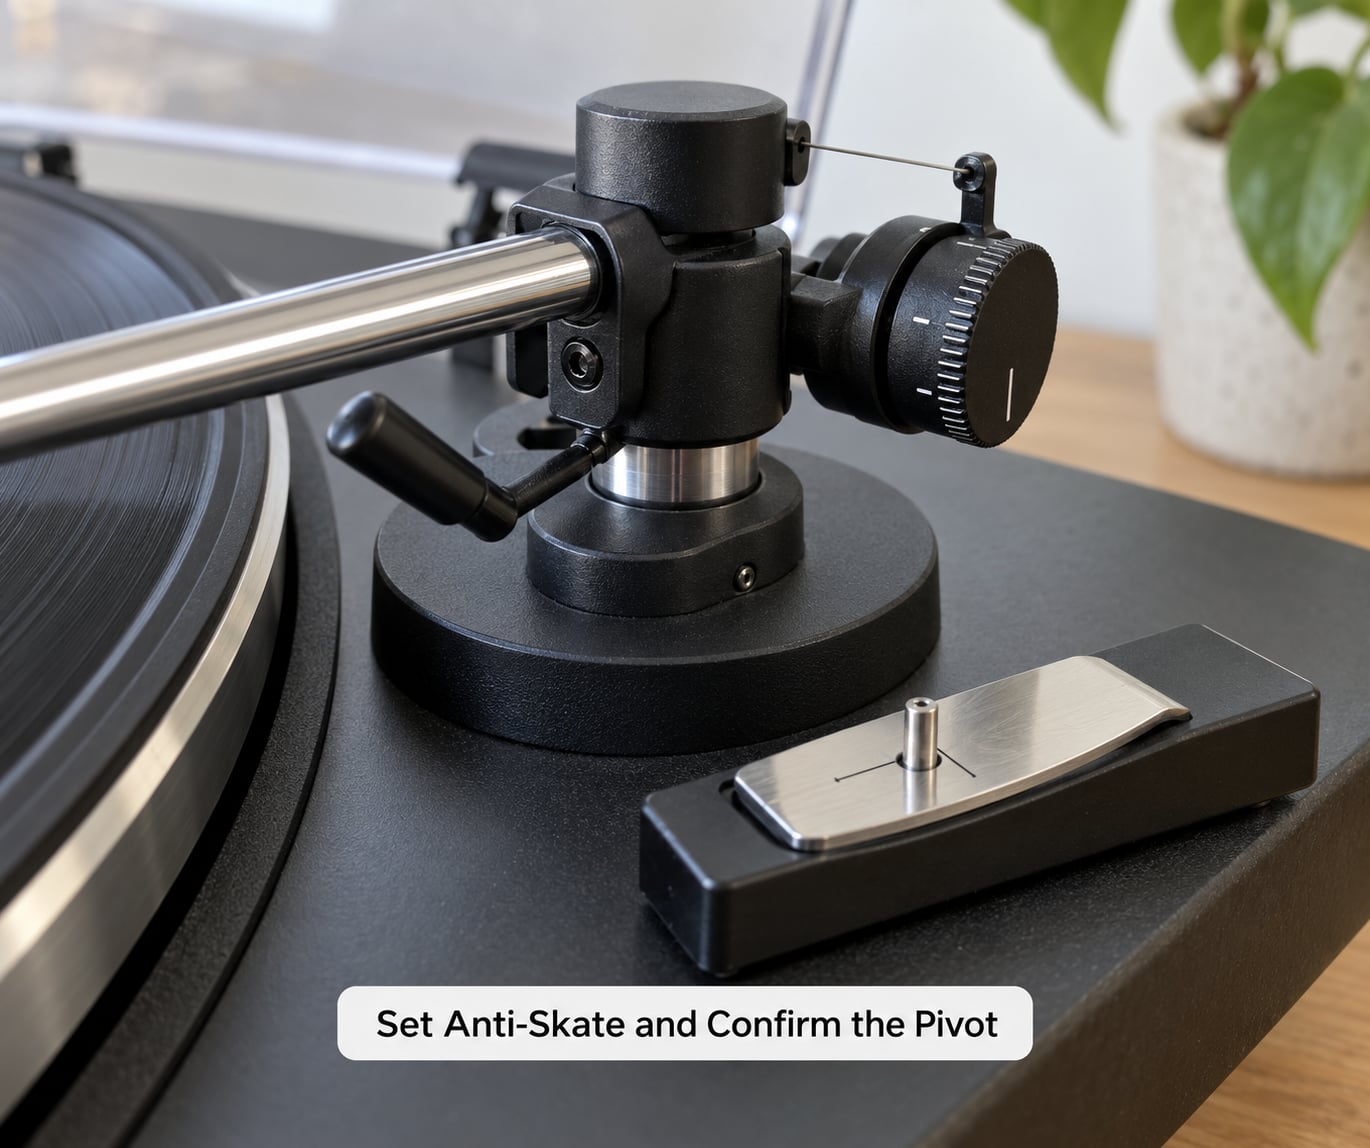
Only now, with tracking force established, turn the anti-skate dial until it reads the same number as your tracking force. That is the rule: 2.0g of force, 2.0 on the anti-skate dial.
Anti-skate pushes very gently outward to counter the arm’s tendency to pull inward as the stylus tracks across the record. Too high and the arm sits at the outside edge refusing to move in. Too low or zero and the arm skates to the middle of the record during the first track, which is the classic beginner complaint on decks with no anti-skate adjustment at all.
If your turntable has no anti-skate control, the fix is small: start about a quarter turn of finger pressure back from the fully inward position each time you cue, and back it off if the arm will not track in cleanly. Some of these decks also use a counterweight that is fixed rather than adjustable, so a gauge tells you the force and that is all you get.
Finally, move the arm through its travel by hand. It should feel smooth and even, with no gritty hesitation and no drift. A stiff or gritty pivot needs servicing before the settings will hold.
Check Alignment and Test the Setup
With the arm floating level and the settings made, put a record on and cue it. If the arm will not stay level when it hovers over the record, the plinth is not level or the arm tube is bent. You cannot compensate for either with the counterweight.
Play a record start to finish. A properly set arm tracks inward on its own with no help and no creeping, and the sound stays even in the quiet passages instead of getting louder and thinner as it moves inward.
Skipping outward or in the first few seconds usually means the force is too light, or the record is warped. A rumbling, muffled or slow sound means too heavy. Nudge by a tenth of a gram at a time.
For finer accuracy, a cartridge alignment tool checks the stylus geometry at the record’s inner and outer radii. Without one, the combination of correct balance, correct force and matched anti-skate gets you most of the way there.
Common Mistakes
Balancing with the finger lift raised throws the whole calibration out, because the lift adds a downward force the counterweight cannot see. Drop the lift and rebalance from the floating position.
Adjusting the arm while the stylus sits on a record is how records get scratched. Float the arm in mid-air every time you turn anything.
Zeroing the dial after setting the tracking force reverses the calibration. Zero the numbered ring first, while holding the weight body still, and never turn the ring on its own afterwards.
Leaving anti-skate wherever it was during the float test is common. Zero it before balancing, set it to match your force afterwards, and never leave it high through the setup process.
Guessing the tracking force from a YouTube video is how records wear out. Check the cartridge spec or measure with a gauge, every time.
Chasing a bent stylus, an unlevel shelf or a stiff pivot with counterweight turns is the most wasted effort in turntable setup. Fix the mechanical problem first, then balance.
Frequently Asked Questions
How do I tell if my tonearm is balanced?
Release the arm from its rest and let it hang in mid-air. If it floats level, with the front and back of the arm at the same height and almost no push in either direction, it is balanced. If it sits nose-down, turn the counterweight back; if it will not stop rising, turn it forward. A balanced arm that drifts sideways is a pivot or anti-skate problem, not a balance problem.
Should I balance the tonearm with a record on the platter?
No. Balance with the platter empty, or with a record that is not under the arm, and never let the stylus touch the record or the mat during the float. Once the arm floats level in mid-air, that balance holds over a record too. Cueing an unbalanced arm onto vinyl is the fast way to scratch a record and damage a stylus.
What tracking force should I set for my cartridge?
Set whatever the cartridge manufacturer specifies, which for most moving magnet cartridges falls between 1.5g and 2.5g. Moving coil cartridges usually want less, around 1.2g to 2.0g. If the printed dial on your counterweight does not cover that range, ignore the dial and use a stylus force gauge to set the value by measurement.
Why does my tonearm skate toward the centre of the record?
The arm is pulling inward because anti-skate is set too low or does not exist on your deck. Turn the anti-skate dial up to match your tracking force and cue again. On a turntable with no anti-skate adjustment, start each cue a fraction back from the inward position and reduce that back-off over a few records until the arm tracks in cleanly.
My turntable has no anti-skate dial. Does that mean it cannot be set up properly?
It means you lose one adjustment, not the setup. Balance the arm, set the tracking force by gauge if the counterweight has no scale, then cue with a small amount of finger pressure holding the arm from running inward. Many budget decks ship with a fixed or unmarked counterweight, and a stylus force gauge is the only way to know what force you are actually applying.
How often do I need to rebalance my tonearm?
Rebalance after moving the turntable, swapping the platter mat, changing the cartridge or headshell, or replacing the counterweight. If the deck has not been moved, a check every six to twelve months is plenty. You do not need to redo it before every record, though a quick float test takes five seconds and tells you nothing has drifted.
Conclusion
Start with the empty platter, the arm off its rest and the anti-skate at zero. Turn the counterweight until the arm floats level, zero only the numbered ring, and rotate the whole weight to your cartridge’s specified tracking force.
Set anti-skate to match that number, then cue a record and listen all the way through before you judge anything. If the arm will not level off the record, fix the shelf before touching a single dial again.