Treating a room for better sound comes down to three moves: absorb the reflections that smear clarity, trap the low frequencies that pile up where surfaces meet, and scatter whatever is left so the room stays lively. Most of that work is placement, soft furnishings and patience with the test track, not a shopping list.
The room is the biggest single influence on what you hear from a pair of speakers or a turntable, so working out how to treat a room for better sound starts with the surfaces around you rather than the gear. Hard walls, bare floors and parallel surfaces add their own colour to every note, cancel some frequencies outright at your seat, and quietly change the balance every time you move the sofa.
A full treatment day is a couple of hours, and the listening-room version is honestly easier than the studio version because nobody is chasing a flat curve for an album. Nobody I know has regretted the afternoon spent moving furniture before spending money on panels, and the ones who regret it are the people who skipped straight to shopping.
Table of Contents
- What You Need
- Step-by-Step
- Step 1: Establish a Baseline
- Step 2: Improve Speaker Placement
- Step 3: Add Soft Furnishings
- Step 4: Control Echo and Flutter
- Step 5: Manage Bass Problems
- Step 6: Add Purpose-Built Absorption
- Step 7: Recheck the Room
- Common Mistakes
- Frequently Asked Questions
- Do I need acoustic panels to treat a room for better sound?
- What is the easiest way to improve sound in a small listening room?
- Are curtains and rugs effective acoustic treatments?
- How many acoustic panels does a room need?
- What is the difference between sound absorption and soundproofing?
- Should I put bass traps in the corners of my listening room?
- Conclusion
What You Need
You need four things before anything moves: the dimensions of the room, a fixed listening position, the speakers as they currently sit, and a way to listen on purpose rather than in the background.
Start with a tape measure and write down width, length and ceiling height. Those three numbers tell you which shape you are fighting, because a cube and a room with a 2:1 ratio behave very differently.
A mirror is the classic tool for finding first reflection points, and a phone does the same job. Stand it flat against the side wall, slide it along until it shows a speaker, and mark that spot with tape. No mirror means no problem.
For the materials side, here is the honest list to start from. Everything in the first two rows does real work, and the rest is what you already own.
- Corner space for traps, which are usually the biggest single improvement in a room
- Heavy lined curtains for bare windows or one bare wall
- A large rug if the floor is hard and mostly empty
- A filled bookcase that you can stand free of the wall
- Upholstered seating you actually sit in
- 100mm mineral wool and timber for panels, later on
Budget alternatives are not a compromise here. A wardrobe pushed into a corner traps bass just as well as a purpose-built trap, because the physics is the mass of soft stuff in the corner, not the label on the frame.
Step-by-Step
Work through these in order and change one thing at a time. The order matters because each step reveals what the last one was hiding, and treating out of sequence is how rooms end up over-dressed at the front and untreated where the bass lives.
Step 1: Establish a Baseline
Choose your listening position first and mark it on the floor with tape. That mark becomes the reference point for everything that follows, and moving it later is how you lose track of what changed.
Sit down and play three tracks you know well. A record you have heard hundreds of times shows problems faster than anything new, because you already know where the bass should sit and where the vocal should be centred.
Write down what you hear. Flattery, hollow, boomy, thin in one spot and thick in another, a smearing echo on claps and cymbals, words you can follow but a tired ear cannot. That list is your baseline.
Keep it short and specific. Nobody can fix a problem they described as something just sounding off.
Step 2: Improve Speaker Placement
Pull the speakers away from the front wall. Even 20cm gives the bass somewhere to go instead of piling into the wall behind, and it is the cheapest change in the whole process.
Set the speakers and your listening position as an equilateral triangle, so each speaker sits the same distance from you as the two speakers sit from each other. That is what makes a stereo image sit between the speakers rather than inside one of them.
Get the tweeters to ear height where you sit. A stand that puts the drivers at the right height for you is worth more than a more expensive pair on the wrong furniture.
What is the 38% rule? It is a placement guideline for the listening position: sit about 38% of the way along the long wall of the room measured from the front wall, which in most rectangular rooms lands you between the two worst spots in the room modes. It is a starting point for listening, not a law, and moving ten centimetres can matter more than the rule itself.
Step 3: Add Soft Furnishings
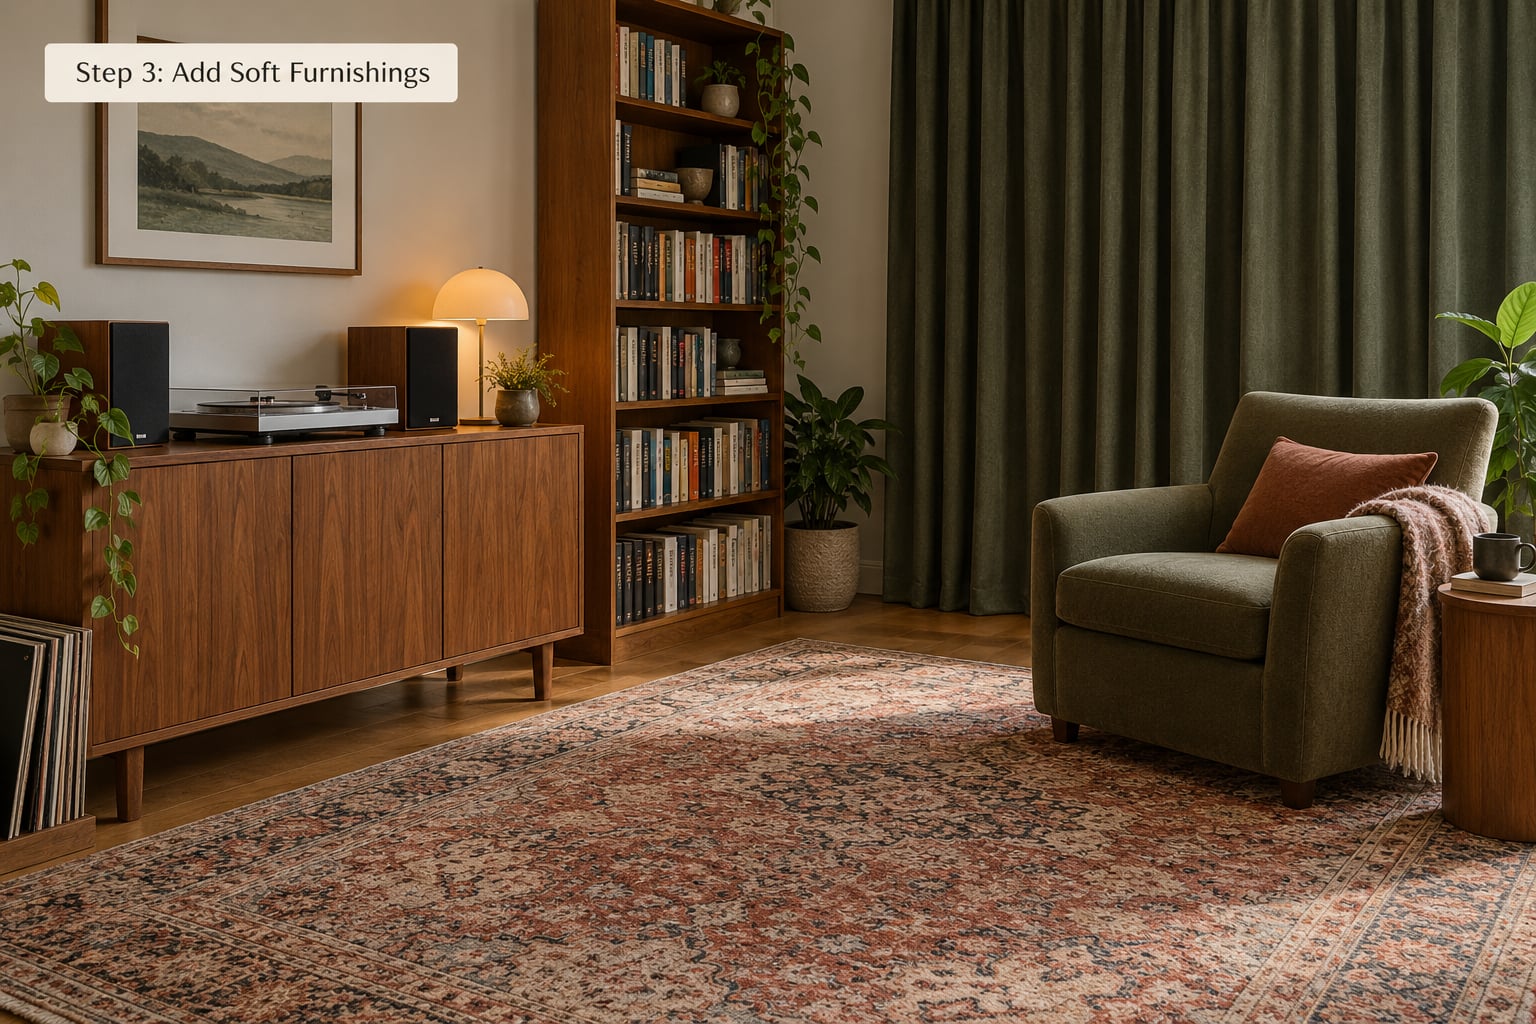
Hang heavy lined curtains and close them across bare windows or bare walls. The weight and the fold matter more than the label, and unlined sheer curtains change almost nothing.
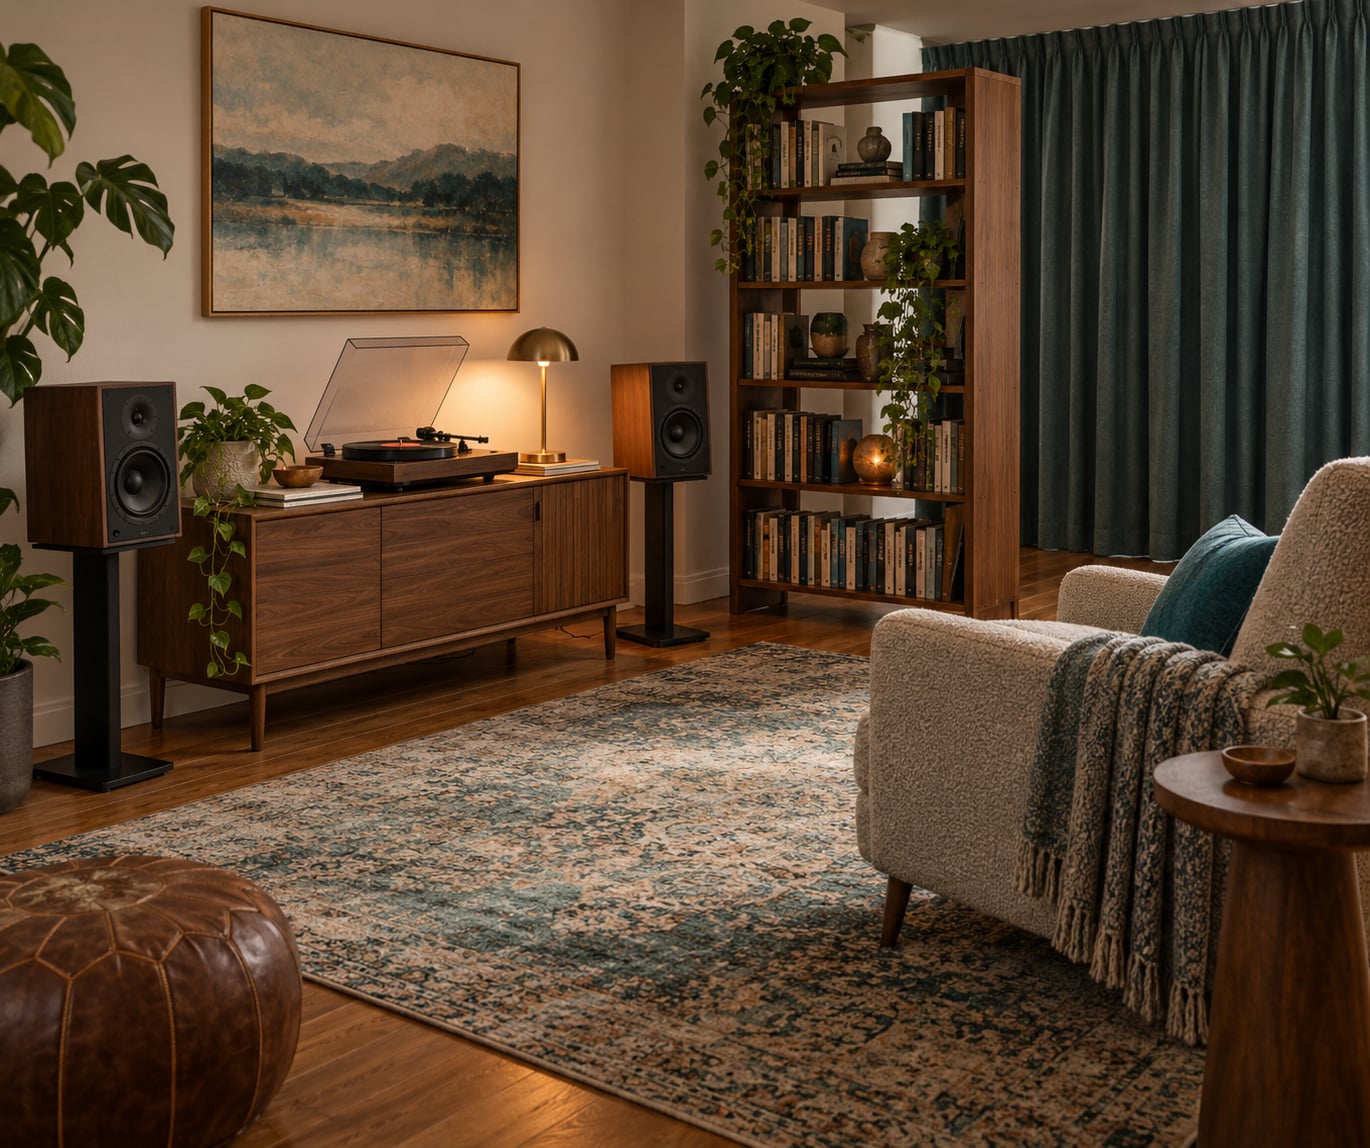
Lay a large rug on a hard floor with the front legs of your chair on it. Footsteps, floor bounce and the hardest surface in the room all get softer at once.
Stand a full bookcase slightly away from the wall. Books are irregular and dense at once, which makes them a decent diffuser and a modest absorber for free.
One honest limit: soft furnishings handle midrange and high frequencies well and do almost nothing below roughly 200Hz. They are a genuine first pass, not a substitute for corner traps.
Step 4: Control Echo and Flutter
An early reflection is sound returning within about 10 to 15 milliseconds. It arrives close behind the direct sound, smears detail and blurs the image, and it is worth fixing.
Harmful echo is a reflection you can hear as a separate event, usually 50 milliseconds or more away. Parallel bare surfaces cause it, so two bare walls facing each other, or a hard ceiling over a hard floor, will do it every time.
Clap once in the middle of the room and listen. A bright, slappy return means flutter echo between hard parallel surfaces. A long smooth decay means too much reverberation and you need absorption rather than diffusion.
Break it up cheaply first. Move the listening chair a foot, turn a bookcase perpendicular to the wall, drop a rug, close the door that was open down the hall. Each of those costs nothing and tells you what you are dealing with.
Step 5: Manage Bass Problems
Boominess that follows you around the room, and a seat where moving 10cm fixes everything, both point at room modes. Those are frequencies where the room dimensions reinforce themselves, and they are the reason a square room is the hardest one to treat.
A rectangular room has twelve corner positions, not four: four vertical corners, four where ceiling and wall meet, four where walls and floor meet. Low-frequency energy accumulates in all of them, and a vertical trap in one corner helps its neighbours too.
Work down this order. First reposition, because a speaker against a wall or a corner adds boundary reinforcement and a gap fixes it for nothing. Second, put thick absorbers in the vertical corners. Third, add a ceiling cloud. Fourth, change the subwoofer position or the speakers themselves.
Equalisation comes last. Room correction software can flatten a broad bump and it cannot resurrect a frequency that a null has already cancelled, so treat EQ as a finishing touch rather than a starting point.
Step 6: Add Purpose-Built Absorption
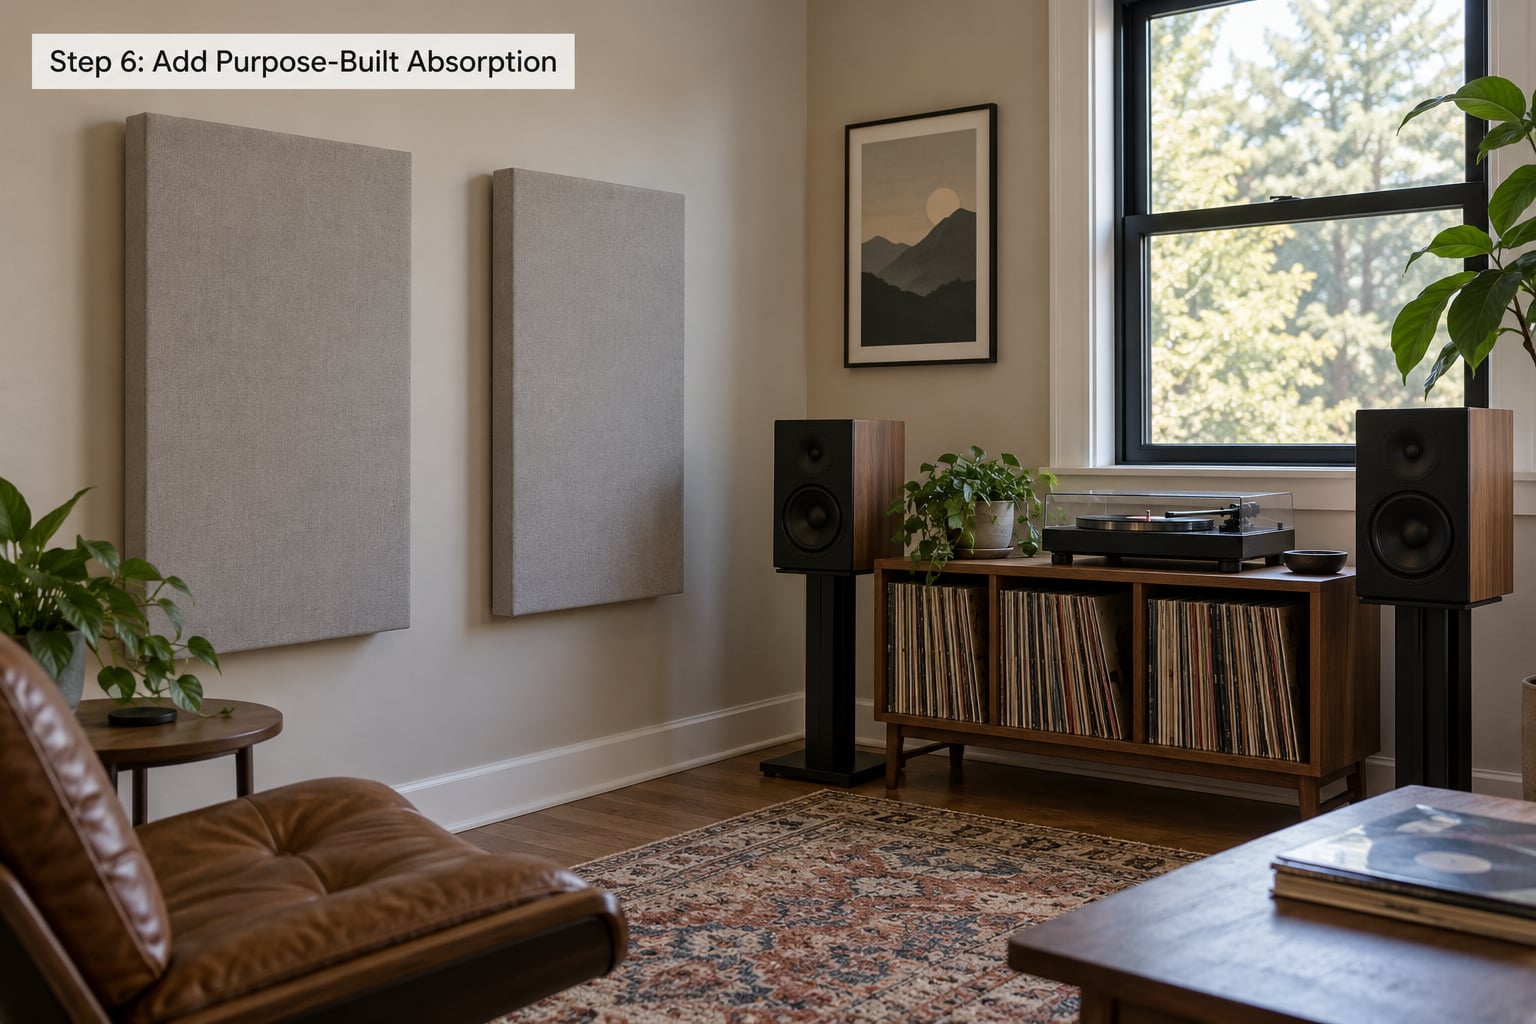
This is the step where buying something is justified, and only after the earlier steps have done their work. Dense broadband absorbers are the workhorse: mineral wool or rockwool at 48 to 64 kg per cubic metre, in a timber frame, fully bagged so no fibre escapes into the room.
Thickness decides the frequency range. At 50mm you are handling midrange and treble only. At 100mm you reach down into the low mids and do useful work on voices and the lower half of the stereo image. Thicker still, and you get real output in the problem zone that foam will never touch.
Leave a 50 to 100mm air gap behind the panel and frame it so the gap is closed on two sides but not all four. The gap does most of the work, and it is the single detail most DIY builds leave out.
| Material | Thickness | Best for | DIY friendly |
|---|---|---|---|
| Dense mineral wool | 100mm | Midrange, low mids, some bass | Yes, wear a mask and gloves |
| Dense mineral wool | 50mm | Midrange and treble | Yes |
| Fibreglass batt | 100mm | Midrange and treble | Yes, itch is the trade-off |
| Acoustic foam | 25 to 50mm | Treble only | Poor value for bass |
| Heavy lined curtains | Any | Midrange and treble | No build required |
| Filled bookcase | Any | Midrange plus diffusion | Free |
A ceiling cloud sits above the listening position or midway between the speakers and that seat. It stops the ceiling bounce from smearing the stereo image, and it is the one treatment you can add without touching a wall.
Target roughly 30 to 60 percent surface coverage for a listening room. Go past that and the room goes dead, which sounds worse rather than better because music loses its sense of space, and people end up pulling panels back out.
If you rent or cannot drill, the non-permanent path still works: freestanding gobos at first reflection points, a heavy curtain run on a track, a thick rug, and a bookcase turned to face the back wall.
Step 7: Recheck the Room
Sit back in your marked position and play the same three tracks at the same level. Compare against the notes from Step 1, out loud, in the same spot.
Change one thing between listens. Two changes at once and you cannot attribute the result, which is how people end up with a room they have spent real money on and cannot say what improved.
If you want evidence rather than impressions, sweep the room before you start and again after. Room EQ Wizard with a measurement microphone gives you a frequency response curve and an RT60 estimate, and the difference between the two curves is the only honest measure of your progress.
Common Mistakes
Treating every surface. Total coverage flattens the room and takes the life out of music. Work the corners, the first reflection points and the back wall first, then stop and listen before adding anything more.
Treating only the walls you can see. Visibility is not acoustics. The surface behind your chair and the ceiling do more damage to stereo imaging than the wall behind the speakers.
Buying traps and expecting them to do a broadband job. A triangular corner trap is built for the lowest frequencies in the room. Midrange and treble come from flat broadband panels on the walls, and one never substitutes for the other.
Buying decorative panels before measuring. Thin foam and egg cartons look like treatment and do almost nothing below about 500Hz. They also give you no data to check against, which is how the same mistake gets bought twice.
Equating treatment with soundproofing. Absorption improves what happens inside the room. Stopping sound travelling through the wall is a completely separate job involving mass, sealing and decoupling, and no panel on the market does it.
Doing the electronics first. New speakers in the same untreated position sound different, not correct. If the room is the bottleneck, that money buys a nicer version of the same wrong answer.
Frequently Asked Questions
Do I need acoustic panels to treat a room for better sound?
No, not first. Start by moving speakers off the walls, setting them at ear height in an equilateral triangle and shifting your listening position. Then add soft furnishings and corner traps, which do most of the work. Panels come last, once testing shows you still have a reflection or brightness problem worth spending money on.
What is the easiest way to improve sound in a small listening room?
Soften it and move it. A heavy rug, closed lined curtains and a full bookcase pulled off the wall will take the edge off in an afternoon with no tools. Then push the speakers 20cm off the front wall and re-seat them at ear height. Small rooms are mostly reflection problems, and both of those changes attack reflections directly.
Are curtains and rugs effective acoustic treatments?
They are, within limits. Heavy lined curtains and a thick rug absorb midrange and high frequencies well and cost far less than panels. They do very little below roughly 200Hz, so bass problems still need corner traps or thick broadband absorbers. Unlined sheers are decorative and change almost nothing.
How many acoustic panels does a room need?
Two or three in a small room, four to six in a normal living room, and more only for a dedicated studio. Cover roughly 30 to 60 percent of the wall and ceiling surface in the listening area, and place the first ones at the first reflection points and corners. Counting panels without measuring those points is the most common reason people buy too few or too many.
What is the difference between sound absorption and soundproofing?
Absorption controls reflections inside the room so you hear playback more accurately. Soundproofing or isolation stops sound leaving the room and coming back in, which needs mass, air sealing and structural decoupling in the walls, floor and ceiling. Absorption panels make your room sound better, and they will not stop a neighbour hearing your speakers.
Should I put bass traps in the corners of my listening room?
Yes. Low-frequency energy piles up where two walls meet, so the corners are where bass traps earn their place. Floor-to-ceiling traps in all four vertical corners give the most even result, and a rectangular room has twelve corner positions, not four, including ceiling and floor corners. Even one thick trap per vertical corner improves bass noticeably in a hard-surfaced room.
Conclusion
The first thing to do is free: mark a listening position, play three records you know cold and write down what is wrong. Then move the speakers off the front wall, add rugs, curtains and a bookcase, and put traps in the corners if the bass is still uneven. Buy 100mm broadband panels only where the retest says a problem is left.
Last updated October 2026.