A vintage turntable is worth buying when the deck spins up to a speed that sits still under a strobe, the tonearm moves freely and tracks without skipping, the plinth is solid, and the asking price plus a realistic repair allowance still undercuts a modern entry-level deck with a built-in phono stage. Get those four right and the age of the machine barely matters.
Most secondhand decks are sold untested, and the difference between a good buy and a weekend project is usually found in twenty minutes of looking with a torch and a record in your hand. The trouble is that buyers judge vintage turntables on the wrong things: the badge on the front, the smell of old wood veneer, whether the light comes on. None of that tells you whether the drive system still holds speed.
This guide walks the inspection in the order a technician would do it, starting with identification and working down to the tonearm and the electronics. The last step is the one that actually decides the question, which is comparing what the deck will need against what comparable gear sells for once the work is done.
Table of Contents
- What You Need
- Step-by-Step: How to Tell If a Vintage Turntable Is Worth Buying
- Step 1: Identify the Model and Production Era
- Step 2: Look for Rust, Damage, and Previous Repairs
- Step 3: Check the Platter and Drive System
- Step 4: Inspect the Tonearm and Cartridge
- Step 5: Test the Controls and Electronics
- Step 6: Play Records and Listen for Consistent Performance
- Step 7: Estimate Repair Costs and Compare the Asking Price
- Step 8: Mistakes That Cost Buyers the Most During the Inspection
- Common Mistakes
- Frequently Asked Questions
- Are older turntables better than newer entry-level models?
- How much does it usually cost to service a vintage turntable?
- Is a vintage turntable with a nonworking light still worth buying?
- Should I buy a turntable that has not been tested with a record?
- What is the most important sign that a vintage turntable is worth buying?
- Is it safe to use a vintage turntable that was stored for many years?
What You Need
Bring more than enthusiasm. A few things turn a vague look into a real diagnosis.
- Identification details. The model number, serial number, and any paperwork the seller has. A photo of the badge under the platter and the serial plate usually settles what the deck is.
- Bright, directional light. A headlamp or a strong torch. Pit marks on an idler wheel, hairline cracks in a plinth seam and a burnt capacitor are all easier to see in raking light than under a shop’s ceiling panels.
- A record you already know. Something scratched-free that you own, not something borrowed. You need a reference for what skipping and distortion sound like on that particular pressing.
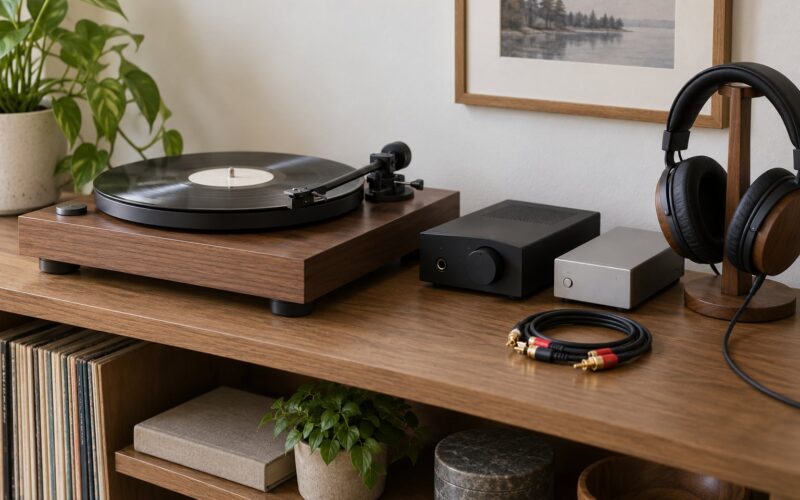
- Headphones, speakers, or an amplifier with a phono input. Many vintage decks have no built-in phono stage at all, so plan on a preamp being part of the cost. Check whether the deck you are looking at has a built-in stage and a switch for it.
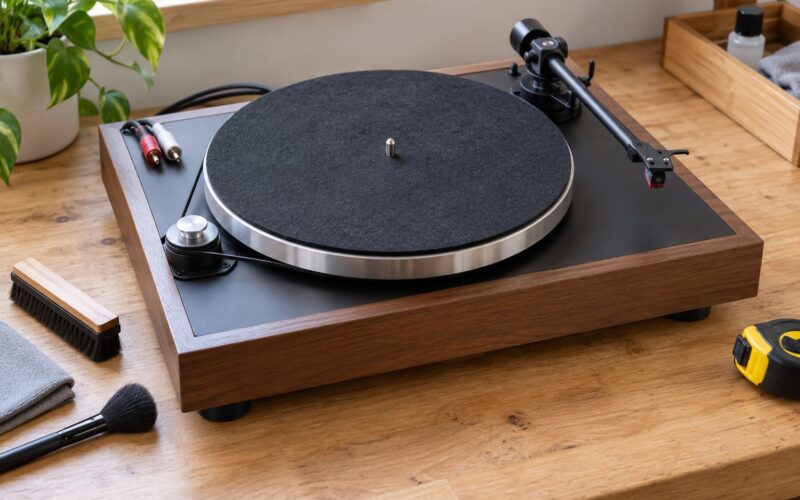
- Cleaning supplies. A soft record brush, isopropyl alcohol, a lint-free cloth, and a small screwdriver set. Half the faults that make a deck sound bad are thirty years of dust in the wrong place.
- A flat mirror and a small flashlight. Useful for reading the underside of the arm and checking inside the plinth without taking the whole thing apart.
- Time. Allow thirty minutes for a proper look. A deck that needs less than that to sort out is usually a deck that was already playing when the seller listed it.
One safety note before you start. If the deck has been stored in a damp shed, has visible water staining, or the power cord is cracked near the entry point, do not plug it in. That is a bench job for someone who works on mains equipment, not a driveway test.
Step-by-Step: How to Tell If a Vintage Turntable Is Worth Buying
Work top to bottom, unpowered checks first, then powered, then playing. Each step below tells you what you are looking for and why it changes the price.
Step 1: Identify the Model and Production Era
Read the badge under the platter edge, the serial plate, and the arm model before you form any opinion. Model numbers and production years decide what parts exist, what the deck is worth once serviced, and whether a dead feature will ever be fixable.
Three details earn their keep. The serial or production year tells you which spares will ever be made for it. The motor type tells you what a speed fault actually means, since export units built for 50 Hz grids behave differently from 60 Hz ones. Whether the plinth, arm and power supply are original tells you how much of the deck has already been touched by someone else.
Look for the serial and service documentation before you look at the finish. A deck with a full parts breakdown and a known belt size is an afternoon job. The same deck with an untraceable arm and a custom-cut plinth is a research project.
Brands from the late 1970s through the 1980s by Technics, Pioneer, Sony, Denon, JVC, Dual, Thorens, Marantz, Kenwood, Rega and Ariston are the ones that come up most in buying conversations, and that is where parts and manual knowledge tend to exist. Tiers worth keeping in your head:
| Tier | What tends to land here | What to check first |
|---|---|---|
| Holds value | Technics SL-1200 and SL-1500, the SP-10, the SL-Q2 and Q3, Thorens TD-124, Rega Planar 3, Linn Axis, and Pioneer, Sony, Denon, JVC and Kenwood belt drives of the late 70s to 80s | Documented service history, original arm and plinth, lateral arm bearing condition |
| Workable | Dual 501, 505, 521, 601 and 1229, Goldring-Lenco GL75, Ariston RD 11S, BSR BDH-10, and plenty of serviced 80s Japanese belt drives | Idler wheel condition, availability of cuing parts, any signs of damp storage |
| Pass | Unnamed 1980s consumer changers, slim portable record players, and belt-drive models built to a thin spec | Whether the arm and plinth are even present; often cheaper to start with a serviced unit |
Check completed sales, not asking prices. Listings sit for months; sold records are the only honest market data you will get.
Step 2: Look for Rust, Damage, and Previous Repairs
Surface rust on screws, hinges and the pitch control casing is cosmetic. Rust on the tonearm pivot base, the platter bearing housing or the motor mount is not, because those surfaces are machined or bearing-fit and corrosion there means a replacement part.
Run a fingernail along every plinth seam. Swollen or split MDF is the single most expensive cosmetic problem on this list. It happens when a deck spends years in a damp garage, it is invisible in a well-lit listing photo, and rebuilding a plinth is a woodworking job. A soft or crumbling seam is a walk-away, not a discount.
Other things worth stopping for: cracked plastic on the arm base or cue lever, bent sheet metal on the lid or hinge, missing rubber feet (a deck that rocks will never track properly), and any panel held on with mismatched screws.
Then look for what the last owner did. Drilled holes in the plinth, a spliced or undersized power cord, a missing ground connection, an arm tube cut down, or a headshell glued rather than latched. Amateur modifications are not automatically disqualifying, but each one has to be priced as future work rather than admired as a feature. Ask directly what was replaced, and whether the original part came with the deck.
Step 3: Check the Platter and Drive System
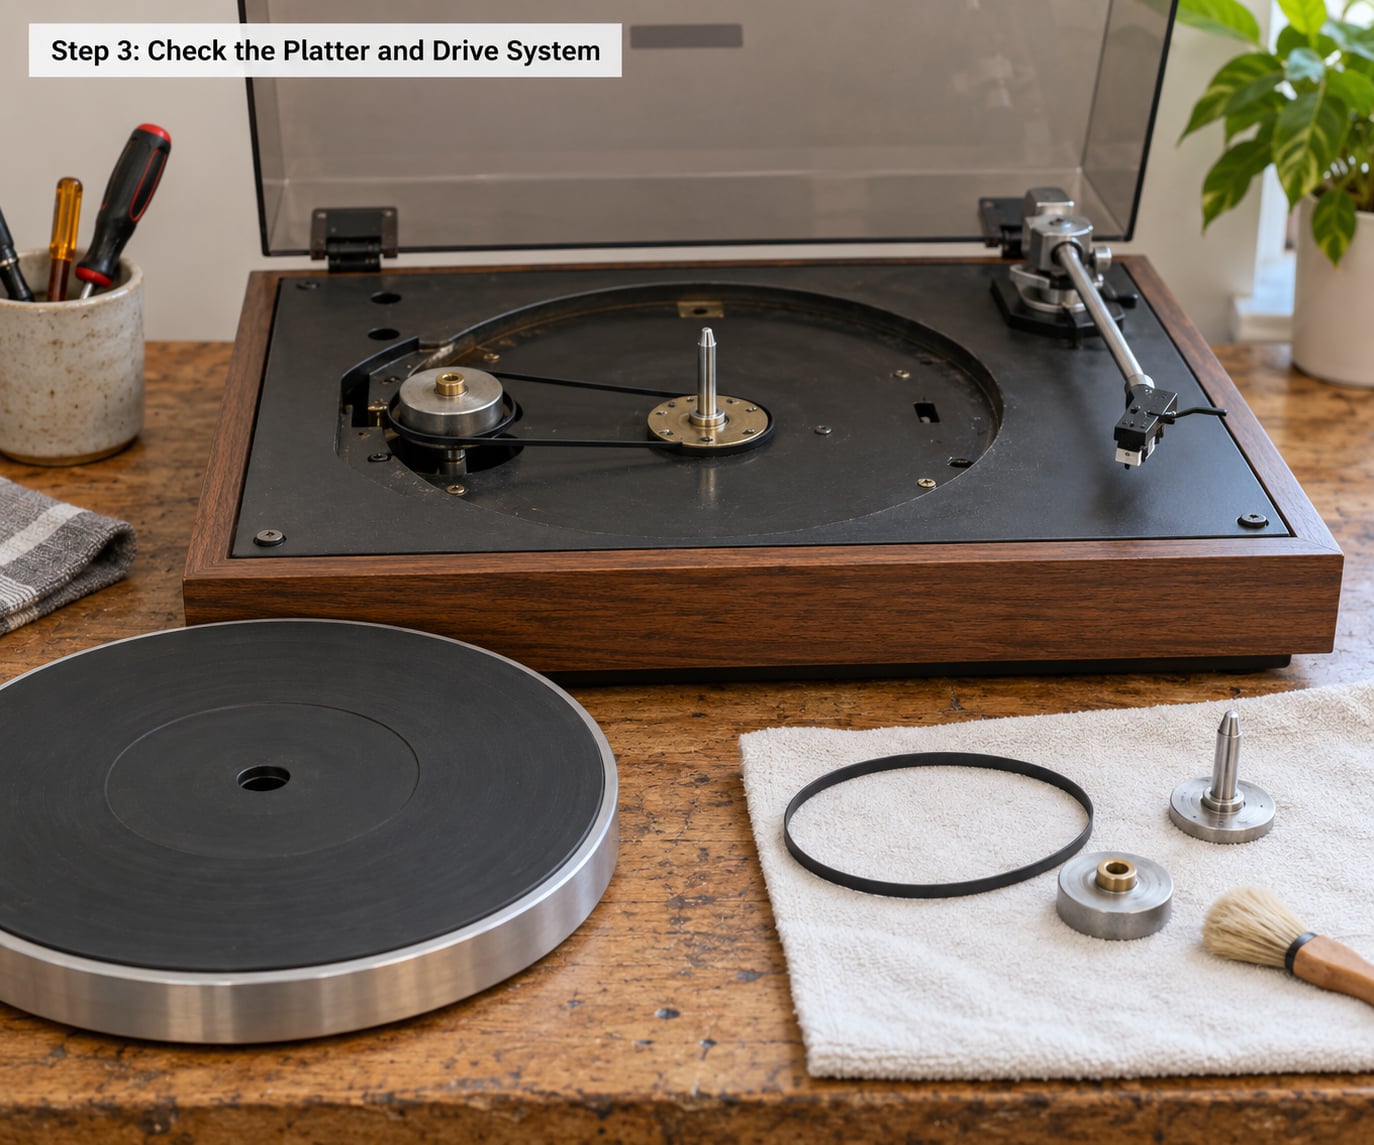
The drive system tells you whether this is a one-hour job or a specialist visit, so it gets more attention than the finish. With the power off, spin the platter by hand and let go. A healthy deck coasts for a good twenty seconds or more and slows evenly, with no rubbing point and no gritty noise as it passes through each rotation.
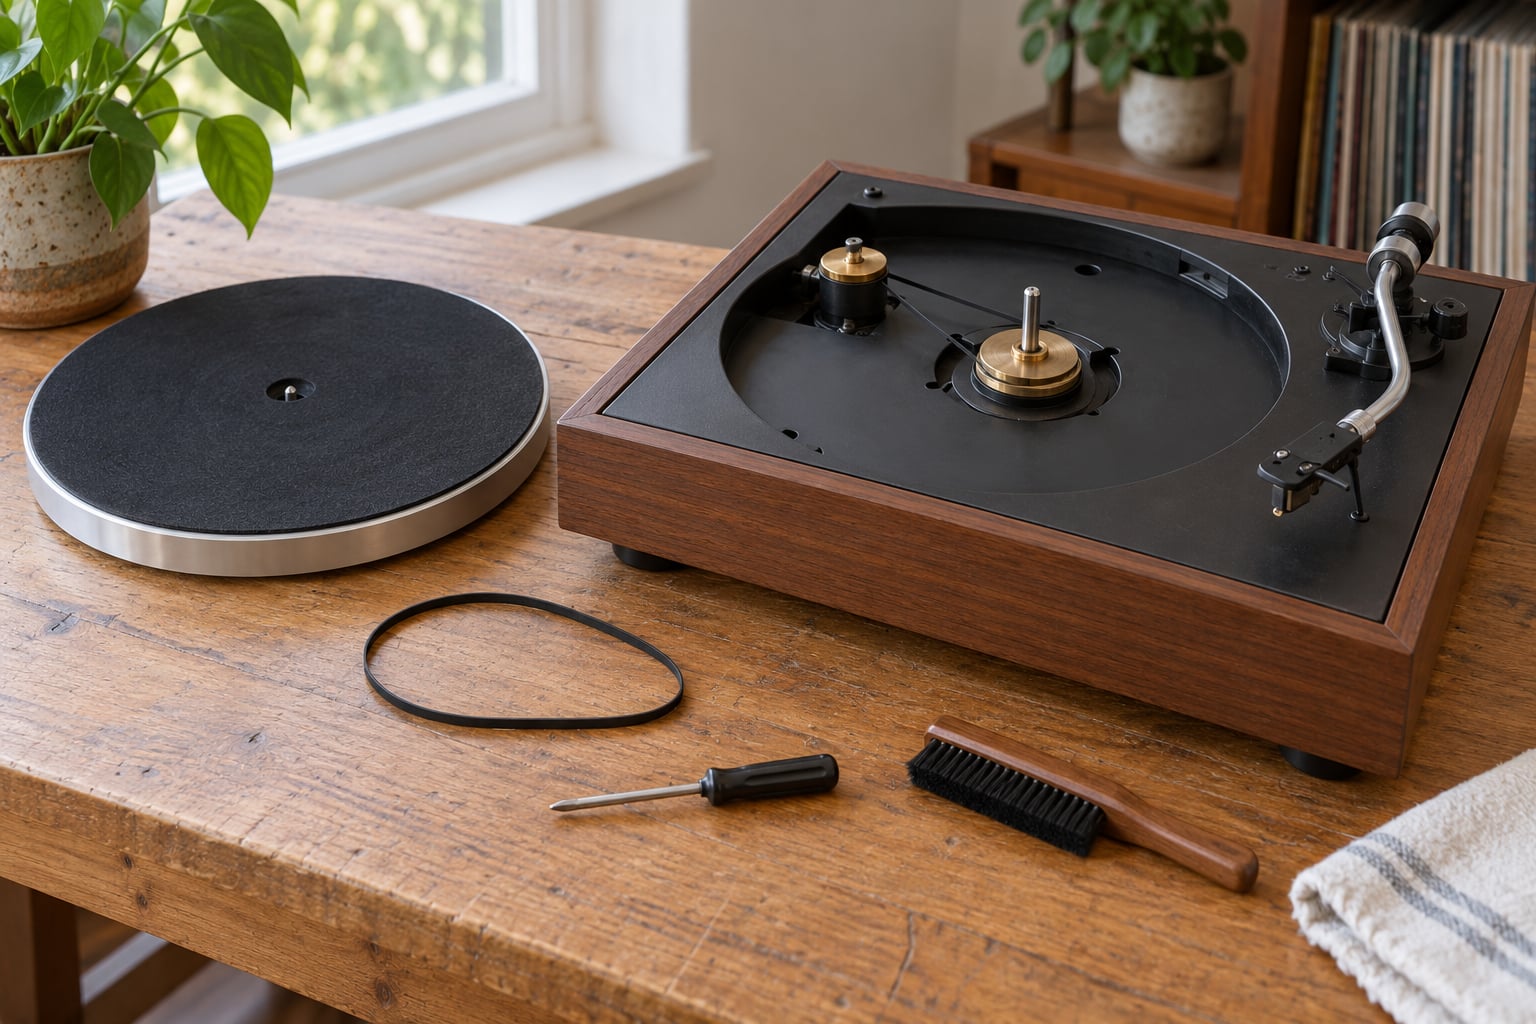
Look at what drives it. On a belt-drive deck, a stretched or glazed belt is the most common fault you will meet and one of the cheapest to fix, so do not let a seller treat it as a death sentence. Check the belt for glazing, cracks, fraying and a permanent set, and check that it sits flat in the motor pulley groove.
On an idler-drive deck, the idler wheel is where judgement matters. Run a thumbnail across it. A hard, shiny, pitted wheel has been glazed by decades of slip and will need resurfacing, and on a model where the wheel is unobtainable you may be hunting a specialist. This is the part that most often turns a cheap deck into an expensive one.
Listen to the motor at speed. A steady high whine is normal for these machines. Grinding, rattling, or a knocking under load is not, and it usually points to the motor bearings or a hardened part touching the motor housing.
Check the spindle is straight by laying a ruler across the platter or running a finger along it, and confirm the platter and mat are not cracked. Finally, make sure the platter spins as a free unit on a suspended sub-chassis where the design calls for one, rather than being welded or padded against the plinth by a previous owner.
Step 4: Inspect the Tonearm and Cartridge
The arm is where a good deck quietly turns into a bad one, because arm faults affect record surfaces rather than just sound. Check the counterweight: is it complete, are the threads clean and straight, is the stub bent, and does the finger notch still locate the same point each time.
Then check play. Hold the arm tube and rock it side to side and up and down. A little lateral give at the headshell end is normal on a used arm and is usually a lubrication job. Play in several axes, or a knock you can feel through the plinth, means the bearings are worn and may need the whole assembly replaced. Enthusiasts on r/turntables note that lateral arm bearing wear is common on DJ-worked decks and is usually repairable, but only if the spare exists for that arm.
Look down the pivot where the arm meets the base. Old grease turns to a brown varnish that stiffens the arm; that is a cleaning job, not a death sentence, but a pivot that is dry, pitted or rusted is a different story.
Move the cue lever and lift lever slowly. They should move without force, and the arm should lower smoothly rather than dropping. Never force a stuck lever, especially on Duals, where the auto-function actuator parts are difficult to source and forcing one can snap something that will not be made again.
Check the headshell for bends and for a cracked finger lift, and ask what cartridge is fitted. An original moving-coil or high-output magnetic cartridge adds real value and is the part most likely to have been swapped for something generic. A cartridge with a bent or missing cantilever is a replacement you will fund, and the price of good styli moves, so treat it as a known line item in your math.
Step 5: Test the Controls and Electronics
Before anything else, read the voltage and frequency label on the underside. A 220/240 V export unit should not go near a 110 V supply, and a motor built for a 50 Hz grid will run fast on a 60 Hz one. A deck that seems to have a dead motor may simply be a mismatched export version, so check before you price it as a dud.
Check the cord and its entry point for cracking, a loose strain relief, or a fuse holder that does not sit properly. Then power it on in a clear area, staying near the deck without leaning over it, and listen before you touch anything. A burnt smell, a scorch mark or a supply that clicks and does nothing means you stop there and hand it to someone who works on power supplies.
Listen for hum. A constant low hum that changes with the pitch control points to a grounding or pitch potentiometer problem. Hum that stays when you lift the arm is often the deck itself; hum that appears only with the arm down points to the cartridge, the wiring or the phono stage.
Work the controls one at a time. Move the pitch fader slowly from end to end in both directions and listen for scratchiness, dropouts or a jump, because a dead zone there is a common fault on these decks. Try the speed selector and confirm the platter changes speed cleanly. Test any 45 and 78 settings, and note whether the strobe lamp or dots light up, since a dark strobe is common and harmless but a dark speed light can be a wiring issue. Test any built-in phono stage by flipping its switch and comparing, and remember that plenty of excellent vintage decks have no built-in stage at all, which is an external preamp in your budget, not a fault.
Dead auto functions deserve their own note. Auto stop, auto lift and powered cueing are the features most often broken and most often overvalued by sellers, and their parts are frequently the hardest part of the whole deck to find. Treat them as a bonus, never as a reason to pay more.
Step 6: Play Records and Listen for Consistent Performance
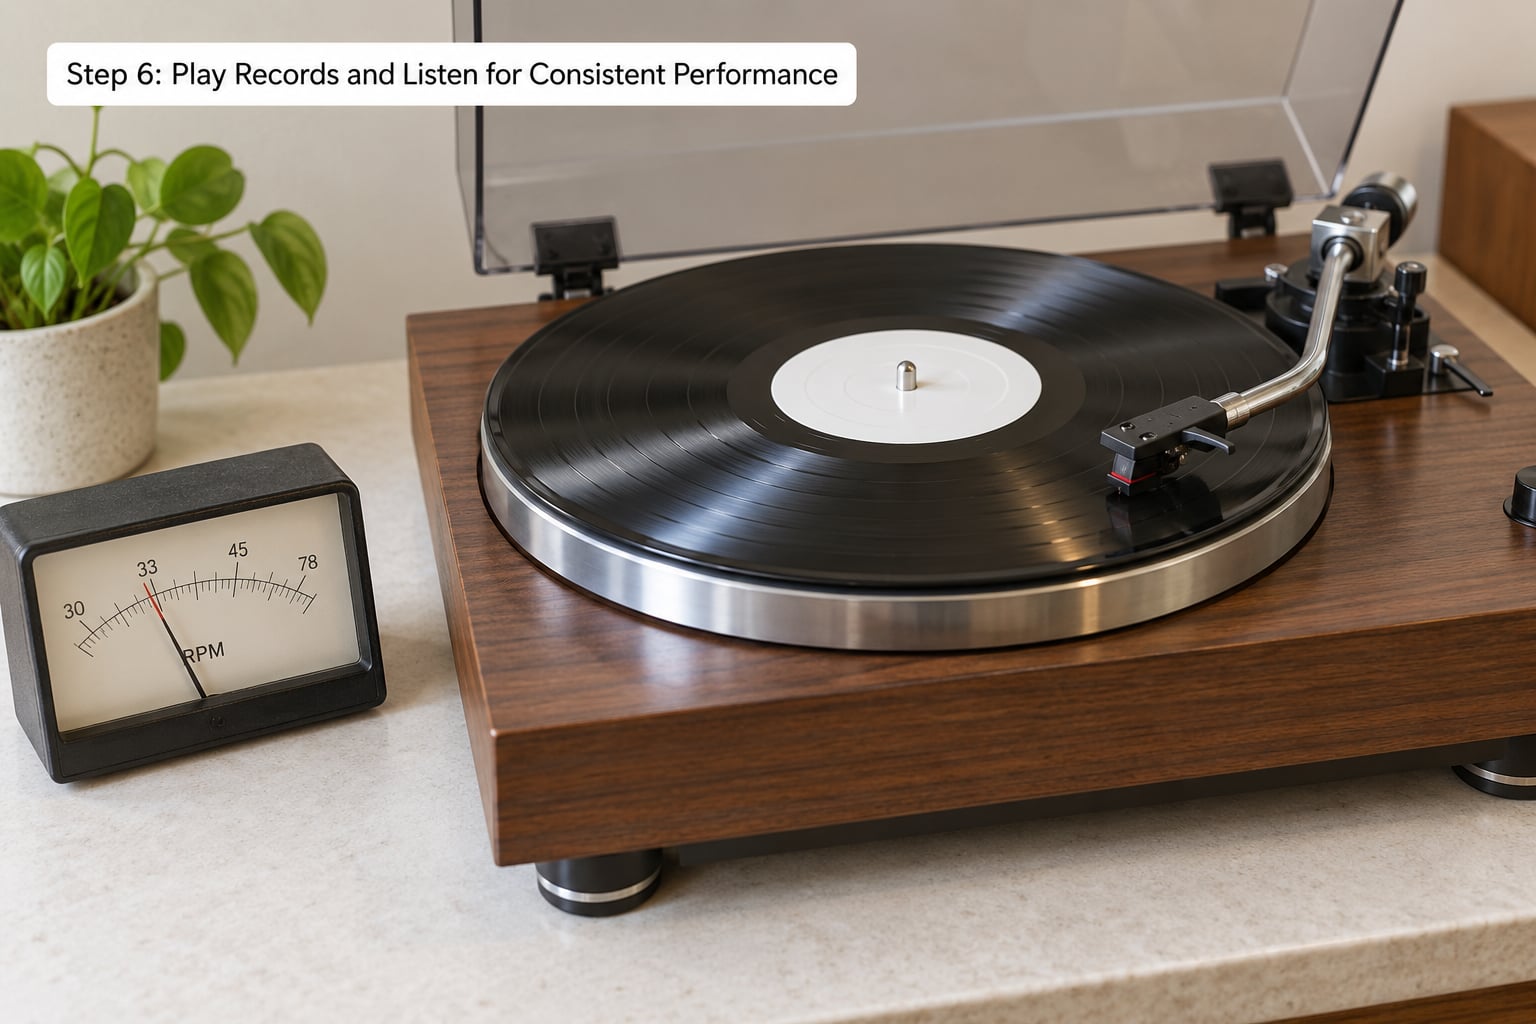
Now for the part sellers often skip. Put a record on, cue the arm by hand, and watch what happens. Let it run for ten to fifteen minutes, then check speed again, because speed drift and rumble often only show up once the deck is warm.
Watch the strobe. If the deck has strobe dots around the platter edge or a lamp, the pattern should sit steady with the pitch fader centred. A pattern that stalls and drifts means speed is unstable, which is usually a belt, an idler wheel, a dirty motor pulley or a motor capacitor rather than a dead deck.
Sweep the pitch fader through its full range in both directions and come back to centre. It should be smooth and repeatable, with no jump or dead zone. Then check speed independently if you can, with a strobe app on your phone or a cheap strobe light, and remember that a turntable set up for 60 Hz on a 50 Hz grid will read fast no matter how good the deck is.
Now listen through a full side. Look for skipping or repeating, especially on quiet passages where the arm is tracking hardest. Distortion that grows toward the inner grooves points to tracking force, alignment or a worn stylus. A channel imbalance or excess sibilance points to the cartridge or the arm geometry. Audible rumble you can feel through the plinth means the bearing or the sub-chassis is the problem. And listen for the arm scraping at the end of the run, which means the auto stop is not working and the arm is being dragged.
Try cueing from a silent lead-in groove as well as from a track. If the arm stalls or drops there, tracking is marginal. If a deck plays your test record cleanly and keeps a steady speed for fifteen minutes, you have just found the thing that matters most and most vintage buyers never check it.
Step 7: Estimate Repair Costs and Compare the Asking Price
This is where the decision is made. Triage each fault you found into one of three buckets: an easy job, a bench job, or a project, and price the first two honestly.
| Fault | How common | Typical fix | Who can do it |
|---|---|---|---|
| Stretched, glazed or cracked drive belt | Very common on any belt drive | Replace the belt and clean both pulleys | Confident beginner, if the size is known |
| Hardened, pitted or glazed idler wheel | Common on idler drives | Resurface or replace the wheel | Beginner with a resurfacing tool, otherwise a technician |
| Varnished old grease in the tonearm pivot | Very common | Strip, clean and re-grease with proper bearing grease | Moderate; needs care not to damage the bearings |
| Dead lamp, bulb or cue light | Very common | New bulb or an LED swap | Anyone |
| Sticky or dead pitch control | Common | Clean and re-lubricate, or replace the potentiometer | Moderate |
| Dead auto stop, auto lift or powered cue | Common and parts are scarce | Rebuild if the parts exist, otherwise live without it | Technician, and only if parts are traced |
| Worn lateral arm bearings | Common on DJ-worked decks | Service or replace the bearing assembly | Technician unless the assembly is a loose part |
| Swollen or split MDF plinth seam | Less common, expensive | Rebuild the plinth in wood | Woodworker, not a turntable person |
| Bulged or leaking power supply capacitor | Rare, serious | Recap the supply | Specialist, and never a first project |
Then run the comparison. Take the asking price and add a realistic allowance: for most decks, a full service covers a belt, a clean, fresh grease in the pivot, new mats where needed and a new stylus if the old one is tired. That is a weekend. Anything on the lower two-thirds of that table is a bench bill, and if the bench bill is anywhere near the purchase price you are buying a second turntable, not saving on one.
The number to hold in your head is the price of a serviced modern entry-level deck with a built-in phono stage. If a vintage deck plus its likely repairs lands near or above that, pass. The vintage route pays off when the machine is structurally sound, the parts exist, and the service allowance stays well under a third of what you are paying.
Compare against completed sales for the same model in the same condition, and separate working units from projects. Listings from sellers who call every deck vintage inflate the market, and several buyers on record forums say the same model usually costs less locally than the asking price on a marketplace. Where you are buying from a dealer who has just serviced the deck and will stand behind the work, that premium is usually worth paying, and buying from a refurbisher with a written guarantee is safer than a raw unit at a lower number.
Step 8: Mistakes That Cost Buyers the Most During the Inspection
A few errors show up again and again during the hands-on check, and they are what turns an unremarkable vintage turntable into a money pit.
Judging by the badge and the age. A forty-year-old deck in bad condition is worth less than a fifteen-year-old deck that runs clean, because parts for the older model are more likely to be gone. The serial number and the condition tell you more than the decade on the badge.
Trusting a demonstration instead of testing it yourself. A seller who plays one track at one speed has told you almost nothing. Speed stability after ten minutes, the pitch fader through its travel, and a clean cue are the three tests that matter, and all three take less time than a conversation about the deck’s history.
Pricing the parts you cannot get. Before you commit, look up the arm, headshell, idler wheel, belt size and cuing mechanism for that exact model. Turntabledoc, the enthusiast reference that covers this ground best, is blunt about the point: a deck responds to care only if the parts to do the caring are still made. This is also where the common mistake of forcing a stuck lever belongs, because a snapped actuator can end a restoration that was otherwise fine.
Common Mistakes
Most expensive secondhand turntable purchases fail on a decision, not a fault. Here are the ones I would write on the back of my hand, with the fix for each.
- Falling in love with the woodwork. Veneer says nothing about speed. Fix: do the powered and playing checks before you look at the finish again.
- Paying for features that are already dead. Sellers overvalue auto functions, illuminated strobes and powered cueing because they sound impressive. Fix: assume every automatic feature is a bonus you may never use, and confirm by hand that the arm moves and lifts smoothly.
- Overvaluing the badge. A famous model number does not survive a stripped pivot or a dead motor capacitor. Fix: check the model, then check the condition, and only then decide what the name is worth.
- Ignoring parts availability. Fix: before you make an offer, search the model for its belt size, arm, headshell and idler wheel. No available parts usually means a specialist, and specialists charge more than the gap you were hoping to exploit.
- Underestimating the restoration. The honest version of a vintage deck is a serviced deck, and servicing is rarely free. Fix: hold back a realistic allowance before you haggle, and treat a full-service estimate as part of the purchase price, not a future surprise.
- Buying remote with no questions asked. A marketplace listing with no photo of the underside, no serial plate and no in-person test is a parts bin with a price tag. Fix: ask for a serial photo, a shot under the plinth, a photo of the arm and headshell, a video of the strobe while it runs, and a photograph of the label showing voltage and frequency. If the seller refuses close-ups, walk away; that refusal is itself an answer.
When it is time to negotiate, argue from a number rather than from a feeling. Name what the deck needs, name the parts, and make an offer that reflects the work: a belt, a clean, a re-grease, a new stylus, and you will take it today. Sellers move faster for a buyer who has clearly done the homework. And if the price will not fall far enough to cover the work you have identified, the negotiation is already over; the honest answer is to walk, which is the whole point of running the numbers first.
Frequently Asked Questions
Are older turntables better than newer entry-level models?
Not automatically. A serviced vintage deck usually gives you a heavier platter, a better arm and a lot more character for less money than a modern equivalent, and plenty of the best-value buys out there are forty years old. But an unserviced one is a project, and a project costs more than the newer deck you were avoiding. Judge the individual machine, not its birth year.
How much does it usually cost to service a vintage turntable?
A basic service is a belt, a clean, fresh grease in the tonearm pivot and a new stylus, which is an afternoon of work and cheap parts. Repairs climb from there: idler wheel resurfacing, a pitch potentiometer, an arm bearing service or a power supply recap. The rule of thumb is to hold back a healthy fraction of the purchase price, and if the likely bill approaches the asking price, you are buying a project.
Is a vintage turntable with a nonworking light still worth buying?
Usually yes. A dead cue lamp, bulb or speed light is among the cheapest and most common faults, and it often has no effect on playback at all. What matters is whether the darkness points to a wiring problem or a failed capacitor in the power supply, which is a different and costlier story. Test the deck playing a record, then chase the light as a separate job.
Should I buy a turntable that has not been tested with a record?
Only with your eyes open, and only at a price that assumes something is wrong. Ask for a video of it running and a shot of the strobe pattern, and factor the cost of a full service into your offer. A dead-auto-function deck sold untested is normal; a deck sold for parts, or one with a seller who refuses close-up photos, is a walk-away.
What is the most important sign that a vintage turntable is worth buying?
Steady, strobed speed with no drift after ten minutes, plus a tonearm that tracks a clean record without skipping. That combination tells you the drive system and the arm are both healthy, which is most of the value. Everything else, including the finish, the lights and the automatic features, is secondary.
Is it safe to use a vintage turntable that was stored for many years?
Usually, but check first. Look for a cracked cord, water staining, a swollen plinth seam, a burnt smell or a bulging capacitor before you plug anything in. A deck that survived a dry cupboard and a smoke test is generally fine on a proper grounded outlet. If it has been in a damp space, leave it to a technician.
Start with the number, not the badge. Identify the model, check the plinth seams and the drive, then put a record on and watch the strobe for fifteen minutes. If the speed holds and the arm tracks cleanly, the remaining questions are about parts availability and the service bill, and those you can settle at a desk before you commit to anything.