Most budget turntables do not need replacing. Learn how to upgrade a cheap turntable by working in one order: free setup fixes first, then the mechanical parts that fail with age, then the cartridge or stylus, and only then the signal chain.
I have spent more weekends taking entry-level decks apart than I care to admit, and the pattern is consistent. Roughly nine times out of ten the sound problem is not the deck. It is a dirty record, an unlevelled plinth, a tracking force set by feel, or a pair of speakers that were never the priority in the first place.
Budget for a couple of evenings across an hour or so of careful work. Nothing here requires soldering, and if you follow the order below you spend money only where a part has actually failed.
A word on what this is not. I am not going to tell you to swap a plastic platter for machined aluminium because it is the cheapest trick in the hobby. Some of those parts are decorative. The list below separates the changes you can hear from the ones that mostly show up in online arguments.
Table of Contents
- What You Need
- Parts worth having on hand
- Step-by-Step
- 1. Inspect the Turntable Before Buying Parts
- 2. Clean the Platter and Correct the Tonearm Setup
- 3. Replace a Worn Belt or Idler Wheel
- 4. Upgrade the Stylus or Cartridge
- 5. Improve the Signal and Listening Setup
- 6. Test, Align, and Fine-Tune the Result
- Common Mistakes
- Frequently Asked Questions
- Can you really improve a cheap turntable without spending a lot?
- Is it worth upgrading the cartridge on an inexpensive record player?
- How do I know if a turntable is damaging my vinyl records?
- Do I need a separate phono preamp for a cheap turntable?
- What is the first upgrade I should make to a budget turntable?
- Conclusion
What You Need
Almost every job starts with the manual, and I mean the manual for your exact model rather than a generic guide. Deck layouts differ enough that a procedure written for one brand can leave a screw off by the time you reach a mid-range model.
Unplug the turntable from the mains before you open it. Not the switch. Unplug it. That is the whole safety section for anything below, with one exception: never modify mains wiring, and never open a power supply you do not understand.
Parts worth having on hand
- The manual for your model — the number on the bottom label is what the parts seller needs.
- A replacement drive belt or idler wheel — only if your deck uses one, and only once speed has actually drifted.
- A stylus or cartridge — for decks with a half-inch mount and a removable headshell.
- A phono preamp — if the deck has no built-in one, or if the built-in stage hums.
- Powered speakers or a pair of headphones — something with a headphone jack is often the fastest fix.
- Cleaning supplies — a carbon fibre brush, a soft cloth, and record cleaner fluid you have used before.
- A tracking force gauge and an alignment protractor — cheap, and they remove most of the guesswork.
Photograph every label, connector and part orientation before you remove anything. I have reassembled more turntables than I can count by matching shapes, and a phone photo takes eight seconds and removes all the doubt.
Step-by-Step
Here is the order I work in, ranked by what you get back per pound spent:
- Clean your records and the stylus.
- Level the deck and set the tonearm correctly.
- Replace a worn belt or idler if the speed is off.
- Upgrade the stylus or cartridge, if the deck accepts one.
- Fix the signal path: preamp, speakers, cables.
- Align properly, then test with a record you know well.
Do not reorder this for pride. Steps one and two cost nothing, take an evening, and fix the majority of what people describe as a bad turntable.
1. Inspect the Turntable Before Buying Parts
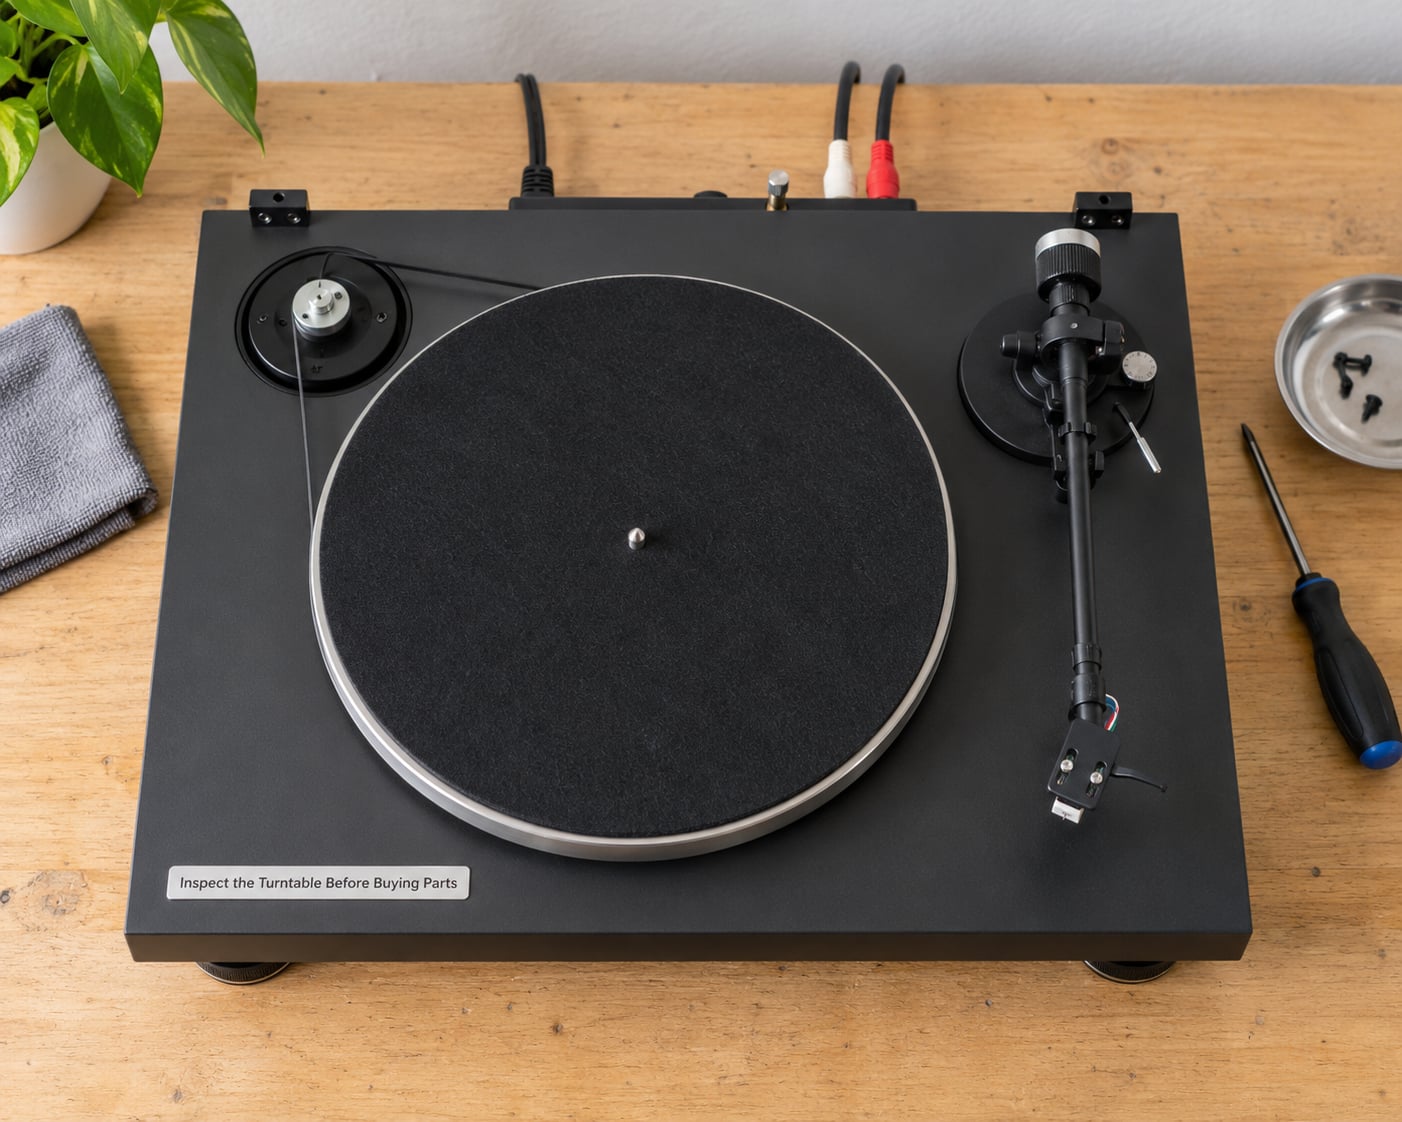
Identify the make and model first, from the label on the base or the underside of the plinth. That number decides everything else, including which cartridges will physically fit and whether a replacement belt exists at all.
Look at the platter sitting on its bearing. Press gently on the edge and watch whether it rocks or only rotates. A small amount of play is normal. Visible wobble, or a scrape you can hear, is not.
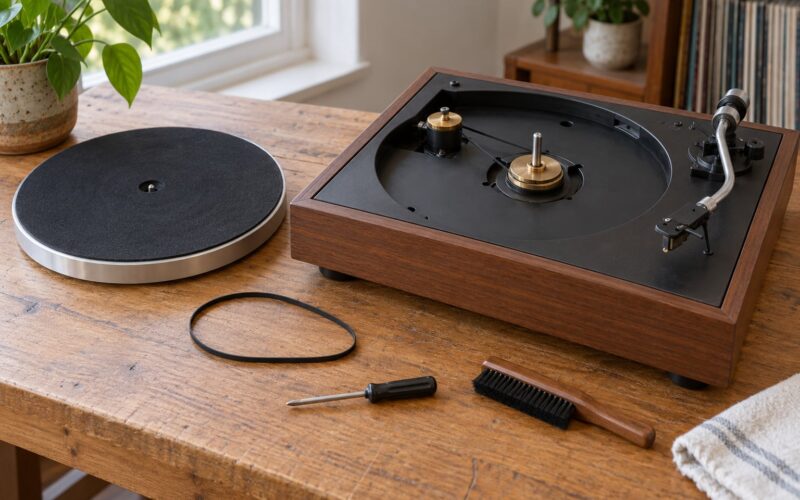
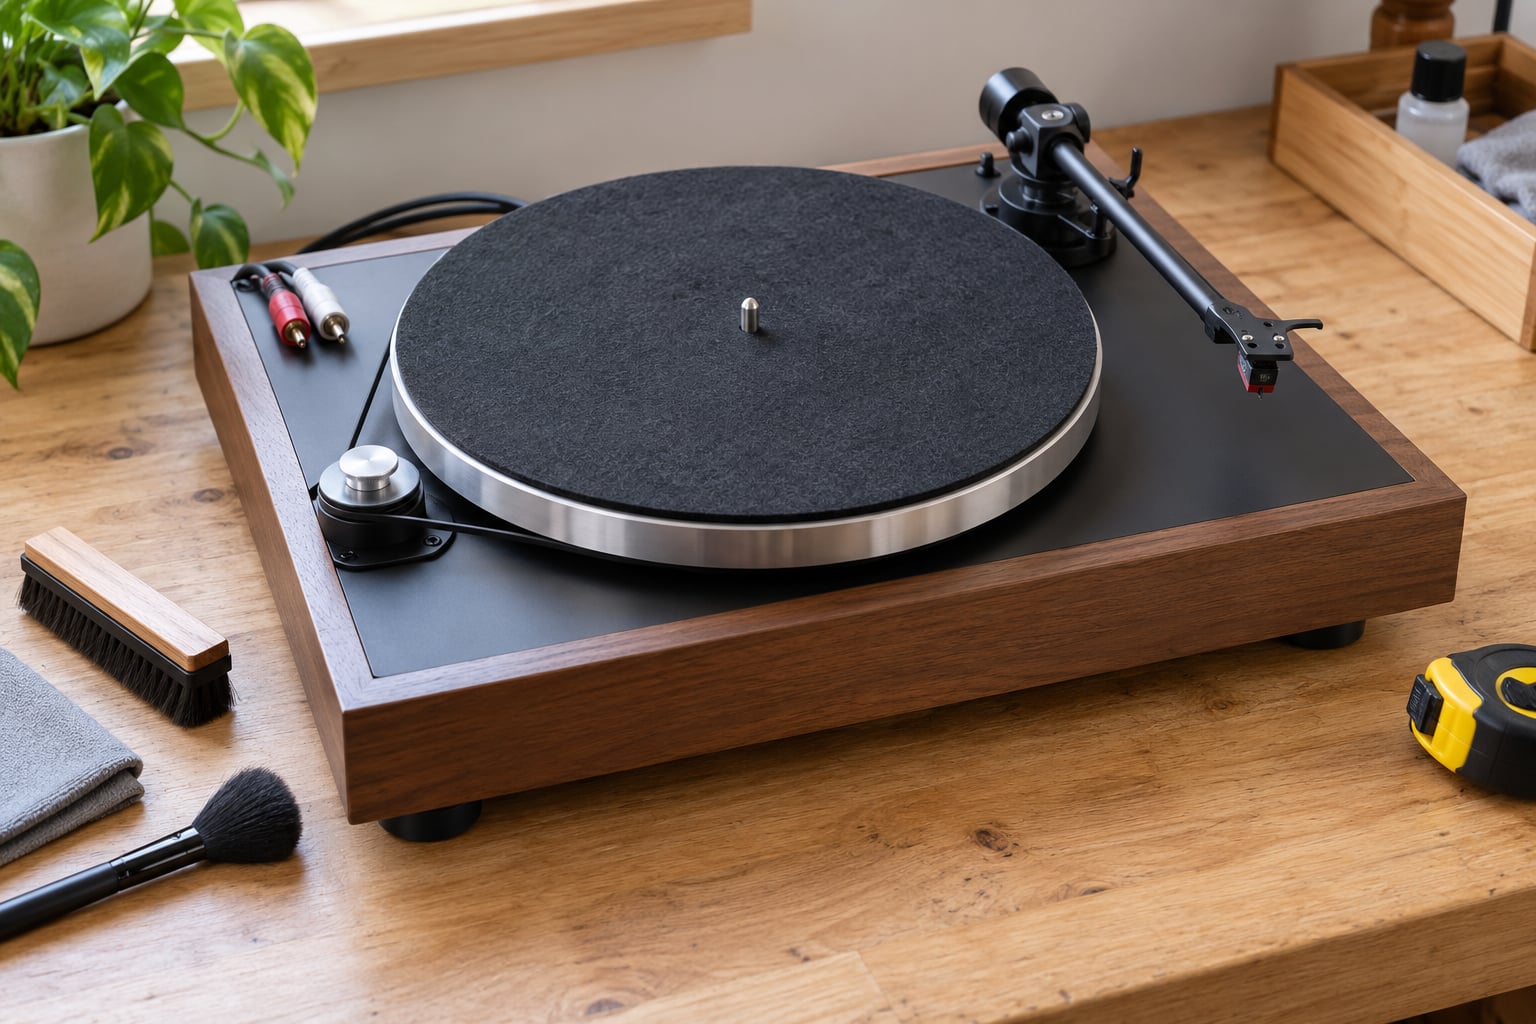
Find the drive belt or idler. A belt that looks shiny, slack or fuzzy has usually lost the grip that keeps the speed steady. On belt-drive decks the motor spins the belt, the belt spins the platter, and a stretched belt is the most common cause of a turntable that runs slow or fast at random.
Check the tonearm next. Look down the arm and confirm it is straight rather than bent, and make sure the headshell is firmly attached. Then look at the connections at the back: loose RCA plugs or a cable resting on the power transformer are both fixable causes of hum.
Finally, confirm whether the deck has a built-in phono preamp. There is usually a small switch marked PHONO and LINE near the output, or a button on the front. If you cannot find one, assume it outputs phono level only.
Before you go any further, compare what you found with what you expected. On r/vinyl and r/turntables the most common regretted purchase in the hobby is a cartridge bought for a deck with a fixed or non-standard mount, and two minutes of inspection prevents it.
2. Clean the Platter and Correct the Tonearm Setup
Residue along the platter rim or the mat is enough to make a good deck sound dull. Lift the platter off where the manual allows it, wipe the rim and spindle with a dry cloth, and never spray cleaner directly onto the platter or mat. If you use a fluid, put it on the cloth, not the surface.
With the record on and the arm at rest, check arm height against the manual. If the arm sits noticeably above the record, or touches the sleeve, the fix is a small spacer under the rear of the arm or a height adjustment at the pivot, depending on the design. Do not force either one.
Set the anti-skate to the value the manual specifies for your tracking force, not by ear. Then set the tracking weight properly: hold the arm away from the record, rotate the counterweight until its pointer reads zero, and only after that move the whole assembly out to the specified force using a gauge. Without a gauge you are guessing, and guessing high is the classic way to groove a record.
You will know the setup is working if a record plays through without skipping or dragging at the outer edge, and the arm does not creep inward noticeably over a full side.
3. Replace a Worn Belt or Idler Wheel
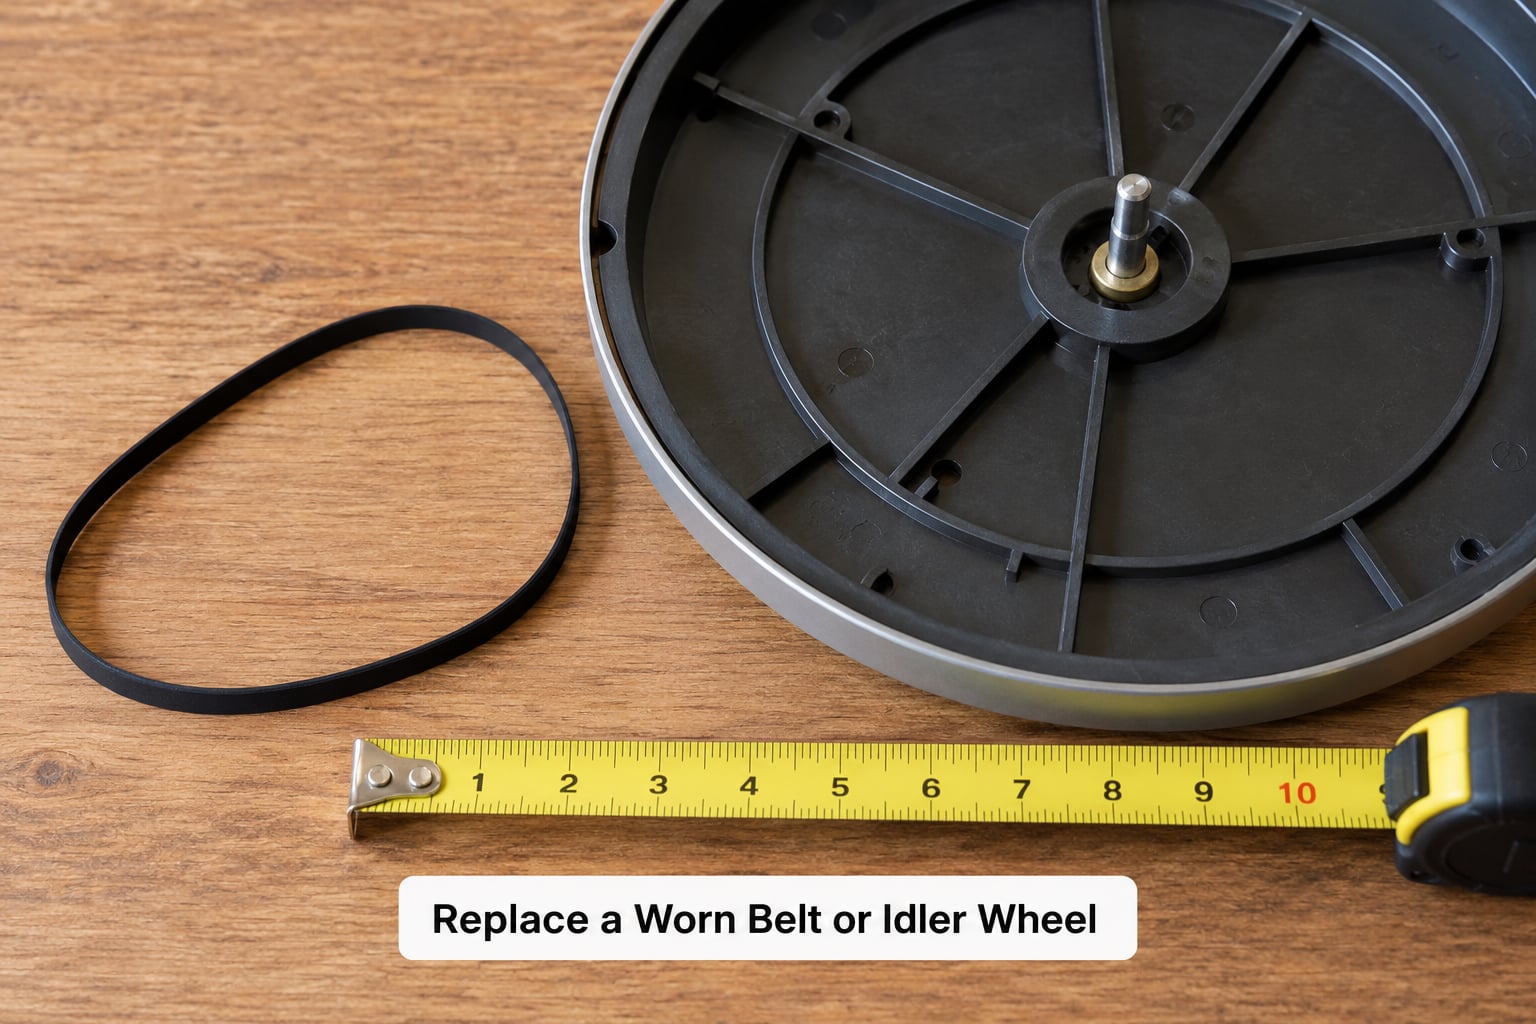
Diagnose before you buy. Symptoms of a tired belt are a speed that drifts low after warm-up, a platter that hesitates, and a slip you can hear and see when the belt jumps a groove. A deck that holds speed accurately does not need a new belt because it is slightly old-looking.
Match the belt on two things: length and section. Measure the old belt laid flat rather than guessing from the packaging, and note whether it is square, flat or round in profile. A belt that is close but not right will run but slip, and you will be back on this step in a month.
Fit it along the manufacturer path and never twist it. Most budget belts go on without tools at all: unhook or lift the old one off the platter rim and motor pulley, thread the new one the same way, and seat it without stretching it to reach.
Idler wheels only apply if your deck uses one. A hardened or grooved idler shows up as the same speed problem. Match the wheel diameter exactly, and never substitute a smooth wheel for one with a toothed or grooved surface, because the grip comes from that surface.
Verify the result with a strobe disc or an app-based strobe, or by timing a 45 with a stopwatch. Thirty-three and a third should hold steady at both 33 and 45 RPM, and it should hold after the deck has been on for fifteen minutes.
4. Upgrade the Stylus or Cartridge
Know the difference first, because buyers regularly confuse the two. A stylus is the replaceable diamond that rides the groove. A cartridge is the whole assembly, body and magnet and stylus together. A drop-in stylus replacement keeps the original cartridge body and is the cheapest path. A full cartridge swap is the bigger upgrade and the one that needs compatibility checks.
Compatibility is straightforward on most decks: a half-inch mount, a removable headshell, and a tracking force range that overlaps the cartridge’s requirement. Confirm all three before ordering, and note that the tonearm has to be able to supply the cartridge’s tracking force without hitting the end of its travel. Overloading a budget tonearm damages the arm and the record, not the cartridge.
Moving magnet cartridges are forgiving and need little input capacitance. Moving coil cartridges sound more detailed but want a low-capacitance load, commonly in the 100 to 200 pF range, and some budget preamps will not provide it. If you have never done this, a moving magnet cartridge is the sensible first upgrade.
Install it cleanly. Unplug the deck, remove the headshell, photograph the wire colours, and note which pin each coloured lead connects to. Fit the new cartridge without pushing the pins home with force. Thread the finger lift for everything except the final alignment, since the finger lift itself distorts the geometry if it is left down.
After the swap, raise the tracking force to whatever the new cartridge specifies, which is usually higher than the old setting. That is expected, not a fault. Then align it. A loose counterweight, an unaligned cartridge and an over-tightened headshell bolt are the three ways this job goes wrong, so tighten the headshell bolts gently by hand first and calibrate the counterweight again after any arm movement.
Several cartridge families exist specifically to make this easier. The Audio-Technica VM95 range lets you step up through VMN95E, VM95SH and VM95L styli on the same body, and the Ortofon OM series works the same way. If your deck ships with one of those, you have a guaranteed fit waiting for you.
5. Improve the Signal and Listening Setup
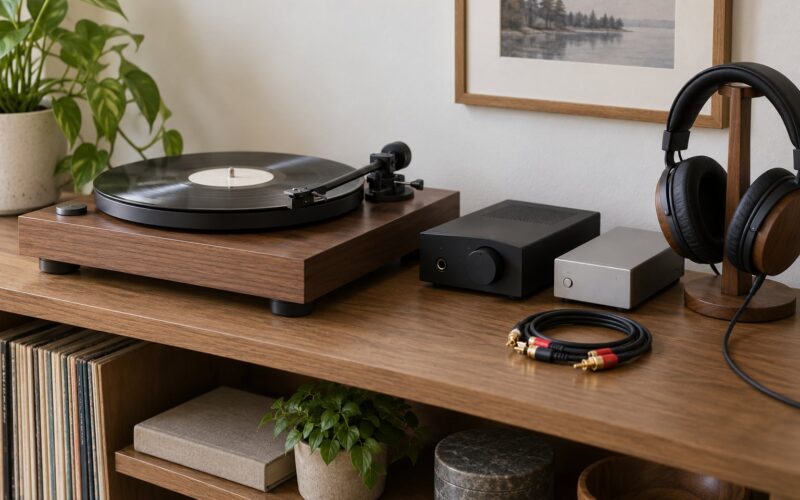
Signal chain order is not negotiable: cartridge, then preamp, then amplifier, then speakers. Each stage has an input level it expects, and skipping or reversing one produces the thin, quiet, distorted sound people often blame on the turntable.
A built-in phono preamp is genuinely fine in many cases. It is sufficient when the deck sounds clean at the volume you listen and the built-in stage sits well away from the power transformer. Get a separate preamp when you hear hum that changes with volume, when the deck shares a shelf with an amplifier, or when you want a cartridge the built-in stage cannot supply enough voltage for.
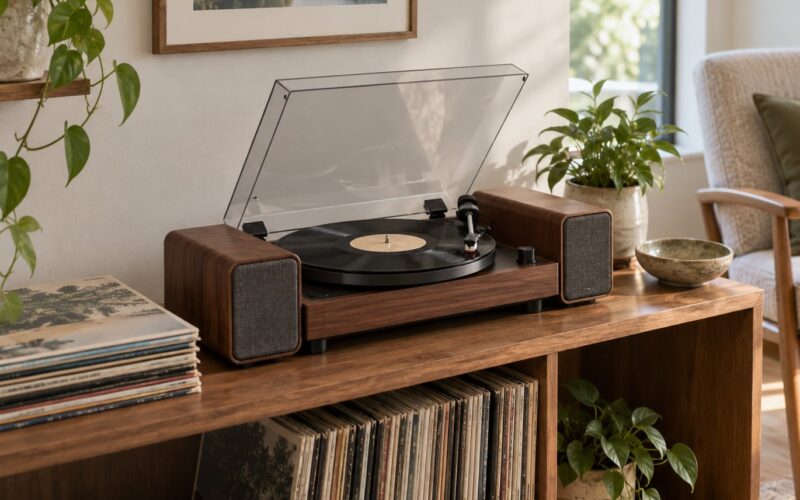
Connect to powered speakers or headphones. Plug the deck into a phono input if the amplifier has one; if it only offers line-level inputs, the signal is too small and will sound quiet and thin, and routing it through a preamp is not optional. Keep the signal cables away from the power cord and any power brick, and keep both off the floor.
For hum, work through it in order: try a different wall socket, reseat every connection, move the deck to a surface not shared with the amplifier, then try a different cable. Most hum on budget setups is one of those four things, and it is worth ten minutes each to find which.
6. Test, Align, and Fine-Tune the Result
Use a record you know intimately rather than something new. Familiarity is the only reliable reference you have, because you cannot A/B a turntable you have owned for two minutes.
Check speed first with a strobe, then listen for skipping, dragging or wobble on the outer tracks. Confirm the cartridge is aligned by laying a protractor on the record while it plays and checking that the arm sits flat against the grid at the start, middle and end of the side. Anti-skate is set last, and only in small increments while you listen.
Listen for surface noise, distortion and channel balance. A sudden increase in hiss after cleaning points at the stylus instead of the deck. Bass that folds in on loud passages usually means the tracking force is too low, while a dull, scooped treble on the inner grooves usually means it is too high.
One honest admission about this step: if you have swapped the cartridge and cannot get a clean alignment at home, pay a technician to do it. Alignment is the one job where an imperfect attempt is worse than no attempt, because you will tune the rest of the setup around a mistake.
Finally, play your best record against how the deck sounded before, using the same speakers at the same level. Most people who follow the order above hear the difference on surface noise and treble detail first, which is exactly what a cartridge change is supposed to deliver.
Common Mistakes
Buying a cartridge without checking the mount. A deck with a fixed cartridge cannot take a new one. Confirm the half-inch mount and removable headshell before ordering anything.
Setting tracking force too high. Extra force does not improve accuracy and it does wear records. Use the gauge and follow the cartridge specification.
Treating tracking force as a speed control. If speed drifts, the cause is the belt or the idler. Changing the weight will not fix speed and will bury the stylus in the groove.
Fitting a belt from the packet without measuring. A wrong length or wrong section runs, then slips a few weeks later. Measure the old one.
Buying a preamp when the problem is the speakers. A separate preamp cannot make a small speaker sound larger. Several long-running threads on the forums land on the same conclusion: fix the speakers or the amp first.
Putting cleaning fluid straight onto the record. Fluid on the label and the sleeve causes damage. Apply it to the cloth, and never use a household spray.
Opening mains wiring. Turntables run on low voltage, but the mains side is not a place to experiment. If a power supply needs replacing, buy the correct one and match voltage and polarity.
Over-tightening the headshell bolts. Finger tight, gently, then a fraction more. Stripped or crushed headshells cost more than the alignment you were trying to set.
Frequently Asked Questions
Can you really improve a cheap turntable without spending a lot?
Yes, and most of the improvement is free. Cleaning your records, levelling the deck, setting tracking force with a gauge and aligning the cartridge routinely beat a cartridge swap on an unaligned deck. Then spend only on parts that have failed: a stretched belt, a worn stylus, or a preamp that hums. The order matters more than the amount.
Is it worth upgrading the cartridge on an inexpensive record player?
Only if the deck accepts one. Look for a half-inch cartridge mount, a headshell you can remove, and a tracking force range the new cartridge fits within. Many all-in-one suitcase players have a fixed cartridge and no headshell at all, so the upgrade simply is not available. Check compatibility before you spend anything.
How do I know if a turntable is damaging my vinyl records?
Signs of damage include skipping at the same spot every play, audible grinding, a tone arm dragging across a track, and records that developed new scratchy surface noise after playing on the deck. A heavy, unadjustable tracking force is the usual culprit. Check the force with a gauge and lower it to the cartridge specification.
Do I need a separate phono preamp for a cheap turntable?
Not always. A built-in preamp is fine when the deck sounds clean and sits away from your amplifier’s power supply. Buy a separate one when you get hum that changes with the volume control, when the deck shares a shelf with an amp, or when the cartridge you want needs more voltage than the built-in stage delivers.
What is the first upgrade I should make to a budget turntable?
Clean your records and set the tonearm properly. That costs almost nothing and it removes far more audible noise than any hardware swap. Once those are right, the next spend should be a cartridge or stylus if the deck has a removable headshell, and that is exactly how to upgrade a cheap turntable without wasting money on parts the deck cannot use.
Conclusion
Start by inspecting and setting up the deck you already own. Clean the records, level the plinth, calibrate the counterweight and set the force with a gauge before you spend a penny on parts.
Then spend on failure, not on fashion. A stretched belt that no longer holds 33 and a third should be replaced; one that still holds speed should be left alone. Fit a new stylus or cartridge only after confirming the mount, and get it aligned properly afterwards, by hand if you are confident or by a technician if you are not.
Improve the signal path last, because it cannot rescue a bad cartridge or dirty vinyl. And if the deck is a fixed-cartridge all-in-one, accept that the upgrade path has run out and start looking at a different player rather than buying parts that will never fit. The best upgrade is the one that makes the thing reliable and enjoyable, without putting a scratch into the collection you were trying to enjoy.