The safest way to remove a price sticker from a record cover is to saturate the sticker itself with naphtha-based lighter fluid, wait 15 to 30 seconds, then lift one corner and peel it back slowly at a low angle. Damp a cotton bud with the same fluid and dab away whatever glue residue stays behind. Take the record and its inner sleeve out first, and work on a flat surface you do not mind staining.
That whole job takes about five minutes per record once you have the habit. The hard part is not the technique, it is picking the right method for the sleeve in your hands, because a thin UK-issue paper sleeve and a laminated 1970s US jacket do not tolerate the same treatment. Get that decision wrong and you can bubble the paper, lift the printed overlay or bleach a corner, and that damage does not come back out.
Most of the confusion comes from advice copied between forums without the caveats attached. One thread says leave the solvent five minutes, another says peel the moment it looks wet, a third recommends WD-40. This guide ranks the methods by risk, tells you how long to wait and why, and spells out what not to touch a record cover with.
Last checked October 2026. The only editorial guide still ranking for this query dates from 2014, and the forum consensus underneath it is from 2011, so everything here was re-checked against current collector reports.
Table of Contents
- What You Need
- Which method for which sleeve
- Step-by-Step
- 1. Identify the sleeve material and test a hidden corner
- 2. Loosen the sticker without scraping the artwork
- 3. Apply controlled heat or moisture only when safe
- 4. Peel the sticker slowly and keep pressure off the sleeve
- 5. Remove remaining adhesive without soaking the cover
- 6. Let the sleeve dry fully and inspect the result
- Common Mistakes When Removing Price Stickers from Record Covers
- Frequently Asked Questions
- Can I remove a price sticker from a shrink-wrapped record without damaging the sleeve?
- What is the safest way to remove adhesive residue from a cardboard record sleeve?
- Will removing a sticker reduce the value of a vintage record?
- Can I use a hairdryer to remove a price sticker from a record cover?
- What should I do if the sticker starts tearing or the paper cover starts pulling?
- Start With the Least Risky Method
What You Need
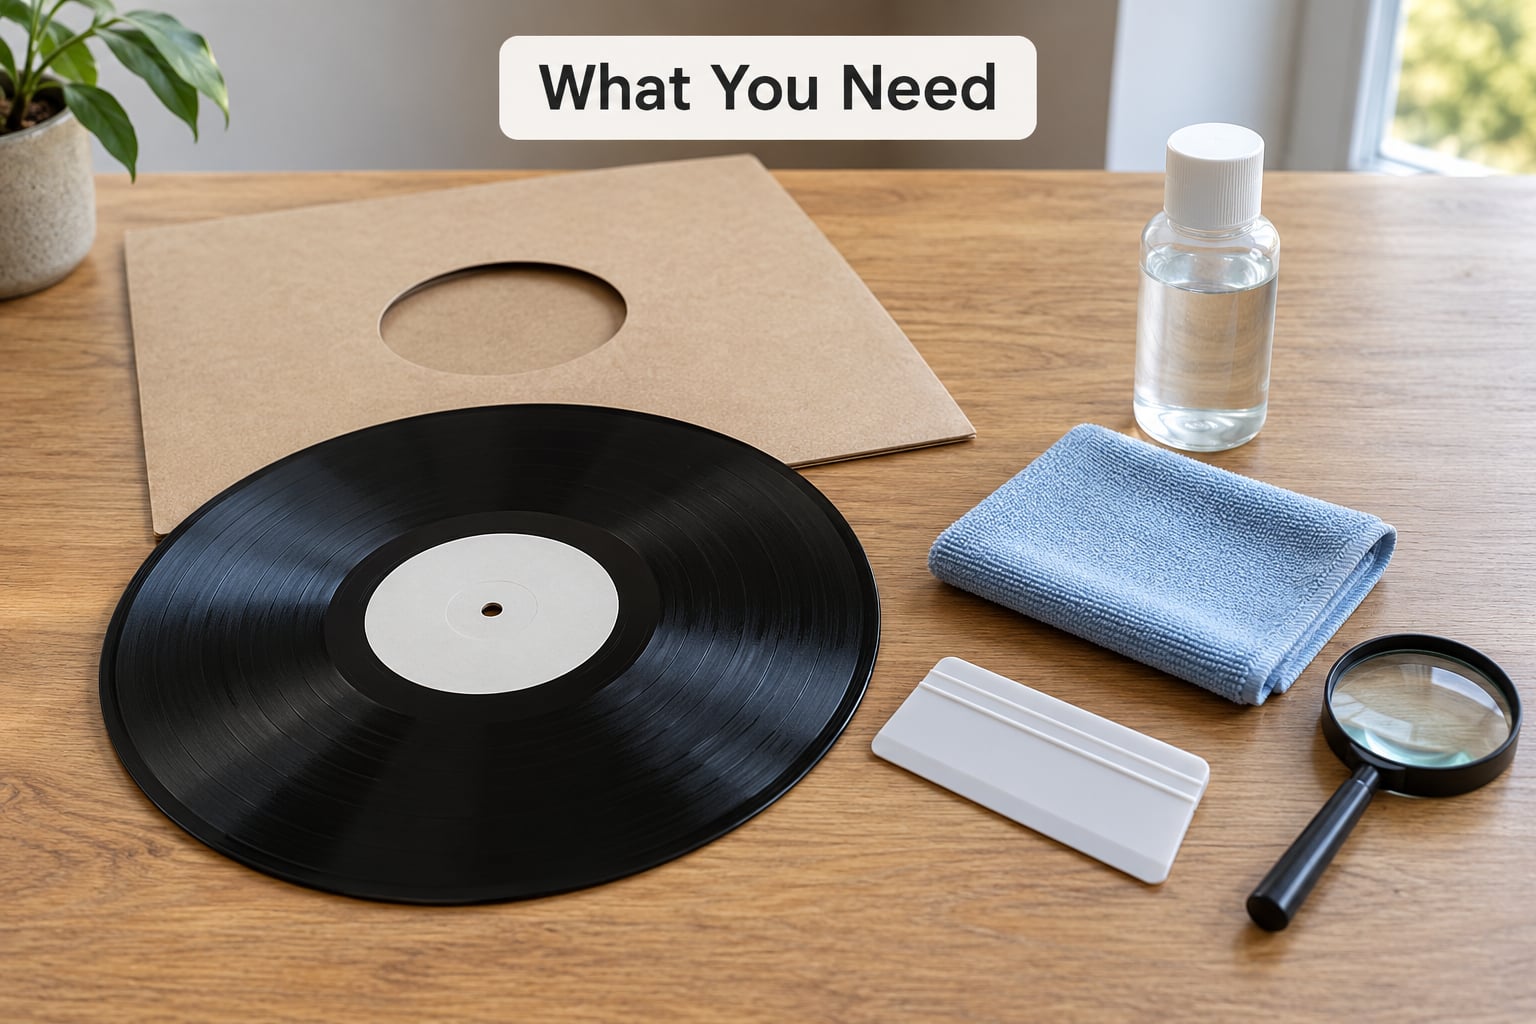
Keep the kit small. Everything below is cheap and most of it is already in a household drawer.
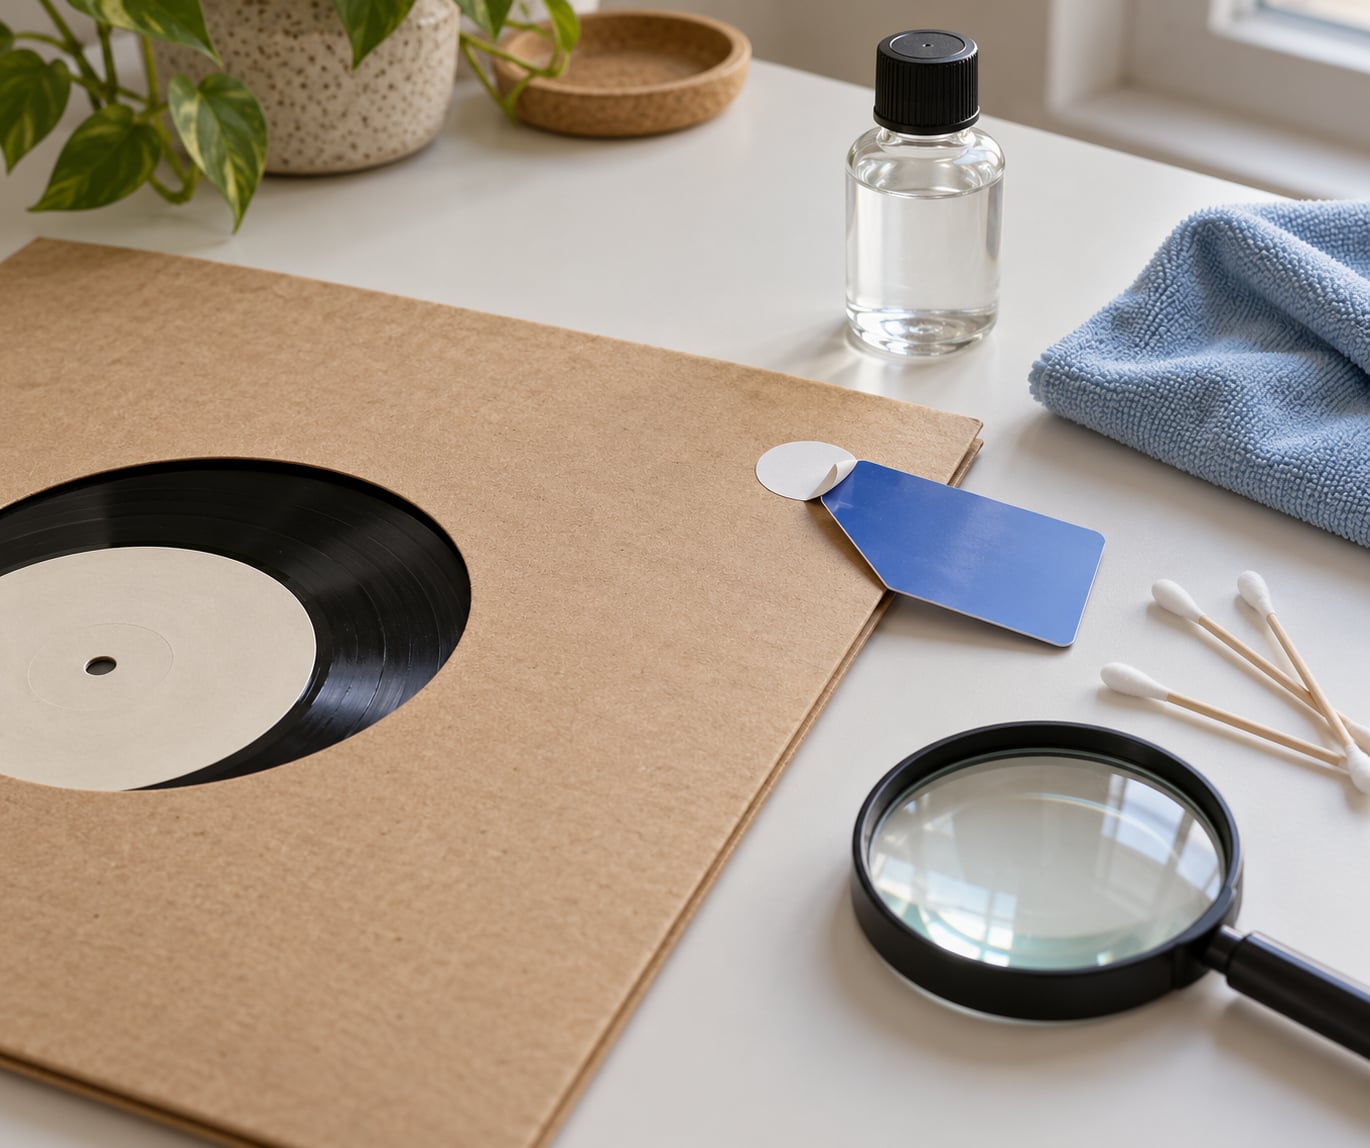
- Naphtha-based lighter fluid. Ronsonol and Zippo are the usual names, and the label should say naphtha or naphtha hydrocarbons. This is the primary tool and the one most collectors reach for. Do not substitute butane torch fuel or lighter fluid that is mostly toluene.
- Cotton buds and a soft cloth or paper towel. Buds keep the liquid where you want it instead of across the artwork.
- A plastic scraper or old gift card. A plastic card works as a lifting wedge and cannot scratch like a metal blade.
- Tweezers, optional, for a sticker corner that sits in a crease or along a gatefold seam.
- A magnifier or your phone camera. Genuinely useful for spotting whether a print is bare paper or a laminate before you commit to any solvent.
- A hair dryer on low, for the solvent-free route and for drying a sleeve that took on moisture.
- A clean vinyl outer sleeve. Once the record is clean again, get the price sticker off the cover art so the sleeve reads clean in a rack.
Ventilate the room, and keep naphtha away from the stove, the record cleaning fluid and any open flame. Naphtha is not toxic in normal use, but it is highly flammable and the vapour is heavier than air, so it pools low and travels.
Which method for which sleeve
| Method | How it works | Risk to the cover | Best sleeve type | Residue risk |
|---|---|---|---|---|
| Naphtha on a cotton bud | Dissolves the glue layer under the sticker | Very low, the safest option on print and laminate | Everything, including thin paper, if you spot-test first | None, it evaporates clean |
| Hair dryer on low | Softens the adhesive with warmth | Low if you keep it moving and stay 16 inches back | Plastic and shrink wrap, thin matte paper | None, though old glue can stay stubborn |
| Goo Gone | Slower, oil-based adhesive softener | Medium, it can mar coated and matte print | Glossy laminated jackets, plastic jewel cases | High, an oily film that lingers for months |
| Melamine sponge | Rubbing action lifts dried glue | Medium, it scuffs matte finish and print texture | Thick card, poly outer sleeves | None, but may buff the surface |
| Steam or warm water | Moisture re-softens a soaked label | Medium to high on paper, it causes bubbles and warping | Poly outer sleeves only | None |
Step-by-Step
1. Identify the sleeve material and test a hidden corner
Pull the record out. If it is in a cardboard inner sleeve, slide the record out of that too, because a solvent that soaks a paper inner sleeve can bleed straight onto the label and the disc. Set the record down on a towel somewhere safe and keep only the outer sleeve on the table.
Now look at what you are dealing with. Bare paper feels matte, fibrous and soft, and it is the most fragile material in the whole job. A laminated or lacquered jacket has a slight sheen and a hard surface that a cotton bud will not immediately stain. Plastic and shrink wrap are common on sealed or promo records. UK and Japanese issue sleeves are usually thinner and more fragile than 1960s and 1970s US card, which is the single most repeated warning in collector threads.
Find a corner that nobody will ever see, usually near the spine or under the back flap, and damp it with your cotton bud. Watch it for ten seconds. If the colour blooms or a dark halo creeps outward, stop there and use the low-heat method instead. If nothing happens, your solvent is safe for this sleeve.
2. Loosen the sticker without scraping the artwork
Slide the plastic card under one corner, or press the edge of a tweezer into the corner if the sticker has curled down into a seam. Do not use a knife blade. Even a very light metal edge will cut into a laminate or leave a bright scratch line that only shows under certain light, and that line is permanent.
What you want at this point is just one lifted corner, not half the sticker. Lift it about two millimetres and stop, then check that the print is staying attached to the card as it rises. A small white fibre on the corner of the sticker is normal. A white patch on the sleeve is a warning.
3. Apply controlled heat or moisture only when safe
Before you use any solvent, and while the corner is lifted, decide whether you need more help. This is the escalation ladder. Start with nothing extra. Then low heat. Then naphtha. Then a moisture-based method, in that order, and only reach for moisture on a plastic sleeve.
For heat, hold a hair dryer on low about 16 inches away and keep it sweeping across the sticker. Never park the nozzle in one spot. Two or three slow passes, each lasting a few seconds, is plenty. A heat gun on low at the same distance behaves identically.
Leave records in direct sun to soften glue and you will get a bleached, buckled sleeve, which is exactly what collectors describe when they come back to find their records have warped slightly in the jacket. Sun is not a drying step, it is just damage with a delay.
For moisture, a barely damp cloth is the ceiling. Dampen it, wring it out until almost nothing comes off, and dab rather than rub. Water on paper sleeve stock causes bubbles and cockling that may never fully flatten, and any liquid running down toward the opening can reach the vinyl. Steam is the gentler version of this and is a reasonable choice when a sticker has been soaking on for years and naphtha has not budged it.
4. Peel the sticker slowly and keep pressure off the sleeve
Once the adhesive has softened, peel at a shallow angle, roughly 30 degrees, rather than pulling straight up and back. Pulling straight up asks the sticker to fight the whole surface at once and drags printed overlay with it. A low angle concentrates the pull on the already-lifted edge, which is nearly free.
Work in sections if the sticker is big, and use your other hand to press gently on the sleeve just ahead of the peel line. That counter-pressure is what stops the paper lifting behind the sticker. If you see fibres coming up with the sticker, freeze, put it back down, and go back to the solvent for another pass.
Change the label, not the sleeve. If the sticker has a printing that bleeds, or the glue has gone into the paper itself, stop after two or three attempts and reassess rather than working the same spot repeatedly.
5. Remove remaining adhesive without soaking the cover
There will almost always be a shadow of glue where the sticker was. This ghost sticker is what collectors complain about most, and it is also the easiest part of the job to mess up by overworking.
Damp a fresh cotton bud with naphtha and dab the residue, rotating the bud as it picks the glue up. Change buds often, because a loaded bud just smears the adhesive into a wide, thin haze that is harder to remove than the original blob. Work from the outside edge inward so you are not pushing residue across clean artwork.
If naphtha leaves a slight ring or a soft-looking patch, stop. That appearance is normal while the sleeve is wet, and collectors with decades of practice report it fades on its own within days as the last of the solvent evaporates.
Goo Gone works on adhesive residue, and it is particularly good on glossy laminated jackets, which is why so many collectors own a bottle. Be aware that collectors also report it leaving an oily film that is still faintly visible months later, and it has marred coated substrates where naphtha never has. It is a reasonable second choice on gloss, a poor first choice on bare paper, and never a choice on an album you might sell.
A melamine sponge handles the last stubborn bits on thick card, though rubbing buffs matte print and changes its texture. Dish soap will not shift adhesive on a sleeve. Adhesive needs a solvent, and water beside the sleeve brings more risk than it solves.
6. Let the sleeve dry fully and inspect the result
Stand the sleeve upright on a towel, or lay it flat with the spine slightly open so air moves through it. Naphtha dries in a minute or two. Give a moisture-treated sleeve much longer, several hours at least, and only when the card feels completely dry to the touch.
Then inspect under decent light. Check for a halo or ring where the sticker sat, a dull patch where you worked, lifted fibres at a corner, and any colour change around the edges of the treated area. If the sleeve is card and feels soft or springy anywhere, set it under a flat weight for a few hours rather than trying to flatten it by hand.
Return the record only once the sleeve is fully dry. Sliding a disc into a damp cardboard jacket invites mould at the opening, and the weight of the record can warp a weakened spot permanently.
Two warnings that show up repeatedly on forums. Hand-peeling a stubborn sticker by fingernails is the most common way collectors damage a sleeve, so if solvent and heat have both been tried twice, leave it. And sleeve damage from a few seconds of direct sun is a permanent fade that you will notice every time you pull the record from the shelf.
Common Mistakes When Removing Price Stickers from Record Covers
Nearly every ruined sleeve traces back to one of a handful of mistakes, and all of them are avoidable.
- Peeling by hand before trying solvent. Adhesive that has soaked into paper fibres needs dissolving, not pulling. This is the mistake that lifts artwork.
- Using a knife blade or a screwdriver. A plastic card does the same job and cannot scratch a laminate.
- Soaking the sleeve. Keep liquid on the sticker, not the cover. Paper sleeve stock bubbles, buckles and delaminates from its backing board when it gets wet, and that is permanent.
- Sitting the sleeve in direct sun to soften the glue. It fades the artwork and warps the jacket. Low, moving heat from a hair dryer is a different thing entirely.
- Leaving the record in the sleeve while working. Solvent bleeding into the opening reaches the label and the record. Always pull it out.
- Rubbing residue instead of dabbing it. A loaded cotton bud spreads glue into the artwork. Change buds instead.
- Overworking one spot. Two or three careful passes is a sensible limit. If the paper feels warm, spongy or fuzzy, stop.
A few quick precautions pay off. Work over a surface you can wipe, since naphtha can take a finish off a table or a countertop. Keep the record in a fresh outer sleeve afterwards so you are not handling bare artwork again. And if you own a record you paid real money for, keep the sticker until you have decided what you want to do with it. Not everyone thinks removal is the right call, and the price tag is part of the record’s life anyway. Plenty of used-record counters hand customers their own removal method with every purchase, which tells you how routine this question is.
Frequently Asked Questions
Can I remove a price sticker from a shrink-wrapped record without damaging the sleeve?
Yes, but the sticker itself usually sits on the outer paper sleeve, not the shrink wrap. Cut the shrink wrap along an edge, slide the record out, then treat the sticker on the sleeve as normal. If the sticker sits directly on the shrink wrap, warm it with a hair dryer on low from 16 inches away, keep the dryer moving, and peel slowly. Never cut toward the disc or let heat rest in one spot, since a warmed sleeve can warp and press against the record.
What is the safest way to remove adhesive residue from a cardboard record sleeve?
Naphtha-based lighter fluid on a fresh cotton bud, dabbed rather than rubbed. Naphtha dissolves the glue and evaporates without the oily film Goo Gone can leave, and collectors with decades of practice report it has not marred their sleeves. Change buds frequently, work from the outside edge inward, and stop if the print looks stressed. On glossy laminated jackets Goo Gone is a fine second choice; on bare matte paper it is not.
Will removing a sticker reduce the value of a vintage record?
A sticker sitting on the cover art usually hurts resale value more than the removal does, because it obscures the artwork. Removing it carefully, with solvent and no scraping, generally improves presentation. Value can drop if the sleeve is torn, the print is lifted or a ring is left behind, which is why the spot test and slow peel matter. Some collectors prefer to keep an original price tag as part of the record’s history, so on a genuinely scarce pressing it is worth thinking twice.
Can I use a hairdryer to remove a price sticker from a record cover?
Yes, on the low setting only. Take the record out first, hold the dryer about 16 inches from the sleeve, and keep it moving rather than resting on one spot for more than a few seconds. Two or three slow passes soften the adhesive enough to lift a corner with a fingernail or a plastic card. Direct sun is not an acceptable substitute, because it fades the artwork and can buckle the jacket permanently.
What should I do if the sticker starts tearing or the paper cover starts pulling?
Stop immediately and put the lifted edge back down. A torn sticker means the adhesive has not softened enough, so add more naphtha with a cotton bud and wait another 15 to 30 seconds. Fibres coming up with the sticker are normal. White paper on the sleeve itself means the print is lifting, and that is real damage: stop, let the sleeve dry flat under light weight, and accept that this sleeve has seen enough. Repeating the peel will only enlarge the damaged area.
Start With the Least Risky Method
Take the record out, spot-test a hidden corner with naphtha, and wait 15 to 30 seconds after saturating the sticker. Lift one corner with a plastic card, peel back at a shallow angle with a hand pressing ahead of the peel line, then dab the residue with a fresh cotton bud. Save low heat, Goo Gone and moisture for the stickers that will not budge. If a sticker is important to you, leave it on, because a patient no-op beats a permanent mark every time.