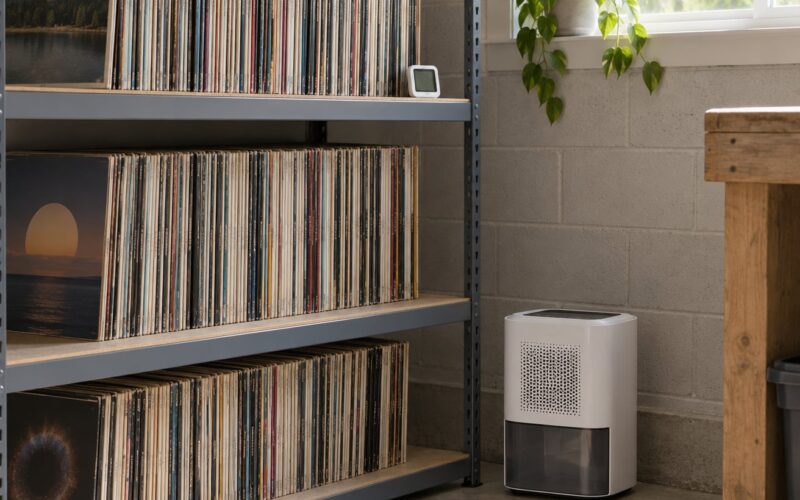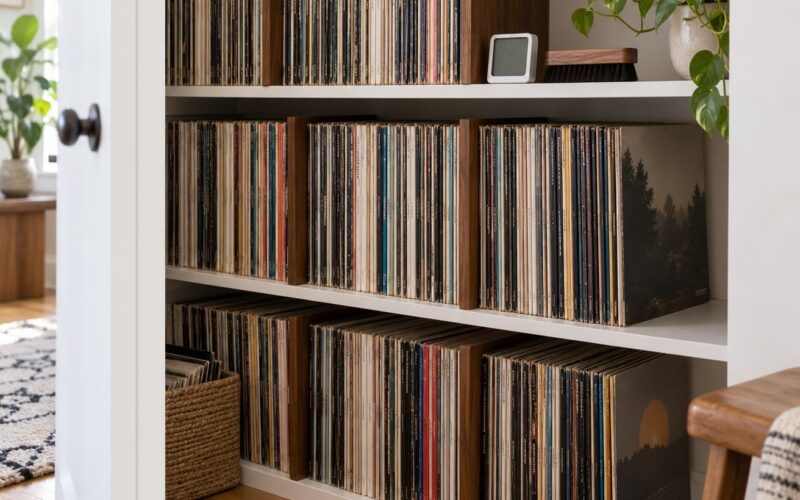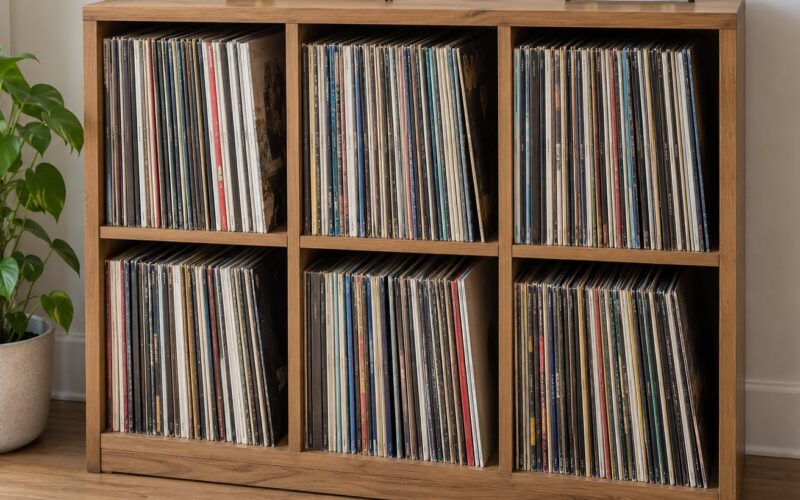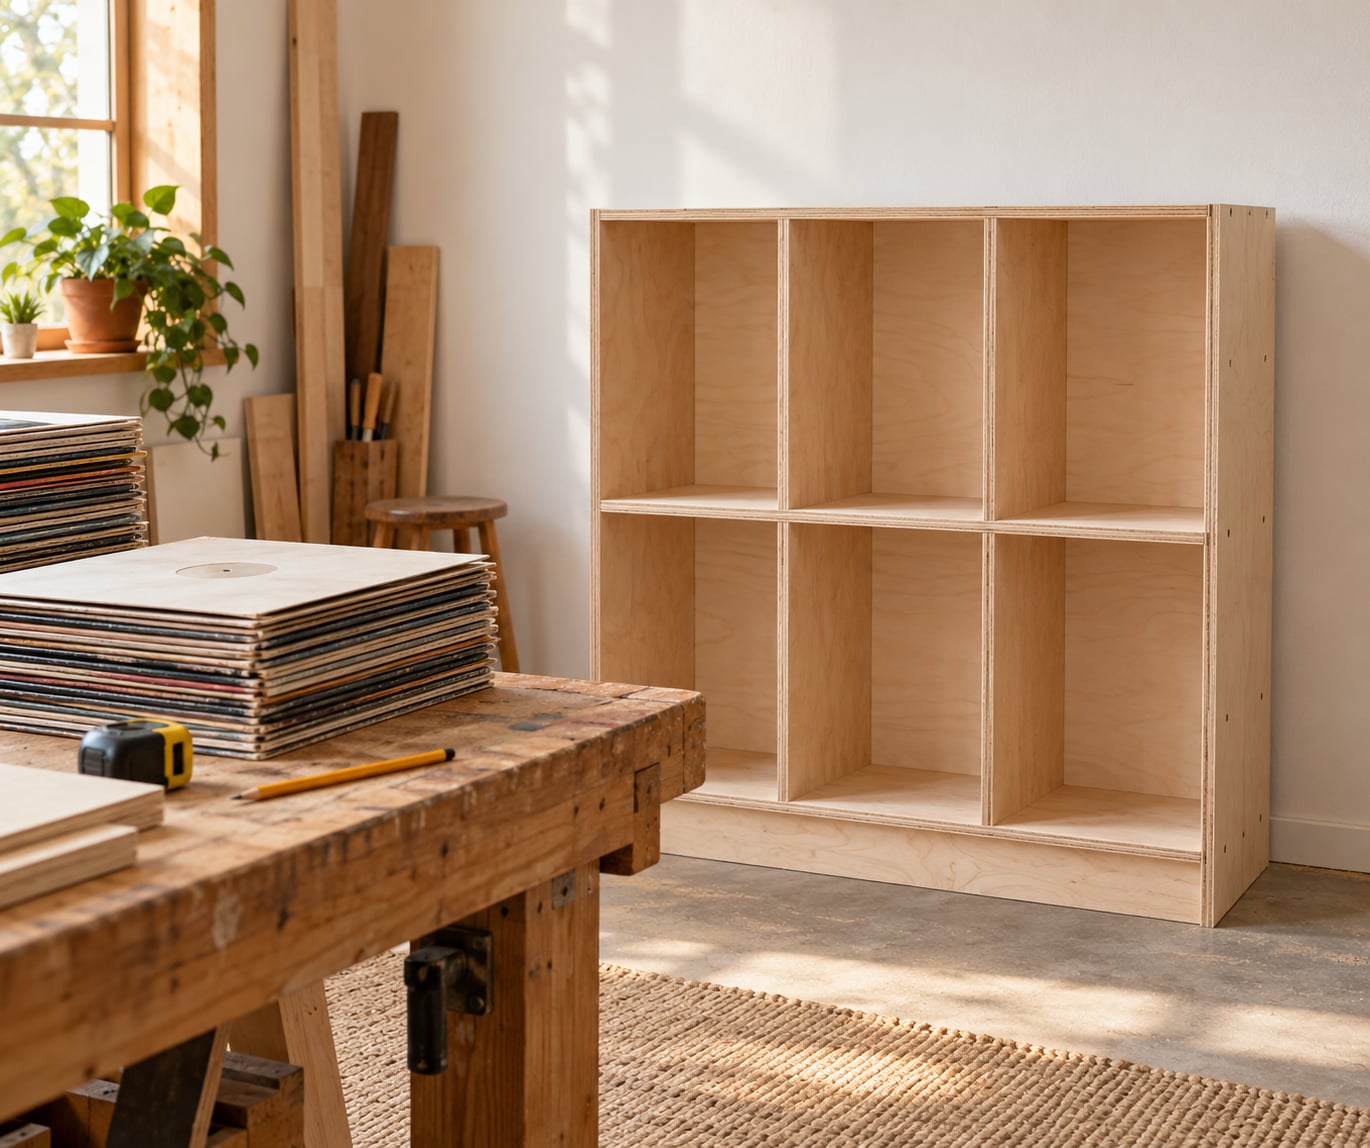
A standard record shelf is 13 inches deep, with 13 to 14 inches of clear height and 12 to 15 inches of width per bay. Build one around those numbers and your LPs stand upright, browse by spine, and stay flat instead of leaning into a slow warp. Most people finish a three-bay unit in a weekend, and the whole thing comes out of a single sheet of 3/4 inch plywood. If you have wondered how to build a record shelf for a collection that keeps growing, those four numbers are the part worth memorizing.
I built my first shelf by eyeballing it, and the bays came out a quarter inch too shallow. Every gatefold sleeve had to be lifted and re-seated to dig out anything near the back. Ten minutes of measuring at the start would have saved me an afternoon.
This guide walks through the full build: planning the dimensions around your actual collection, picking materials, cutting a real cut list, joinery, finishing, and getting the finished unit level and anchored to the wall. Updated for 2026, it covers the beginner path too, including what to do when you have no table saw and you rent the wall.
Table of Contents
- What You Need
- Step-by-Step
- Step 1: Measure Your Records and Space
- Step 2: Choose a Shelf Design and Materials
- Step 3: Plan the Shelf Layout
- Step 4: Cut and Prepare the Parts
- Step 5: Build the Frame and Supports
- Step 6: Sand, Finish, and Protect the Shelves
- Step 7: Install and Load the Records
- Common Mistakes
- Frequently Asked Questions
- What are the dimensions of a standard record shelf?
- How deep should a shelf be for vinyl records?
- What wood is best for a record shelf?
- Is it cheaper to build my own record shelf?
- How do I stop a tall record shelf from tipping over?
- Can I build a record shelf without a table saw?
- Conclusion
What You Need
Start with the collection, not the lumber. A shelf that fits the sheet you have will never fit the records you own.
Measure the depth, height and width you need, then buy material to suit. The table below is the short version I keep taped to the wall:
| Measurement | What works | Why |
|---|---|---|
| Shelf depth | 13 to 14 inches external | A 12 inch LP sleeve is about 12.4 inches wide. Anything under 13 makes you lift records to read them. |
| Clear height per bay | 13.5 inches minimum | Standard LPs need about 12.4 inches. 13.5 leaves room for box sets, which run taller. |
| Bay width | 12 to 15 inches | Narrower is fine for LPs. Wider is better for gatefolds and box sets lying flat. |
| Records per bay | About 100 to 150 LPs | Depends on sleeve thickness. A 16 inch cube from a big-box store fits roughly 80 to 90. |
| Material thickness | 3/4 inch plywood | Thinner stock sags under load across a long span. MDF is stable but heavy and hard to screw into. |
| Shelf span limit | Under 16 inches without a support | A 3/4 inch shelf that long will dip in the middle under a full bay of records. |
For materials, a single 4 by 8 foot sheet of 3/4 inch birch or maple plywood covers a three-bay unit and leaves usable offcuts. Oak veneer plywood is the other common pick, and it holds screws well. Solid wood looks better but moves with humidity, which matters in a basement or garage.
MDF is flat and cheap but heavy, brittle at the edges, and it will not take repeated screw changes. Melamine board from a big-box store is fine for a light collection if you are careful, but the raw edges chip.
For tools: a tape measure, pencil, speed square, straightedge, a circular saw with a fence, a drill, a clamp or two, and sandpaper in 120, 180 and 220 grit. A table saw helps but is not required. A track saw or a straightedge guide clamped to the plywood gives a straighter edge than a freehand circular saw.
Safety gear is not optional: safety glasses, hearing protection, and a dust mask or respirator for sanding. A respirator matters more than people expect, because the finish you apply later is the bigger exposure.
Joinery gear depends on your route. Pocket holes need a jig and give the cleanest, strongest result. Dowels need a jig or careful layout. Screws with a countersink need only a drill and a bit, and they are the fastest path for a beginner. A dado joint needs either a table saw with a dado blade or a router, so it is the least beginner-friendly option.
| Joint | Strength | Tooling | Best for |
|---|---|---|---|
| Countersunk screws | Good | Drill only | First build, no special gear |
| Pocket holes | Excellent | Pocket hole jig | Flat, gap-free shelves |
| Dowels plus glue | Good | Doweling jig or layout | Visible-edge furniture |
| Dados | Excellent | Table saw or router | Shelves that carry real weight |
You will also want edge banding, a wood filler, an oil-based or water-based polyurethane, and small felt pads for the feet.
Two supplies people forget. Screws should be the length that just misses the far edge of the mating panel, no longer, or you will drive a point straight into a record sleeve. And buy a box of spare dividers, because you will want to re-sort a bay within a month of the first one.
Step-by-Step
How to build a record shelf that stays square two years from now is a matter of order. Measure before you buy, plan before you cut, and check squareness before finish goes on. Each step below ends with a quick test so you can catch a mistake while it is still cheap to fix.
Step 1: Measure Your Records and Space
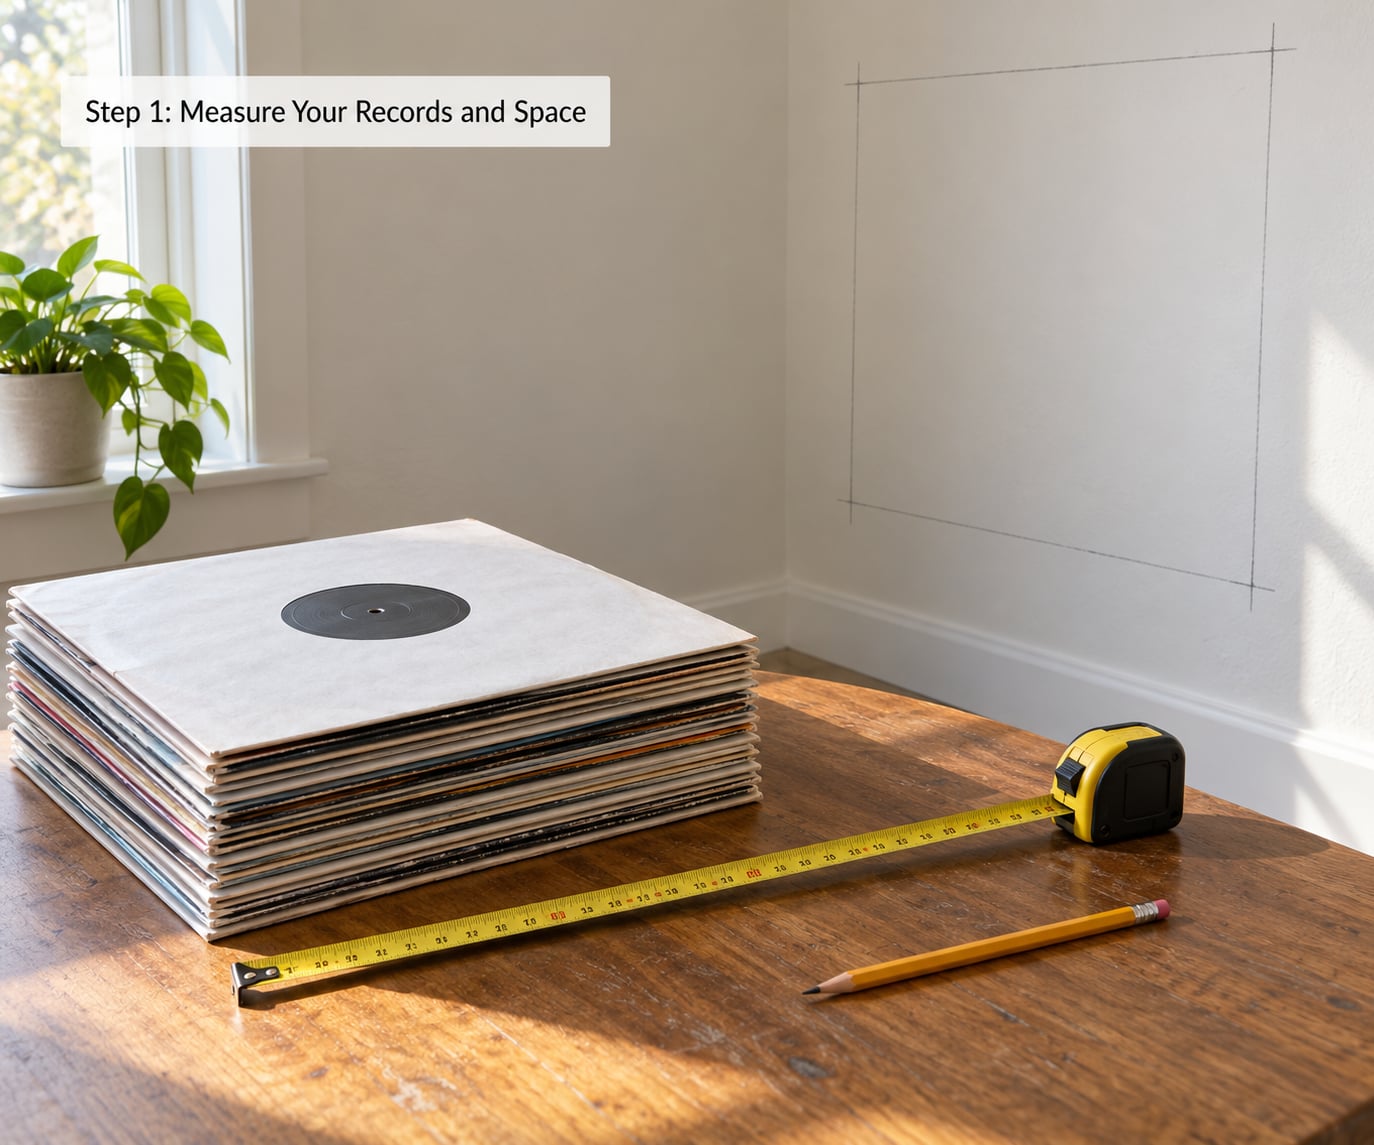
Measure three things: the collection, the wall, and the route it will travel. The wall is easy to underestimate because baseboards and window trim eat into a flat measurement.
For the collection, pull out a few sleeves from the middle of the crate and measure width and height. Standard LPs measure 12.4 inches across, but gatefolds, picture discs, and box sets do not obey that number. Measure three sizes: your most common record, your tallest box set, and your widest gatefold.
Set the shelf depth from the largest of those. A bay 14 inches deep holds a standard sleeve with room for a divider strip, while a bay of 15 inches lets you stand box sets at the back without burying them.
For the space, note the ceiling height, the baseboard depth, and whether doors, windows or radiators sit behind the intended location. Sunlight across a wall will fade sleeves over a couple of years, and a radiator under a window is a poor neighbor for vinyl.
Check the path too. A finished three-bay unit is awkward to move through a doorway once it is full, which is why a lot of collectors build two smaller units instead of one large one.
How you know the measurement worked: every sleeve slides in without tilting, the spine sits proud of the front edge so you can read it, and the unit clears the baseboard and the door swing.
Step 2: Choose a Shelf Design and Materials
Four designs cover almost every collection. Fixed shelving is the simplest and the most rigid, with horizontal shelves screwed or joined into two sides. Cubby storage is a grid of equal openings, which looks tidy and grows in neat increments. Wall-mounted units use cleats and leave the floor visible, which matters in a small room. Modular systems bolt or dowel together in repeatable sections, which is the practical answer if you move or keep adding records.
Match the material to the load. A 200 record starter can live on 1/2 inch shelving or even a modified cube unit. A 1500 record archive wants 3/4 inch plywood, a back panel or cross brace, and support under every long span.
For the design to grow, build for the collection you will have in five years rather than the one you have now. Most collectors underestimate. Leaving one or two bays empty or unbuilt costs nothing now and saves a rebuild later.
One design note worth adding early: if you keep 7 inch singles, plan a row of shallow cubbies at one end rather than trying to wedge them into a full-height bay. A 45 RPM sleeve needs about 8 inches of width and the same 13 inch depth, so a shallow cubby with a center divider keeps two rows from leaning into each other.
Step 3: Plan the Shelf Layout
Draw the unit to scale on graph paper before you cut anything. Mark the outside dimensions, then the internal bays, then the shelf centers. Sketching ten minutes of lines saves a sheet of plywood.
A three-bay unit at 31.5 inches wide, 52.5 inches tall and 14 inches deep gives internal bays of roughly 30 inches wide by 16.5 inches clear. That holds a lot of records and leaves the top bay high enough to use as a display row.
Shelf centers decide capacity. Compute the clear height by subtracting the thickness of the shelves from the internal height, then divide by the number of bays. Resist rounding the clear height down to save an inch of overall height; you will regret it with box sets.
Support placement is the part people skip. Support every shelf at both ends where possible, and add a vertical divider to any bay wider than 16 inches. Dividers also stop records from sliding sideways and leaning, and they give you a place to run an LED strip or a label.
Load distribution follows the same logic. Fill the lower bays with the heavy box sets and the upper bays with standard LPs. A lower bay that is mostly empty in a tall unit is a tipping hazard before it is a design flaw.
Check that the finished height lets you reach the top bay without a stool. Seven feet works for most adults, and anything taller means a step ladder for browsing, which is how people end up with boxes on the floor.
Sketch the alternative layouts too, even if you only intend to build one. A tall narrow unit and a low wide unit use the same wall very differently, and the comparison takes two minutes on the back of an envelope. Once the drawing is done you can put the real cut list next to it and check the sheet yield before you pay for anything.
If you want a digital version of the same sketch, a free 2D drawing tool or a spreadsheet grid will both do the job. Paper is faster for a single unit.
Step 4: Cut and Prepare the Parts
Here is the cut list for the unit described above, from one 4 by 8 foot sheet of 3/4 inch plywood:
| Part | Quantity | Finished size (inches) |
|---|---|---|
| Side panels | 2 | 3/4 x 52.5 x 14 |
| Fixed shelves | 5 | 3/4 x 29.25 x 14 |
| Optional center dividers | 6 | 3/4 x 15.75 x 14 |
| Optional back panel | 1 | 1/4 x 31.5 x 52.5 |
Rip three 14 inch wide strips from the sheet. Each 96 inch strip yields one 52.5 inch side and one 29.25 inch shelf, and the third strip yields the remaining three shelves. The leftover strip along the edge is for dividers and edge banding.
Mark your cuts, then add a number to every part with a pencil or masking tape before the saw comes out. Pieces that look identical at the end of a cut session rarely are, and a mislabeled panel costs a second trip to the lumber rack.
No table saw? Clamp a straightedge on the plywood and run the circular saw along it, or use a track saw if you own one. Cut slightly on the waste side of your line, then sand or plane back to the mark. Hand tools work for the whole cut list, just slowly.
Apply iron-on edge banding to the front edges of the sides and shelves while the parts are still flat. A light iron and a scrap block make the seam sit flat. This step takes ten minutes and it is the difference between furniture and a garage project.
How you know the cuts worked: the parts are square at the corners within a sixteenth of an inch, all the sides match in length, and the front edges line up when the unit is stood up.
Step 5: Build the Frame and Supports
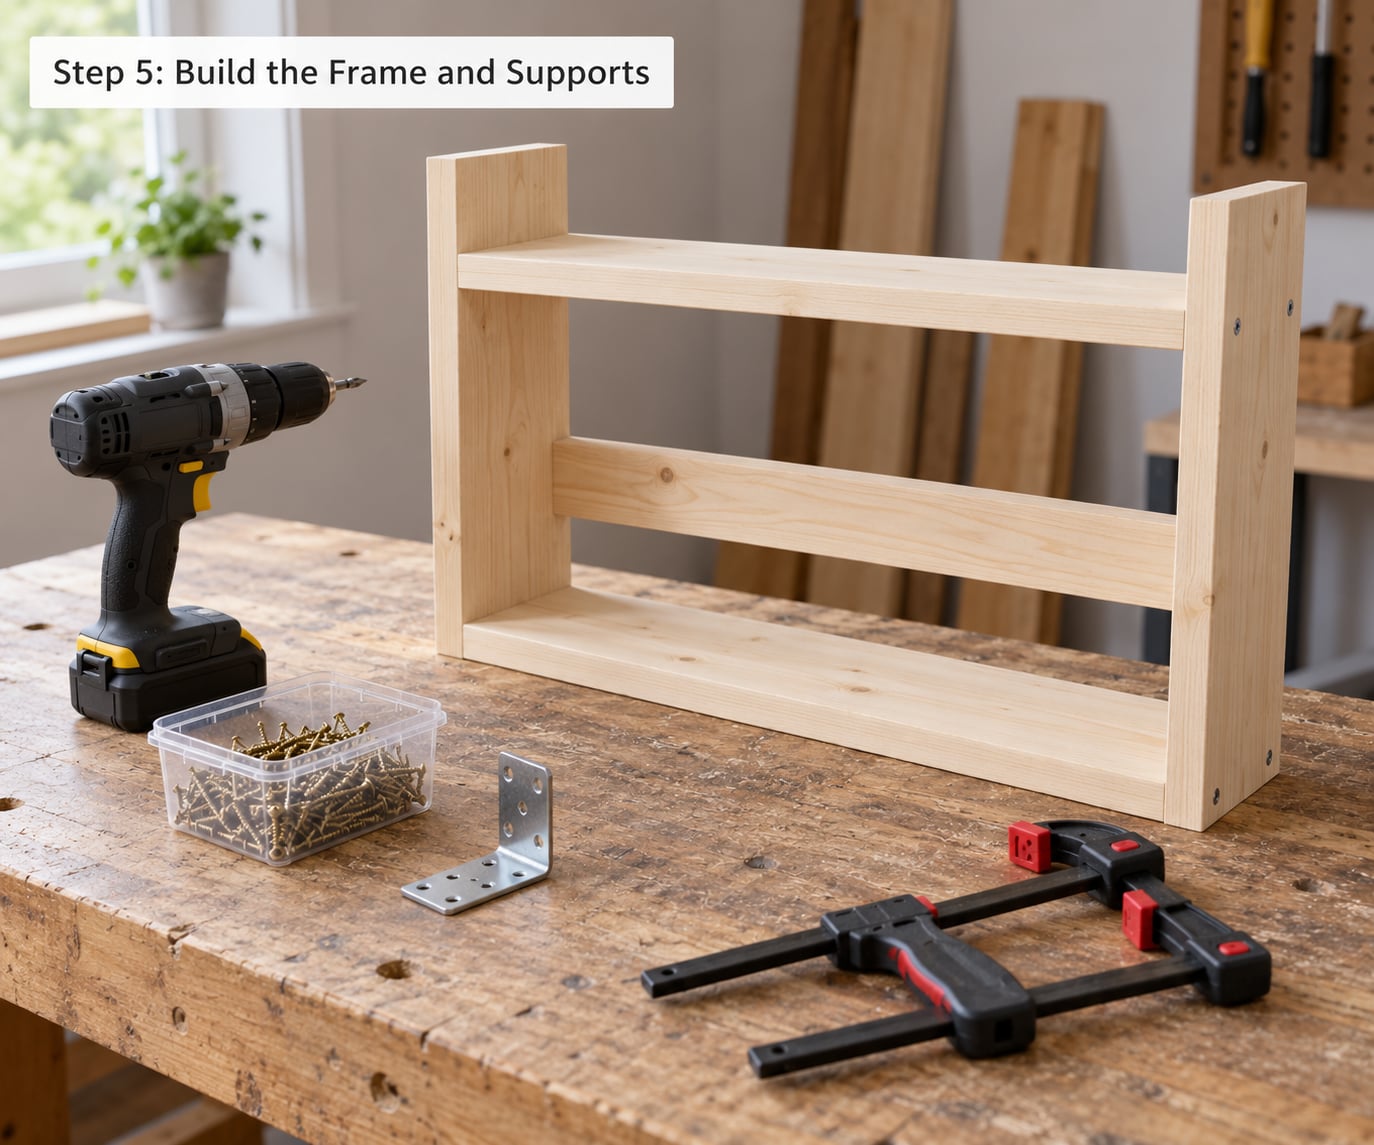
Assemble the carcass flat on the floor, on the back panel, or on a blanket. Build it upside down if the top panel is the largest piece; the weight of the unit does the clamping for you.
Dry-fit every part before you add glue or screws. If the sides do not sit flush, find out why now. Working from the bottom corner up keeps the unit square, and a diagonal measurement from one outside corner to the other should match exactly when the frame is square.
Fix the two side panels to the top and bottom panels first, then drop the intermediate shelves in. Countersink the screws so the heads sit below the surface and will not scratch a sleeve when records slide across. For shelves that will carry real weight, add glue to the joint as well as the screws.
Reinforce the places that move. Long spans, the top panel of a tall unit, and the joint between the sides and any fixed shelf are where a record shelf eventually fails. A center divider, a back panel of 1/4 inch plywood, or a diagonal brace across the back stops the sides from bowing.
Anchor the top of the unit to a stud or a solid cleat while the frame is still on the bench if your wall allows it. Installing the shelf level is far easier on the floor than it is upright.
How you know the frame worked: stand it up and push the top corners in opposite directions. If it racks, check the squaring again before you add any finish.
Step 6: Sand, Finish, and Protect the Shelves
Sand the whole carcass before any finish goes on. Start at 120 grit, move to 180, and finish at 220. Break every sharp edge with sandpaper, because a raw plywood edge is the first thing to cut a sleeve.
Fill screw holes and any small chips with wood filler, let it dry, and sand flush. Then vacuum the dust off, including inside the bays, with a brush attachment.
Choose one finish and stick with it. Oil-based polyurethane is tougher and slightly yellow, water-based poly is clear and low odor, and hardwax oil gives a matte look that hides fingerprints. Thin coats beat thick ones, so three light coats will look better than one heavy coat that pools and dries wavy.
Brush a thin coat on, let it dry, sand with 220 grit, and repeat. Follow the can for dry times, which vary with humidity and temperature. Sand between coats with a pad, not by hand, so the whole surface stays flat.
Finish location matters more than most people think. A water-based poly cures for weeks before it is fully hardened, and a soft cured surface will pick up a ring from a wet sleeve. Keep records off a freshly finished shelf until it cures, and store them elsewhere during the build.
Ventilation is a real requirement, not a nicety. A shelf that is solid on all six sides traps humidity and traps the smell of finish. Leave a gap at the back or leave the back panel off entirely if the unit is not going to the wall.
Step 7: Install and Load the Records
Set the finished unit where it belongs and level it before anything heavy goes in. A level is the whole job here, and a scrap of shim under a low foot beats chasing the baseboard later. Check the level front to back as well as side to side, since a unit that reads level on three sides can still drop out on the fourth.
Anchor the top into a stud with an anti-tip strap, or screw a blocking cleat to the studs and bolt the unit to it. Studs sit 16 inches apart in most framing, so a pair of them is usually within reach of the unit’s center, which is where the strap has the most leverage against a tip-over.
If you rent and cannot drill into the wall, keep the unit under six feet, keep it pushed back against the wall, and widen the base so the center of gravity stays low. A short wall unit is the safest renter option and it does not have to be the plain one; a wide low unit looks deliberate where a tall skinny one looks temporary.
Load from the bottom up. Box sets and heavier pressings go in the lowest bay, standard LPs above, and reserve the top bay for the sleeves you want to see. Add a divider at each end of every run so nothing leans, and pull records toward the front so you can read the spines without lifting.
Sort each bay as you fill it. Grouping by artist or by format saves time later, and it means you can pull a run out cleanly instead of disturbing the whole bay. Fill one bay until it stands on its own before starting the next, so the shelf is never carrying a load it was not designed for.
If the shelf gets a turntable on top, isolate it. Put the deck on a mat or a set of isolation feet, leave room behind for the cables so they are not pinched, and check that the platters do not rock when someone steps on the floor nearby. Keep the unit itself off the wall in a shared building, because a shelf screwed tight to a partition passes footfall noise straight into the deck.
For 7 inch singles, add a shallow cubby row with a center divider rather than a full bay. Give the unit a back vent gap if you skipped the back panel, keep it out of direct sunlight, and in a basement or garage watch the humidity, since warping starts when a record takes moisture in and never gets it back out.
Give the whole thing a shove before you walk away. If the diagonals still match and the bays hold their load with the full collection in place, the build worked.
Common Mistakes
Almost every wobbly or damaged record shelf comes down to one of a handful of errors. Each of these has a fix you can apply during the build rather than after.
Shelves that are too shallow. A bay under 13 inches deep means records sit back out of sight and lean. Fix: build internal depth to at least 13.25 inches, which is 14 inches of external depth with 3/4 inch stock.
Uneven or unlevel shelves. Records need a flat bottom to stand on, and a shelf that is out by an eighth of an inch will lean the whole run. Fix: check each shelf with a level before you tighten the last screw, and shim the low corner rather than forcing the unit.
Overloading the top shelves. The upper bays carry the least support and the highest leverage. Fix: heavy box sets go in the lowest bay, and if a shelf is stuffed, add a divider so the load is carried at two points instead of a long span.
No wall anchoring. A tall freestanding unit is a tipping risk, especially with a child or a cat in the room. Fix: run an anti-tip strap from the top of the unit into a wall stud, or build a wider base if the unit stands free.
Long unsupported spans. A 3/4 inch shelf that runs more than about 16 inches will dip in the middle under a full bay of vinyl. Fix: add a vertical divider, a 1/4 inch plywood back panel, or a horizontal cleat under the front edge of the shelf.
Records stacked flat. Flat stacking hides every spine and puts weight on the middle of the jacket, which leads to ring wear and warping over time. Fix: store upright, with dividers at both ends of each run so nothing can tip.
Finish that is still curing when the records go back. Even a hardened top coat can mark from a sleeve edge. Fix: leave the unit empty for the full cure time listed on the can, and put felt pads under any records that must sit in the meantime.
A couple of extra touches go a long way. Sand the front edge of each shelf slightly round so sleeves glide rather than catch. And keep a 1 inch gap behind a turntable shelf so cables can drop without being pinched.
Frequently Asked Questions
What are the dimensions of a standard record shelf?
A standard LP shelf is 13 to 14 inches deep externally, with 13.5 inches of clear height per bay and 12 to 15 inches of width per bay. A 12 inch LP sleeve measures about 12.4 inches, so anything shallower than 13 inches pushes records out of sight. Aim for at least 13.5 inches of clear height so box sets also fit upright.
How deep should a shelf be for vinyl records?
Build the internal depth to at least 13.25 inches, which means roughly 14 inches of external depth when you use 3/4 inch plywood. That leaves a standard sleeve sitting flush near the front edge with its spine readable. Going deeper only helps if you plan to store box sets or gatefolds at the back of the same bay.
What wood is best for a record shelf?
Three-quarter inch plywood is the best all-round choice because it is stable, cheap per sheet and holds screws well. Birch and maple are easier to cut cleanly than oak veneer. Solid hardwood looks better but moves with humidity, which matters in a basement or garage. MDF is flat and stable but heavy and it will not take repeated screw changes.
Is it cheaper to build my own record shelf?
Building usually wins on the material side, because the main costs are one sheet of plywood, a small amount of finish and a box of screws. A finished commercial cube shelf costs more per bay and locks you into fixed dimensions that rarely fit a real collection. The trade is time: a weekend of work plus the tools you do not already own.
How do I stop a tall record shelf from tipping over?
Anchor the top of the unit into a wall stud with an anti-tip strap or a blocking cleat, and keep the heavy box sets in the lowest bay. If you cannot drill the wall because you rent, build a wider base, keep the unit under six feet tall, and push it back against the wall. Free-standing tall units are the main hazard in a room with kids or cats.
Can I build a record shelf without a table saw?
Yes. Clamp a straightedge on the sheet and run a circular saw along it, or use a track saw for an even cleaner line. Cut on the waste side of your mark and sand or plane back to it. Hand tools will do the whole cut list, just slowly. Edge banding on the front edges makes a hand-cut shelf look finished anyway.
Conclusion
The first thing to do is put a tape measure on your largest sleeve, your tallest box set and the wall you intend to use. Those three numbers set the depth, the clear height and whether the unit will fit at all, and every later step depends on them.
Build the shelf around your collection rather than around a standard size. A weekend of measuring, cutting and finishing gives you a unit that fits your records, your room and your future purchases, and a record shelf that fits your records is the only one worth making. That is how to build a record shelf you will still be filling in five years.