Most torn record jackets can be saved with the least invasive method that fits the damage. Patch small tears from the inside with acid-free mending tissue and a thin wheat starch paste, reinforce spine splits and loose hinges with archival tape applied to the back of the card, then flatten and dry the jacket under light weight. Budget 20 to 40 minutes of active work plus drying time, and you keep the original artwork instead of hunting for a replacement sleeve.
The rule that matters most: repair from the back, use only acid-free materials, and never reach for ordinary clear tape. Anything else tends to yellow, bleed through the print, or turn a small tear into a ruined cover.
Table of Contents
- What You Need to Repair a Torn Record Jacket
- Step-by-Step
- Step 1: Assess the Damage and Protect the Record
- Step 2: Clean and Flatten the Jacket
- Step 3: How to Repair Small Tears and Paper Splits
- Step 4: Reinforce Hinges and Larger Damaged Areas
- Step 5: Dry, Flatten and Store the Repaired Jacket
- Common Mistakes
- When a Professional Repair Is Worth It
- Frequently Asked Questions
- Can you repair vinyl records themselves, or only the jacket?
- What tape is safe for record covers that will not yellow?
- Does repairing a record jacket decrease its value?
- How do I fix a seam split on a vinyl record jacket?
- Can I use Mod Podge or super glue to fix a record cover?
- How do I flatten a warped record jacket?
- Conclusion
What You Need to Repair a Torn Record Jacket
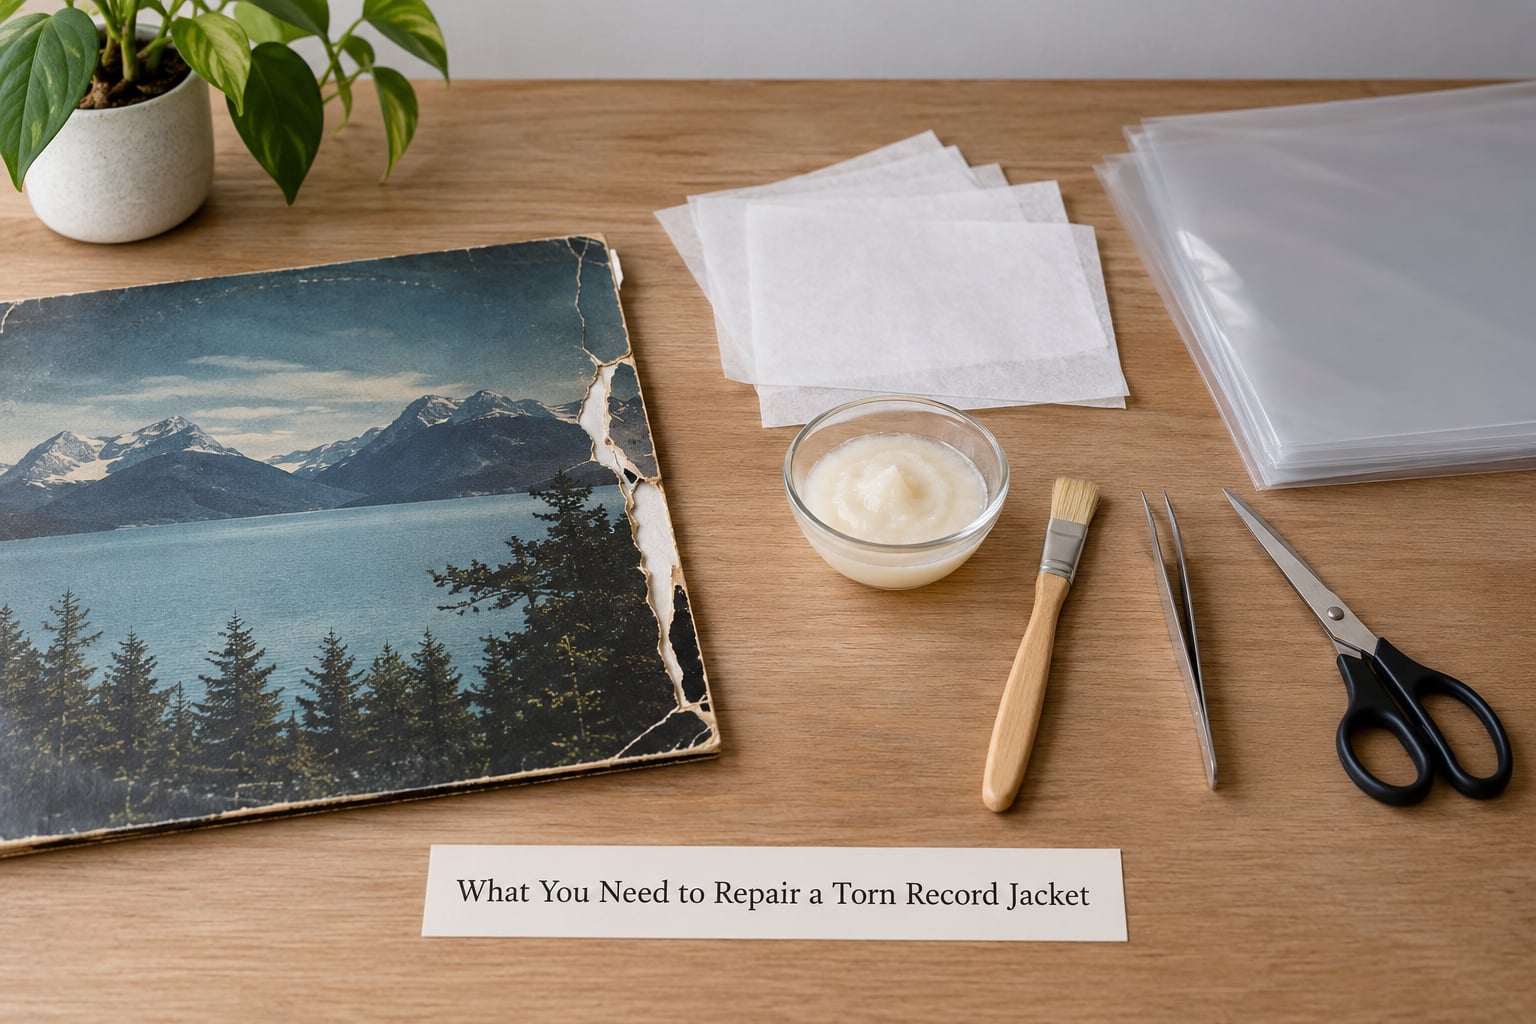
Gather everything before you damp anything. A jacket repair is fiddly work, and stopping halfway to hunt for a tool is how repairs get botched.
| Material | What it is for | What to watch for |
|---|---|---|
| Acid-free Japanese mending tissue | Backing small tears, holes and paper splits | Buy unbuffered, lignin-free tissue; it must be thin enough not to show through the print |
| Wheat starch paste, or archival PVA | Bonds paper to paper without becoming brittle | Mix wheat paste thin, about one part paste to four or five parts water; PVA dries harder and is harder to reverse |
| Matte archival bookbinding tape, such as 3M 810 | Spine splits, hinge reinforcement, edge repairs | Use the matte version, not glossy tape, which reflects light and looks like a mistake from across a room |
| Structural seam strips, such as Seamzeazy | Long splits along the spine or gatefold fold | Strong and near-invisible on the back, but it is a permanent addition; test on a spare corner first |
| Scissors, tweezers, bone folder, soft brush | Trimming tissue and positioning it under the tear | Tweezers are worth the trouble; fingertips crush thin card and leave prints |
| Blotting board, glass or acrylic sheet, flat weights | Flattening and drying under light pressure | No steam iron. Heat fixes a curl in permanently |
| Polyester outer sleeve | Protecting the finished repair from scuffs and handling | Keep the record in its inner sleeve and match the sleeve to the record size |
Two things belong in the waste bin, not the kit: household clear tape of any kind, and superglue. Both yellow, both migrate into the paper, and both turn a reversible repair into a permanent one.
Step-by-Step
Step 1: Assess the Damage and Protect the Record
Set the jacket on a clean padded surface, open side down, and photograph both faces before you touch anything. The photo becomes your record of what was original, which matters later if you ever want a dealer to read the condition honestly.
Now sort the damage into one of four buckets: a tear or hole in a printed face, a split along the spine or gatefold fold, a loose or torn hinge, or a warped or cockled panel. Each one gets a different method, and mixing methods is how jackets come out worse.
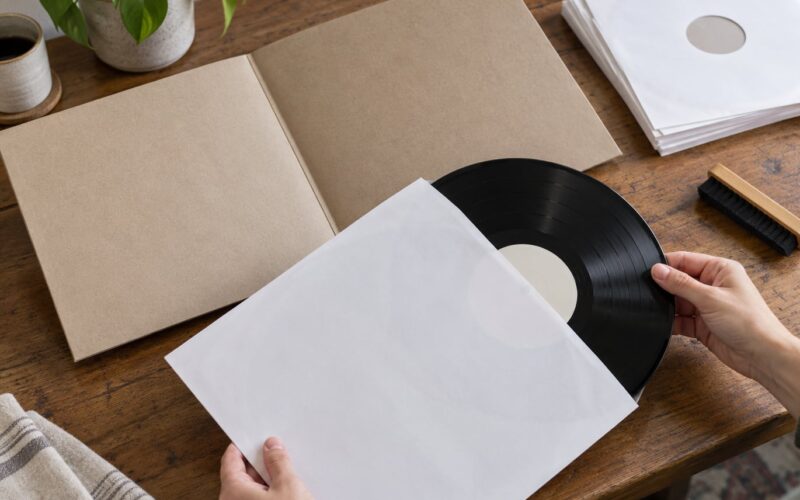
Slide the record out rather than pulling it. Support the disc with both hands at the label edge and the rim, never by the jacket opening, which is usually the weakest part of the whole package. Store the record upright in a new inner sleeve, and never leave it loose on a table while you work.
Step 2: Clean and Flatten the Jacket
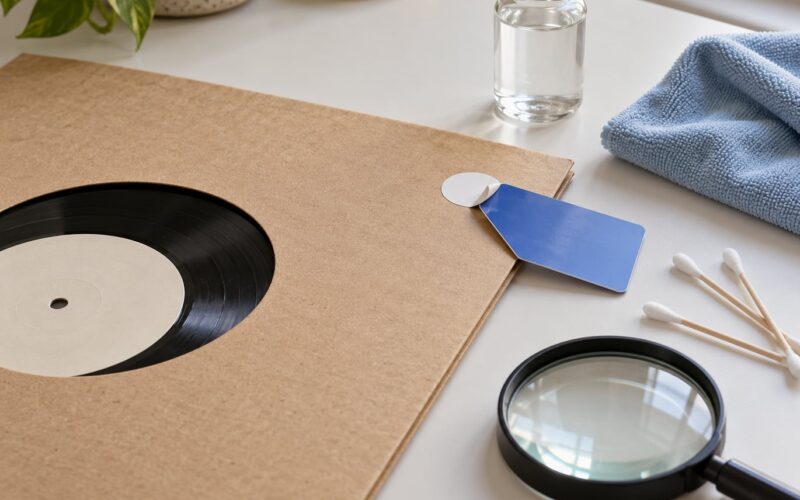
Brush off loose dust and grit with a soft brush, working from the outer edge toward the center so you do not drive debris into the tear. For stubborn nicotine and grime, collectors on the Discogs forums use absorptive cleaning putty, which lifts dirt off the print without wetting anything.
For water staining, a barely damp sponge lifted from the surface, blotted rather than rubbed, will usually lift the tide line. Test an inconspicuous corner first. If the print dulls or the ink lifts, stop and go straight to a conservator.
Flatten a warped jacket between clean blotters with a flat weight on top, and leave it overnight. Paper that has taken a set needs days, not hours, and the weight should be heavy enough to matter but light enough that the board does not bow.
Step 3: How to Repair Small Tears and Paper Splits
This is the most common job and the easiest to do well. The goal is a repair you cannot see from the front.
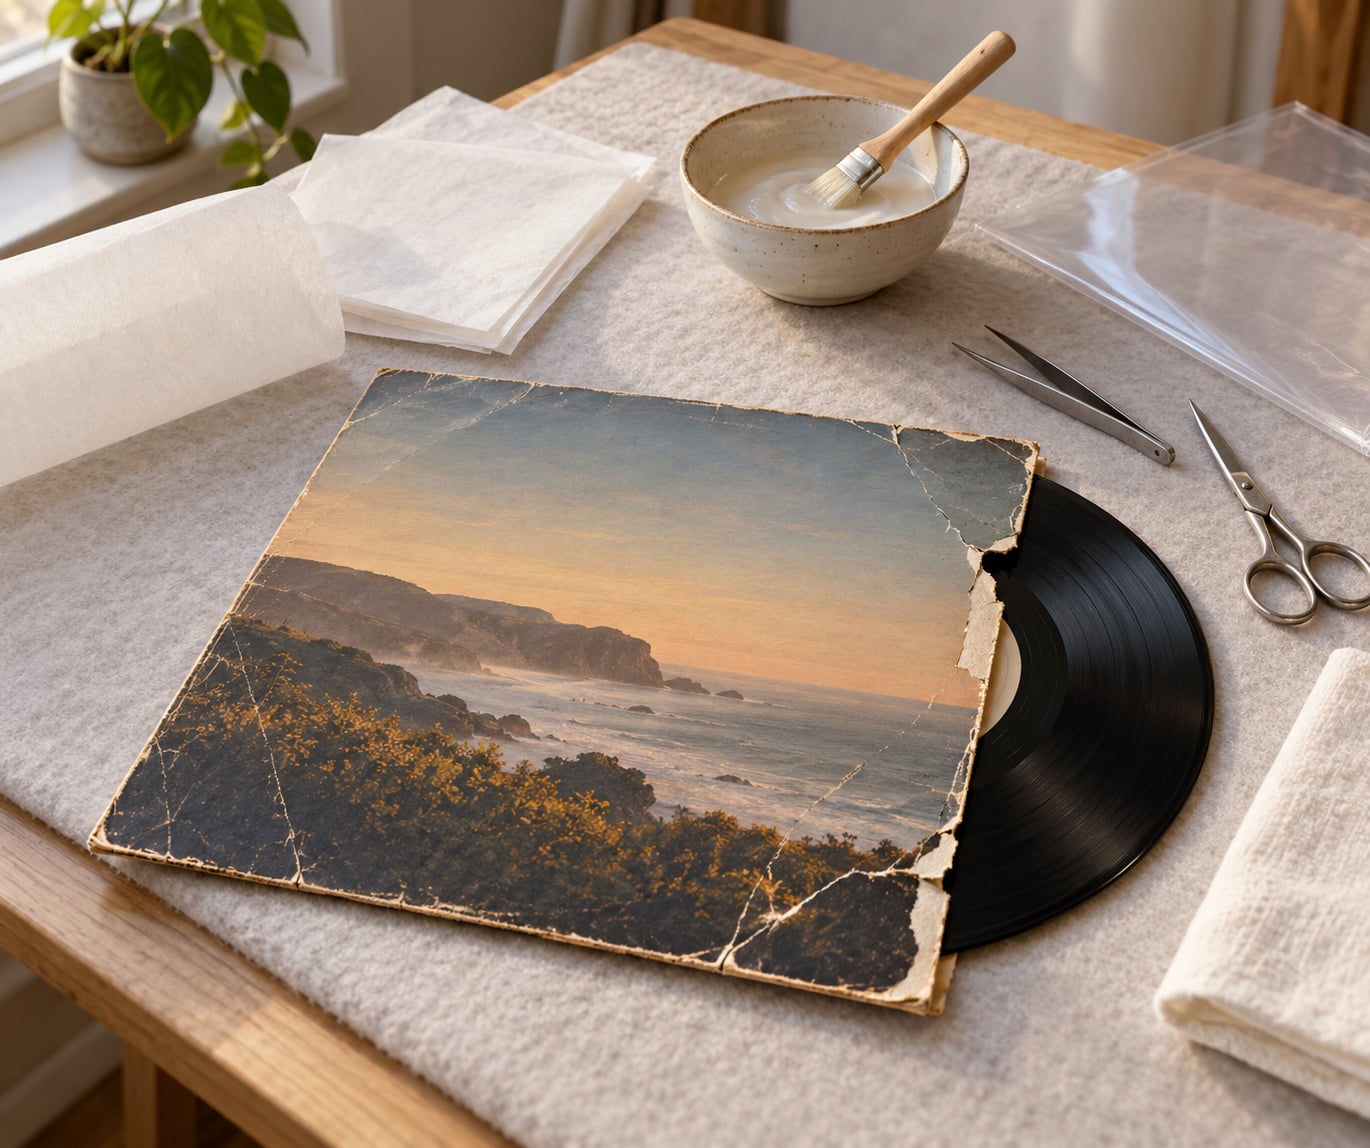
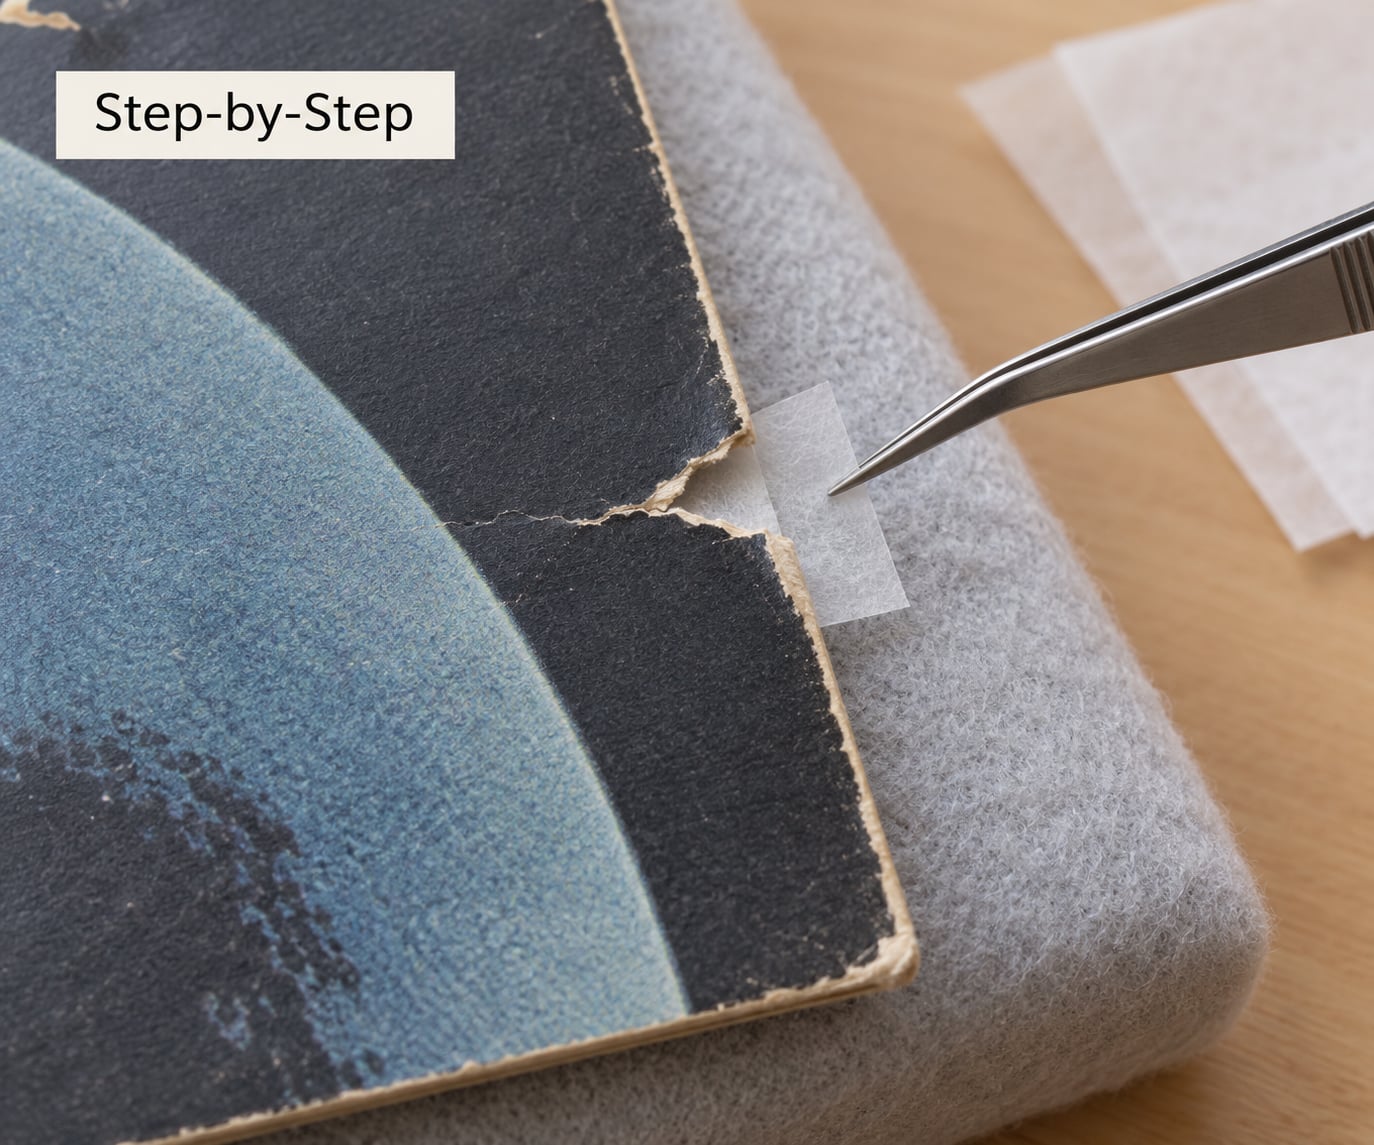
Cut a piece of mending tissue a few millimetres larger than the tear. Put the tear face down on a clean board, and lay the dry tissue over the back of the opening. Mix wheat starch paste to a thin cream and apply it lightly to the tissue, not to the jacket, using a small flat brush.
Lower the tissue into place with tweezers, working from one end of the tear to the other so air does not get trapped. Let the paste soak through, then use the bone folder to press the edges closed and burnish the repair flat.
If the tear edge lifts or curls upward, catch it with a valley fold, pinching the paper gently toward the back so the face stays smooth. Thin card is unforgiving here, and one over-eager pinch leaves a permanent dimple.
Step 4: Reinforce Hinges and Larger Damaged Areas
A hinge that has torn away from the board gets an internal fix. Cut a strip of archival bookbinding tape or a light acid-free scrap, apply paste or a thin line of the tape’s own adhesive, and press it inside the hinge flap so the fold regains some strength. Test the fold gently afterwards; it should hold through opening and closing without feeling stiff.
A long split along the spine or gatefold fold is structural, and tape alone will not carry it. Bridge the split with a strip of card stock or mending tissue on the back, then run a structural seam strip or matte archival tape along the center of the fold. Weight the repair with binder clips or a light board and let it set overnight.
Missing corners take a different approach. Trim a small square from acid-free card, round the outer corner slightly, and glue it behind the damaged corner. The result is not invisible, but it stops the damage from travelling further, which is the real point. Do the same for any corner that has lost paper to chipping.
On a laminated cover, stop and think. Lamination will not accept most water-based adhesives cleanly, and forcing a repair can lift the film and leave a worse edge than you started with. Thin film, marker touch-up and a professional are the safer options there.
Step 5: Dry, Flatten and Store the Repaired Jacket
Put the repaired jacket between clean blotters under a flat weight, with a sheet of glass or acrylic above so nothing presses directly on the print. Wheat paste needs 24 hours to reach full strength; check it again the following day.
Look for three failure signs before you call it done: curl at the edges, a translucent tide mark where moisture sat, or a stiff, shiny patch where paste seeped through. Any of those means repeating the step with thinner paste and less of it.
Slide the dry jacket into a polyester outer sleeve. If it still feels cool or soft to the touch, it is not dry, and sealing moisture in will cause mold within days. Put the record back in a fresh inner sleeve so nothing abrades the label, and return both to a shelf away from direct sun and from pipes that carry heat in winter.
Common Mistakes
Clear tape on a printed face. It yellows in a few years, cracks as the paper flexes, and removes cleanly only at the cost of ink. This is the single most common repair and the one most likely to lower a grade.
Super glue and similar cyanoacrylate. It soaks into card, goes brittle, and travels along the fibers, spreading the damage beyond the tear. The only place it belongs is reinforcing a stiffener inside a box set, and even then many collectors decline to use it.
Too much moisture. Water-based paste over-saturates thin card, and once the paper waves it never lies flat again. Mix it thinner than feels right, and apply it to the tissue rather than the jacket.
Skipping the flattening. A repaired jacket that goes straight back on the shelf while it is still damp will curl on the shelf, and the curl is far harder to fix than the tear you just closed.
Flattening with heat or heavy pressure. A steam iron sets curl permanently, and a weight that is too heavy prints its own edge into the board. Light, flat and patient beats hot and quick every time.
Color touch-up with the wrong tool. A permanent marker bleeds into uncoated stock and will never come out. Soft wax crayons and artist’s pencils can be lifted later with a vinyl eraser, which is the safer default for worn black edges.
Storing the repair sealed while damp. Nothing else on this list causes damage as fast as a jacket that goes into a sleeve before it has dried.
When a Professional Repair Is Worth It
Send it out when the value at stake is real or the paper is failing. Collectors generally draw the line somewhere around a copy that would sell for a couple of hundred dollars or more, but the deciding factor is condition rather than price alone.
Brittle, thin paper that cracks as you work is the clearest signal. So is mold, staining, or paper that has fused into a single warped mass from water. A conservator has humidity chambers, solvents and consolidants that do not belong in a home workspace, and attempting them usually makes the outcome worse and more expensive.
Original artwork also changes the calculus. Signed or limited-run sleeves, unusual die-cuts, gatefolds and box sets all carry collector interest that a well-meaning patch can hide. If a repair would be visible, the honest move is to leave the damage visible or let a professional decide.
Get a condition report before paying anyone, ask whether the materials are reversible, and expect a quote for the specific jacket rather than a menu. Repairs that use wheat starch paste and mending tissue can be undone later; repairs that use film, laminate or cement cannot.
Frequently Asked Questions
Can you repair vinyl records themselves, or only the jacket?
Most record problems are not repairable by a collector. Scratches that reach the groove, a cracked warp, or a broken stylus track will not come back, though a gentle weight on a mildly warped disc under a pressing mat can fix a light bow. Jacket damage is a different story, because jackets are paper and card and paper can be patched, backed and flattened. Protect the disc first, then repair the sleeve.
What tape is safe for record covers that will not yellow?
Matte archival bookbinding tape is the usual answer, and 3M 810 is the one collectors name most often because it is reported to stay clear for more than a decade. It is thin, it takes paste or its own adhesive, and it disappears on the back of a jacket. Skip glossy clear tape entirely; it reflects light, yellows, and cracks along the fold. Apply any tape inside the jacket, never across the artwork.
Does repairing a record jacket decrease its value?
It depends entirely on how it is done. A clean, invisible internal repair in archival materials is usually a net positive, because a sound jacket protects the disc and reads as maintained. Visible tape, marker bleed, glue residue or a badly flattened panel reads as damage and can push a grading from near mint to very good. When in doubt, leave the tear visible rather than attempting a repair that cannot be hidden.
How do I fix a seam split on a vinyl record jacket?
Open the jacket carefully along the fold, lay it face down, and bridge the split from the back with a strip of mending tissue or light card stock. Run a structural seam strip or matte archival tape along the centre of the fold, then weight the repair under a light board and leave it to set overnight. Repeat the weight once more the next day. The record should slide in and out of the repaired jacket without forcing the fold.
Can I use Mod Podge or super glue to fix a record cover?
Wheat starch paste or archival PVA is the safer adhesive family, because both stay flexible and can partly dissolve later if the repair needs undoing. Mod Podge works on some seam splits, but it dries with a slight sheen and can leave a glossy residue that never fully blends. Superglue should not be used on a jacket at all; it soaks into the fibres, goes brittle, and spreads the damage. On laminated covers, skip all of these and go straight to a conservator.
How do I flatten a warped record jacket?
Place the jacket between clean, acid-free blotters and lay a flat weight on top, then wait. A jacket that has taken a set needs 24 to 48 hours rather than a few hours, and adding weight midway resets the process. Keep the weight light enough that the board does not bow and the print does not take an impression. Never use a steam iron; heat sets the curl permanently and can shrink or bubble a laminated cover.
Conclusion
Start by photographing both sides of the jacket and sliding the record out into a clean inner sleeve. Then choose the least invasive repair that fits the damage, work from the back with acid-free materials, and let the piece dry flat under light weight for a full day. If a repair would be visible, or the paper is already brittle or mold-stained, leaving it alone protects the value better than a fix that cannot be undone.