A zine is a small self-published booklet you make yourself, and the whole process takes an afternoon once you have the pieces: pick one narrow music topic, write and gather the material, lay it out in reading order, print double-sided, fold, staple, and hand copies to people. How to make a zine is easier than most people expect, especially if you start small with an eight-page mini zine cut from a single sheet of paper.
I’m a vinyl collector first, and the zines I still keep on my shelf came out of exactly this process. The first one took an entire evening and came out crooked. The third one I could assemble in about forty minutes, because I had finally written the page list before I wrote anything else.
That last part is the trick. The hard bit isn’t design or printing; it’s deciding what goes in the issue and what stays out. Get that clear and the rest is mechanical.
Table of Contents
- What You Need
- Step-by-Step: How to Make a Zine From Idea to Finished Issue
- Step 1: Choose a Clear Music-Zine Concept
- Step 2: Plan the Pages and Content
- Step 3: Write or Gather the Material
- Step 4: Create a Simple Visual Identity
- Step 5: Lay Out and Proof the Zine
- Step 6: Print, Fold, and Assemble the Pages
- Step 7: Publish and Share the Finished Zine
- Common Mistakes
- Frequently Asked Questions
- Are zines legal?
- Is Canva good for making zines?
- Are zines always 8 pages?
- What paper size should I use for a zine?
- How many pages can you staple together?
- Where can I share a zine I made?
- Conclusion
What You Need
You can start with very little. Most first zines are made from paper you already have, tools you already own, and a printer or a copy shop you can walk into.
- Paper. Standard letter paper (8.5 by 11 inches) or A4 works everywhere. 80gsm office paper prints fine and folds without cracking; anything heavier eats more ink and can fight you at the fold.
- Content. A notebook of raw writing, photos, drawings, collage material, interview audio, or a list of records with liner notes you half remember.
- Layout software. A free desktop program with page control, such as Scribus, plus a free online template tool such as Canva or a browser-based PDF editor. Publisher is what most print shops ask for, and it’s worth learning later.
- Printer access. Your own inkjet or laser printer, or a copy shop that does black-and-white booklets.
- Cutting and folding tools. A craft knife or guillotine, a metal ruler, and something to score folds with, such as a bone folder or the back of a spoon.
- Binding. A standard stapler for run-of-the-mill issues. A long-arm stapler reaches the center of a folded sheet, which a normal one will not.
Optional extras: colored paper for covers, a needle and heavy thread for a pamphlet stitch, double-sided card stock for the outer pages, and a scan or photo of your artwork if you want to print from a digital file.
One more thing worth having before you start: a small stack of the zines you already love. Physical examples teach you page size, paper feel, and how many pages feel right in the hand faster than any tutorial.
Step-by-Step: How to Make a Zine From Idea to Finished Issue
Step 1: Choose a Clear Music-Zine Concept
Pick one idea narrow enough that you could write a page about it without padding. “Punk” is too big. “The twelve best lost garage compilation tracks, with the story behind each pressing” is an issue. “What I learned from two years of trading records instead of buying them” is also an issue.
Decide who the reader is. A beginner buying their first turntable, a collector who knows your scene, or someone in a band looking for a place to put their demo notes. Write that reader into the concept, because it decides what you explain and what you assume.
Then give it a name and an editorial promise. “Side B” with the promise “one album, one story, no ratings” tells you instantly what to cut. A working title on the front page is fine; nobody expects you to have a logo.
Step 2: Plan the Pages and Content
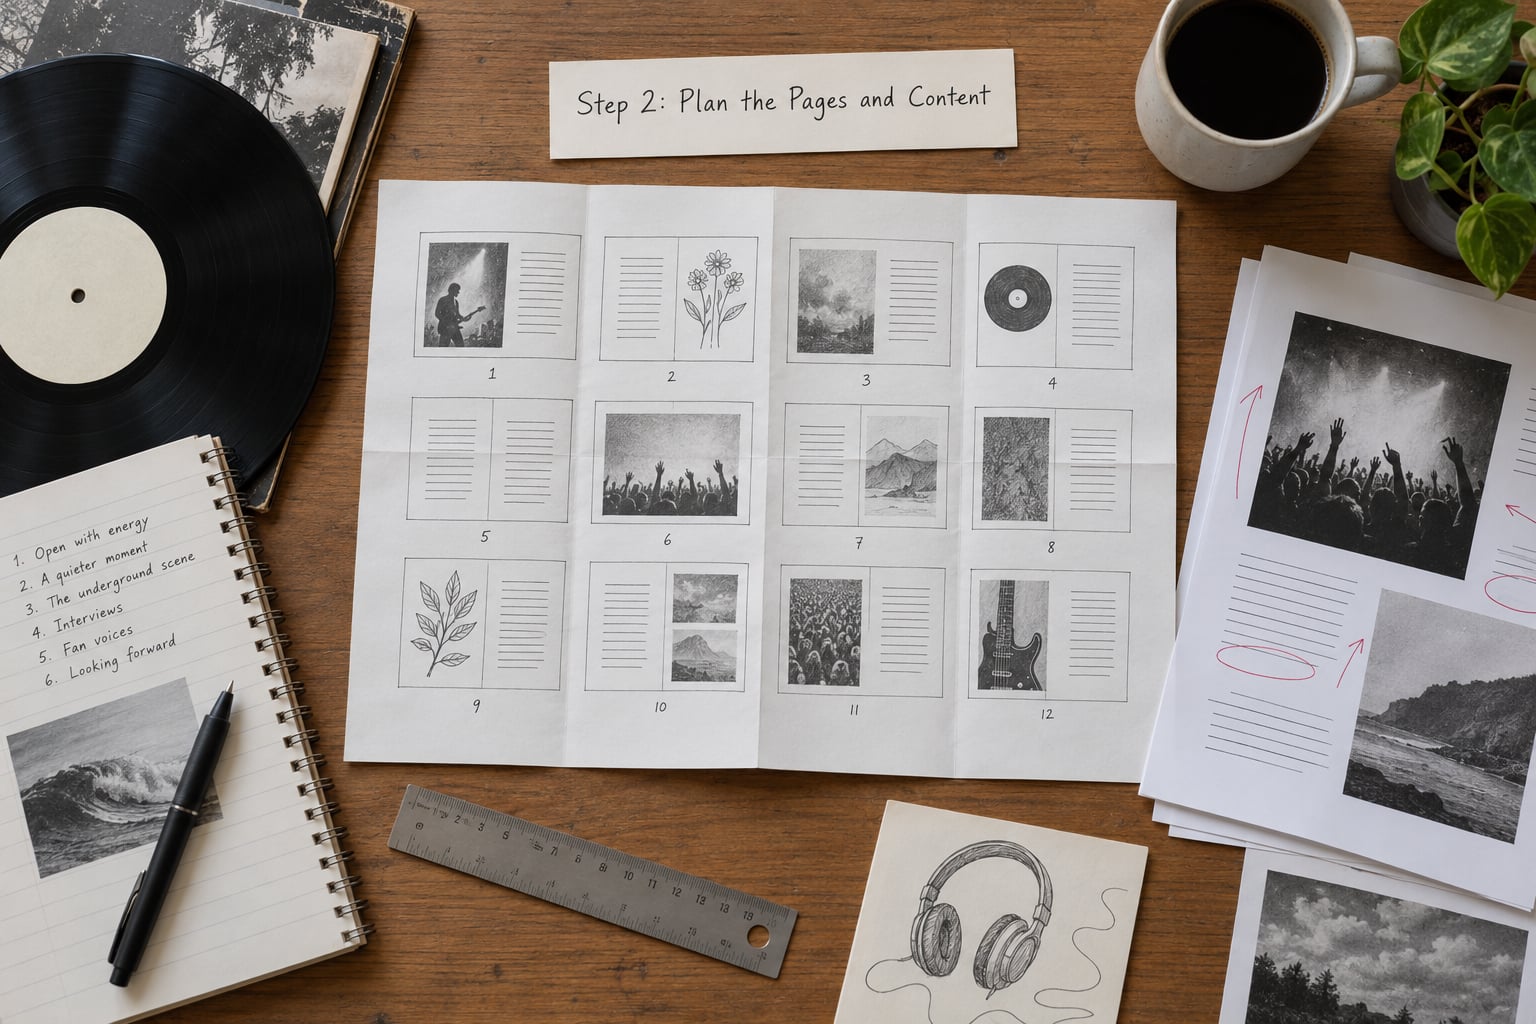
Page counts work in multiples of four, because each sheet of paper holds four pages once folded. Eight pages means one sheet; sixteen means two; twenty-four means three. Write your list against that math.
A simple eight-page plan: cover, contents or intro, one long feature, one interview or list, one photo spread with captions, a closing column, and back cover. Twelve to sixteen pages gives you more room and is still a comfortable staple.
For each page, write one sentence describing what the reader gets from it. Any page you cannot describe is a page you should delete before drafting. Keep roughly half the issue visual; a zine that is solid text reads like a handout.
Step 3: Write or Gather the Material
Draft against your page list rather than in a straight run. Write the feature first while you still care about it, then do the shorter pieces, because those are quick and they set the tone for the rest.
Music zines run on a mix of material: record notes from a first listen, a short history of a band or a scene, an interview with someone local, a ranked list with a line of reasoning per entry, a column about your own collecting habits, and captions that tell readers something a photo cannot. Personal observation is what separates a zine from a Wikipedia page.
Images are where beginners get stuck. Shoot your own record shelves, show posters, practice-room photos, or sleeves on a scanner. If you want someone else’s photograph, ask, and get a simple written yes by message. Note the photographer’s credit on the page either way.
Keep the tone consistent. Mixing a formal interview transcript with a joke-heavy collage column is fine, but only if the joke column is clearly the joke column.
Step 4: Create a Simple Visual Identity
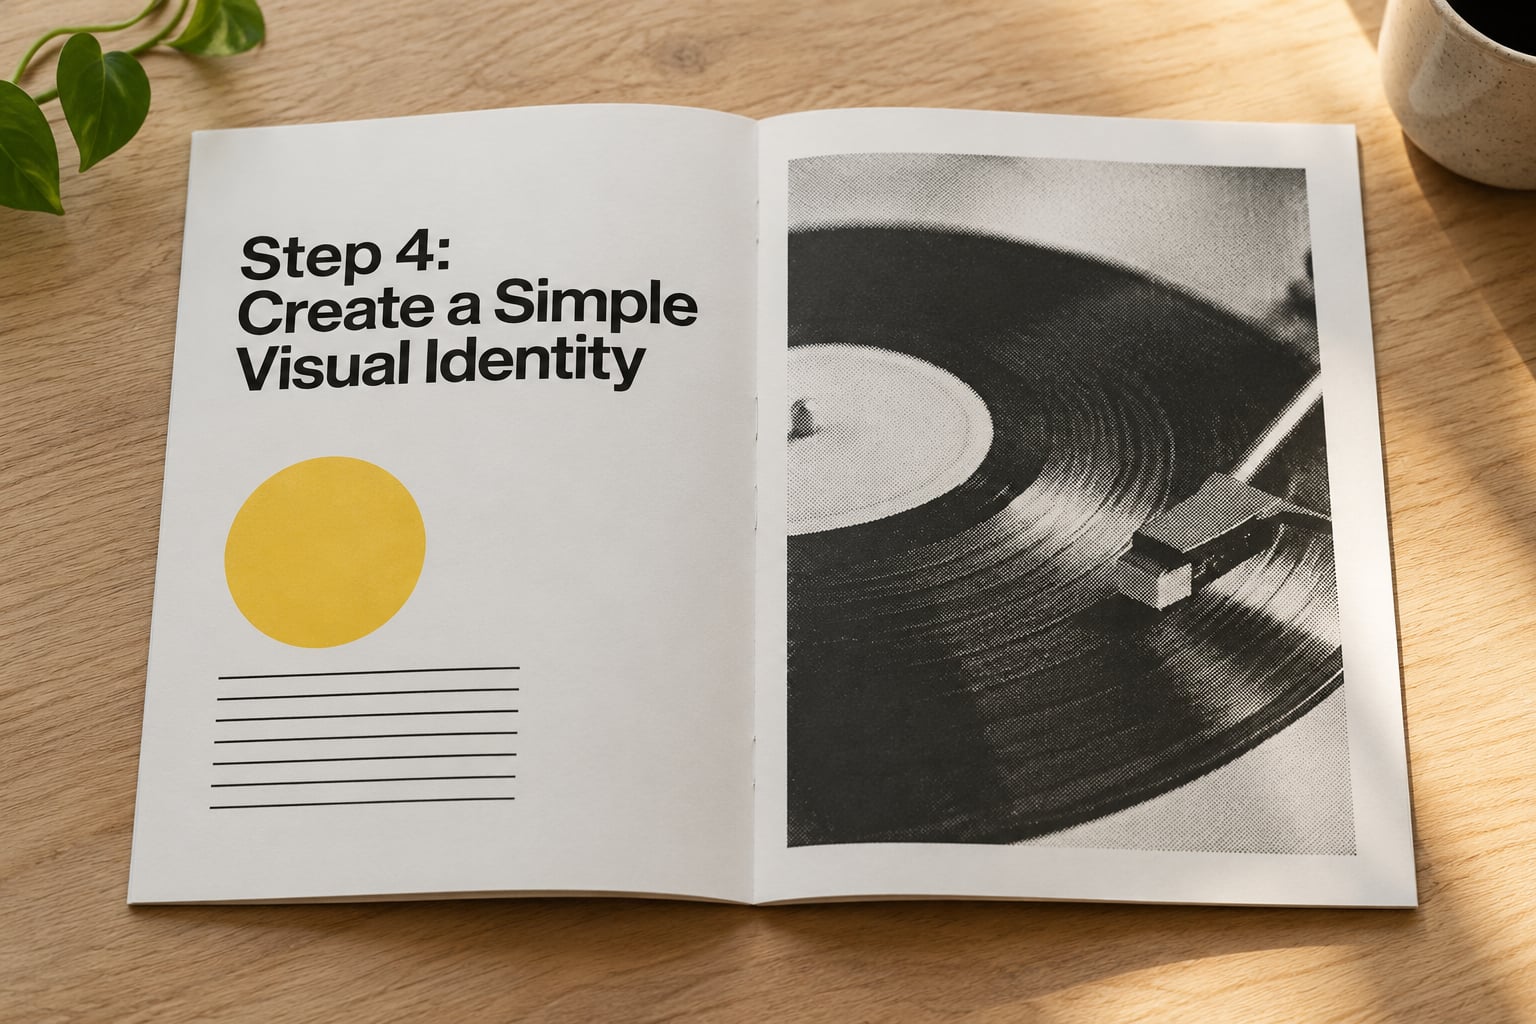
You need a small, repeatable set of design rules, not a talent. Pick one heavy display face for headlines and one plain sans-serif for body text, and use nothing else. Choose a palette of two colors, one being black for text.
Set your own rules for spacing: a consistent margin, a consistent gap under every headline, and one alignment style across the issue. When everything lines up to the same margin, a zine looks considered even with clip art and a scanner.
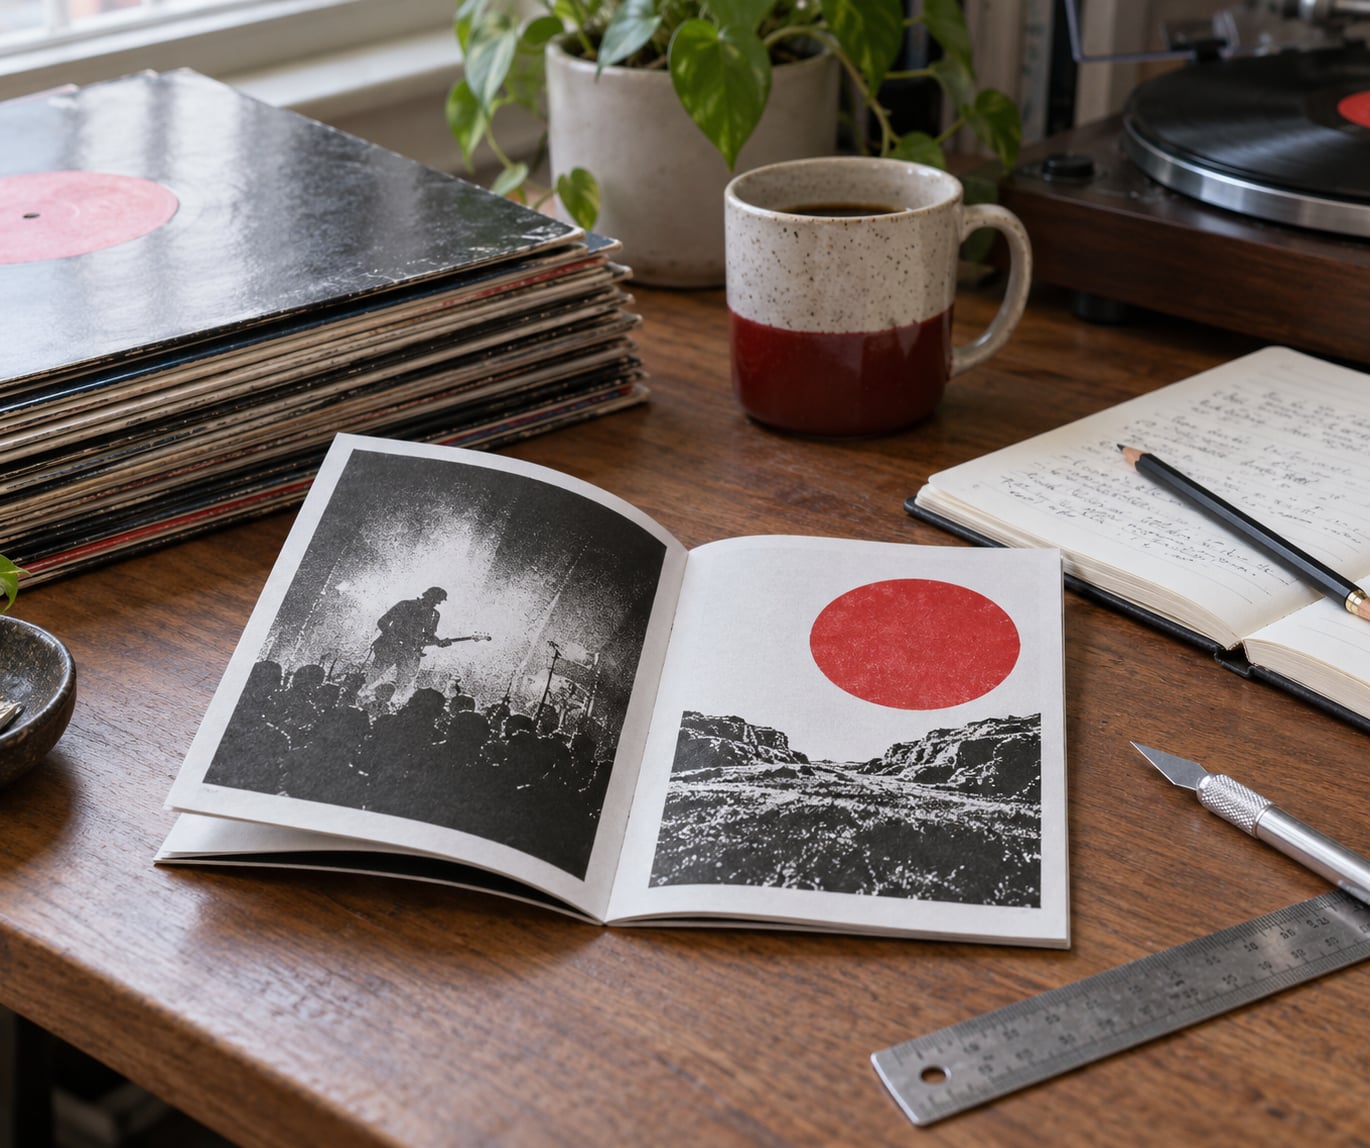
Treat images consistently too. Scan or photograph at 300dpi if you can, crop every image to the same height on the page, and consider running photos through a halftone filter so the issue reads as one object. Full-bleed dark photographs waste toner and print badly on a cheap printer; keep them small and few.
Step 5: Lay Out and Proof the Zine
Layout is where beginners discover imposition, which just means putting the pages in the order the printer needs so they come out reading correctly when folded.
For an eight-page mini zine from one sheet, the printed side carries pages 8, 1, 4, 5 from front to back, and the reverse carries 7, 2, 3, 6. For a stapled booklet made by printing single-sided sheets flipped along the short edge, the sheet order runs 8-1 on top and 4-5 below, then 16-9 over 12-13 on the next sheet, and so on.
Most desktop programs can do this for you if you export as a booklet-ready PDF or use the copy shop’s booklet printer setting, which handles the ordering and the flip. If yours doesn’t, a free online PDF imposition tool will reorder your exported pages in seconds.
Before printing the whole run, print one copy. Check the page order by reading it end to end, confirm nothing is clipped by the printer’s unprintable margin, and look at any photo that looked sharp on screen. Keep a generous margin, roughly half an inch, unless you have tested your printer’s edge behavior.
Step 6: Print, Fold, and Assemble the Pages
Print single-sided if your printer can’t do booklets, flipping each sheet along the short edge so the pages land back to back. Print a short test stack of four or eight pages first and fold it before committing to fifty copies.
Fold with a bone folder or the back of a spoon along a straight edge, working the crease in stages rather than forcing it in one pass. For a stapled booklet, fold in half, add a second fold to make a thicker spine if the issue runs past about sixteen pages, then stack the folded sheets so the open edges line up on three sides.
Staple once along the spine through the fold. A normal stapler works if the spine is shallow; if the staple stops short of the center crease, you need a long-arm stapler or a needle and thread. Order matters: read through the assembled stack and confirm page 2 sits behind page 1, not beside it.
Score optional inserts, cut anything thicker than the rest by hand, and trim the outer edges flush with a guillotine or craft knife and a metal ruler.
Step 7: Publish and Share the Finished Zine
Name the issue with something a reader can track: a number, a season, or a simple increment. That is what turns a stack of copies into a run you can continue.
Decide on a cost model. Give the first batch away free to friends, record shops, and contributors, then price later issues at roughly what printing cost you. A price point near the print cost keeps the zine alive without turning it into a business.
Ask each contributor for two or three copies, since they will want one and you will want the rest. Then look for a zine fest in your area, ask independent record shops if they stock zines on consignment, and check whether your library keeps a local zine collection or offers a display shelf.
Make a digital PDF for anyone far away, and mention trades rather than sales when you email shops. Zine culture runs on exchange, so offering a swap gets your issue in front of readers who will actually read it.
Common Mistakes
Trying to cover a whole genre. An issue about everything about punk ends up shallow everywhere. Cut it to one angle and the writing gets specific fast.
Writing dense blocks of text. Long paragraphs read badly on cheap paper in bad light. Short paragraphs, subheads, and plenty of white space make a small booklet feel considered.
Using images you found online. Album art, magazine scans, and band photos are copyrighted. Shoot your own, use images released under a Creative Commons license, or ask the photographer directly.
Low contrast printing. Grey text on grey paper or a black photo that prints as a muddy block are common failures. Test the contrast on one printed sheet before the run.
Wrong page order. Most assembled zines that read backwards come from an imposition mistake, not a folding mistake. Print one copy and read it before printing the batch.
Printing the full run first. A single test copy catches paper jams, margin clipping, and page-order errors that would otherwise waste the whole run.
One more habit worth adding: keep a list of what you’d change. Most people revise the second issue by fixing exactly the problems they wrote down in the first.
Frequently Asked Questions
Are zines legal?
Yes. A zine is simply a self-published work, and you own the copyright in whatever you write, draw, record, or photograph yourself. Problems only start when you copy material that belongs to someone else, such as album art, magazine scans, or lyrics. Shoot your own photos, ask permission for anything borrowed, and consider publishing under a Creative Commons license so readers know exactly what they may reuse.
Is Canva good for making zines?
Canva is a solid starting point for a beginner because templates and free fonts are built in, and you can set a custom page size to match your zine. It handles single pages better than it handles folded booklets, so export your finished pages as PDF and reorder them with a free online imposition tool before printing. Canva works fine for a first eight-page mini zine.
Are zines always 8 pages?
No. Eight pages is the classic starting point because it comes from a single sheet of paper, but zines run from one folded page up to dozens. The rule that matters is that the page count must be a multiple of four, since each sheet carries four pages once folded. Twelve, sixteen, twenty-four and thirty-two pages all fold and staple cleanly.
What paper size should I use for a zine?
Letter (8.5 by 11 inches) and A4 both work, and most consumer printers handle both. Letter is the safe default in the US and A4 elsewhere; check your printer’s supported sizes before designing. 80gsm office paper prints well and folds without cracking. Heavier stock looks better but uses more ink and can make the fold stiffer on a stapled issue.
How many pages can you staple together?
A standard stapler comfortably handles around 16 to 24 pages, roughly three to four sheets folded. Past about 48 pages the spine gets too thick and a normal stapler cannot reach the center crease, so move to a long-arm stapler or a needle-and-thread pamphlet stitch. Keep the issue under 48 pages or change the binding method.
Where can I share a zine I made?
Start locally: zine fests, independent record shops that take consignment, and libraries with local zine collections or display shelves. Send two or three copies to everyone who contributed. For reach beyond your town, offer a PDF and list the issue in a free online zine directory or community group where people trade recommendations.
Conclusion
Knowing how to make a zine comes down to three habits: write the page list before the prose, keep one narrow idea, and print a single test copy before the run. Everything else is folding, stapling, and passing copies to people who will read them.
Start today with one niche from your own shelf, a working title, eight pages of planned content, and a first spread drafted by hand. Print one, fold it, staple it, and hand it to a friend. The second issue is always faster than the first, and it is usually better.