If you want to know how to store concert flyers and posters, the short answer is to keep paper flat, dark, and dry inside materials that are chemically inert. Most collectors who learn this the hard way spend a season unrolling a curled poster wondering why the tube that “preserved” it actually ruined it. The whole setup takes an afternoon and about the cost of a couple of archival boxes, and the skill is not difficult at all.
The system below covers the materials worth buying, the five steps in order, and the storage mistakes that cost people their best pieces. It works the same for a single handbill in a frame as it does for two hundred tour prints in a flat file.
Table of Contents
- What You Need
- Step-by-Step: How to Store Concert Flyers and Posters
- Step 1: Sort and Identify Your Materials
- Step 2: Clean and Flatten Items Carefully
- Step 3: Choose the Right Storage Method
- Step 4: Label and File the Collection
- Step 5: Protect the Collection from Light and Climate
- Common Mistakes
- Frequently Asked Questions
- Should I store concert posters flat or rolled?
- What is the best way to flatten a concert poster that warped in a tube?
- Is it safe to keep posters in a plastic storage bin?
- How do I stop a poster from rippling inside a frame?
- What type of frame is best for concert posters?
- How do I organize hundreds of tour posters and still find them?
What You Need
The materials are cheap and boring, which is exactly what you want. Everything below is chosen because it does not react with paper.
- Polyester (Mylar) sleeves, 3 mil thick, sized a couple of inches larger than your biggest poster. This is the single most useful item.
- Unbuffered board to cut to size as backing. Unbuffered matters for posters with dark, saturated inks because buffered board can leave a pale halo around ink that bleeds.
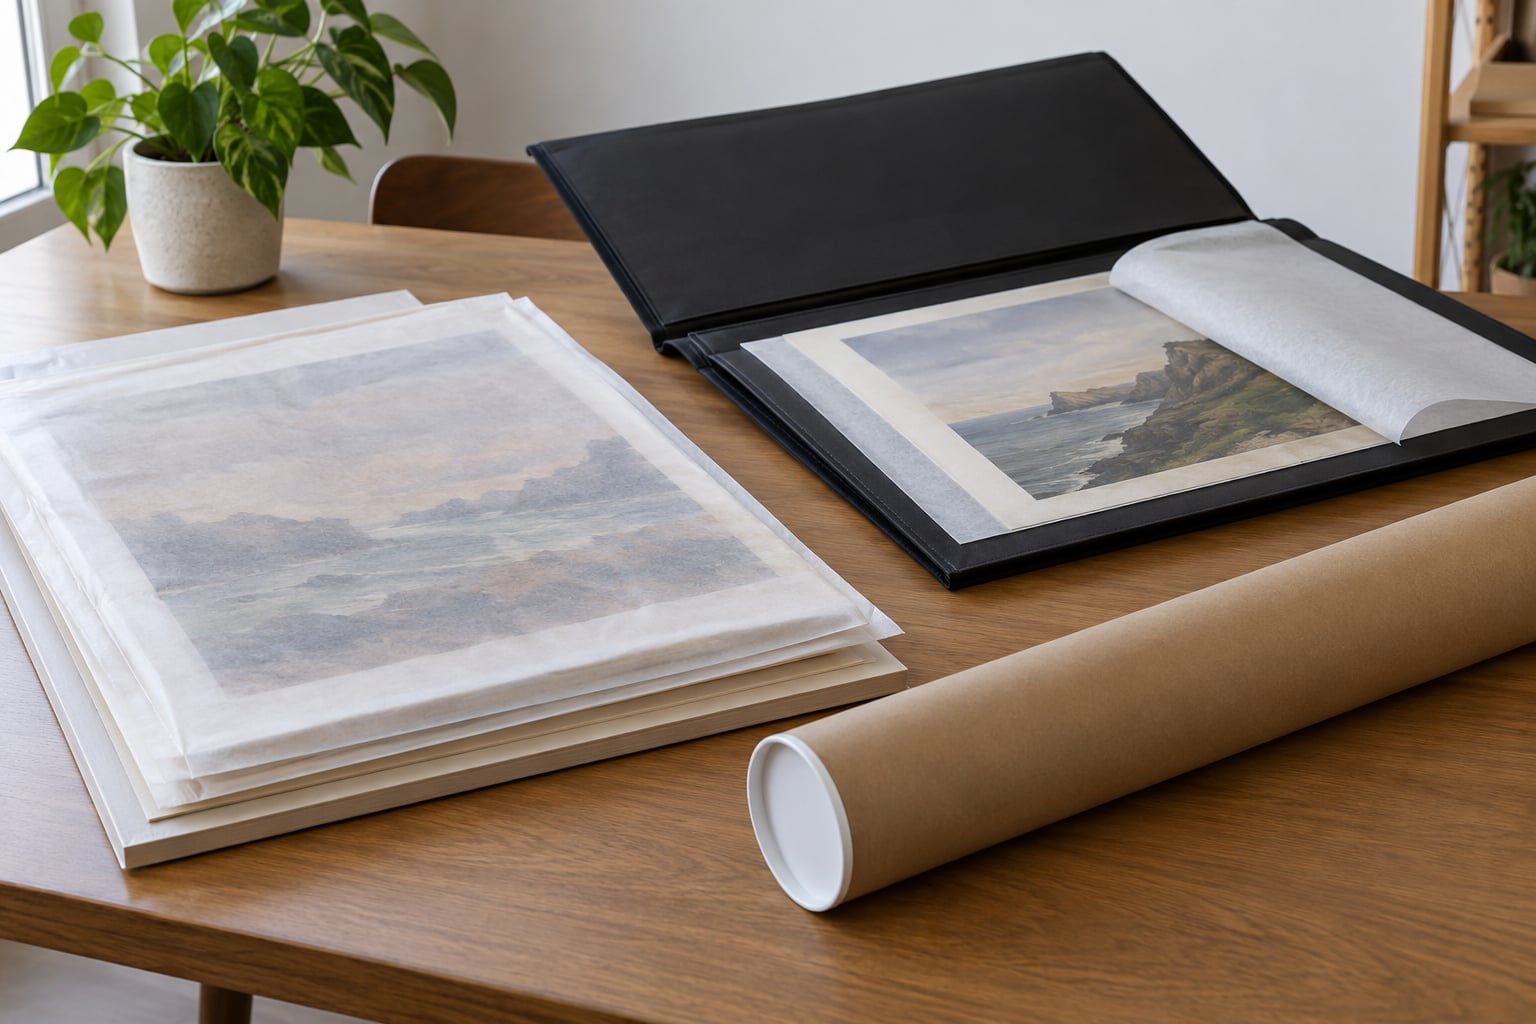
- Acid-free tissue or glassine for wrapping pieces too large to sleeve, and for interleaving inside a box.
- An art portfolio or two for browsing and for anything you want to pull out often.
- A presentation binder with 3-by-3 inch clear pages if you collect mostly flyers.
- Flat file boxes if you plan to keep more than a few dozen large pieces.
- One rigid poster tube, 36 inches long, as a travel backup for a piece you have to move. Not as a home for the collection.
- A UV-filtering acrylic sheet for anything you intend to hang.
Two words worth defining, because plenty of packaging lies about them. “Acid-free” means the paper itself is neutral or alkaline in pH, which is not the same as unbleached or recycled. “Archival” is a marketing word with no regulated definition, so look for a pH figure on the packaging instead of trusting the label on the front.
Step-by-Step: How to Store Concert Flyers and Posters
Step 1: Sort and Identify Your Materials
Spread everything out on a clean table in one session. Collectors tend to accumulate mixed formats: club handbills, 11-by-17 gig flyers, 18-by-24 and 24-by-36 tour posters, stubs, tickets, and promotional photographs, and they need different homes.
As each piece goes into a pile, write down four things: artist, venue, date, and condition. A spreadsheet is fine, and so is a numbered sheet of paper with the numbers written on the sleeves themselves.
You know you’re finished when every item has a pile assignment and a number, and the visibly fragile pieces — brittle edges, existing creases, ink that smudges to a fingertip — are sitting in a separate tray. That tray gets handled first, because those are the ones with a clock on them.
Step 2: Clean and Flatten Items Carefully
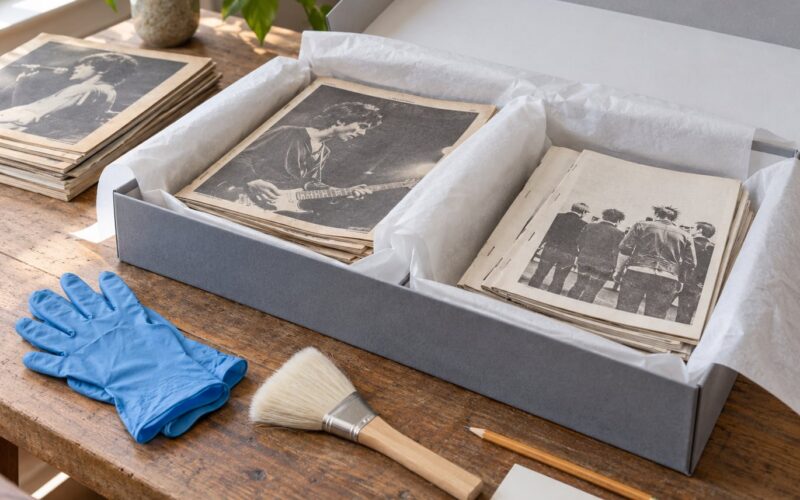
Dry surface dirt comes off with a soft brush or a clean makeup brush, brushed from the outer edges toward the center so you are not dragging grit across an image. Skip any damp cloth, and skip sprays entirely; moisture and chemicals are the two things you are trying to avoid.
Flat pieces need nothing more. Curled or rolled ones do, and the method matters: lay the poster face down on a clean surface, very lightly mist the back with plain water, sandwich it between two sheets of acid-free tissue, then weight it under a stack of hardcover books for two to seven days. The paper rehydrates and relaxes, and the tissue keeps the wet surface from touching anything.
Do not flatten anything already brittle or torn at the edge, and never use a steam iron or a hair dryer on the face side. If the piece has a deep crease you cannot get out, leave it. You can flatten a curl; you cannot un-tear a fold. You know the step worked when the poster lies flat under its own weight with no air pocket at the corners.
Step 3: Choose the Right Storage Method
Flat beats rolled for anything you care about. A poster that has spent months in a tube will come out rippled, and a rippled poster is the single most common complaint among collectors. Rolling is a transport decision, not a storage decision.
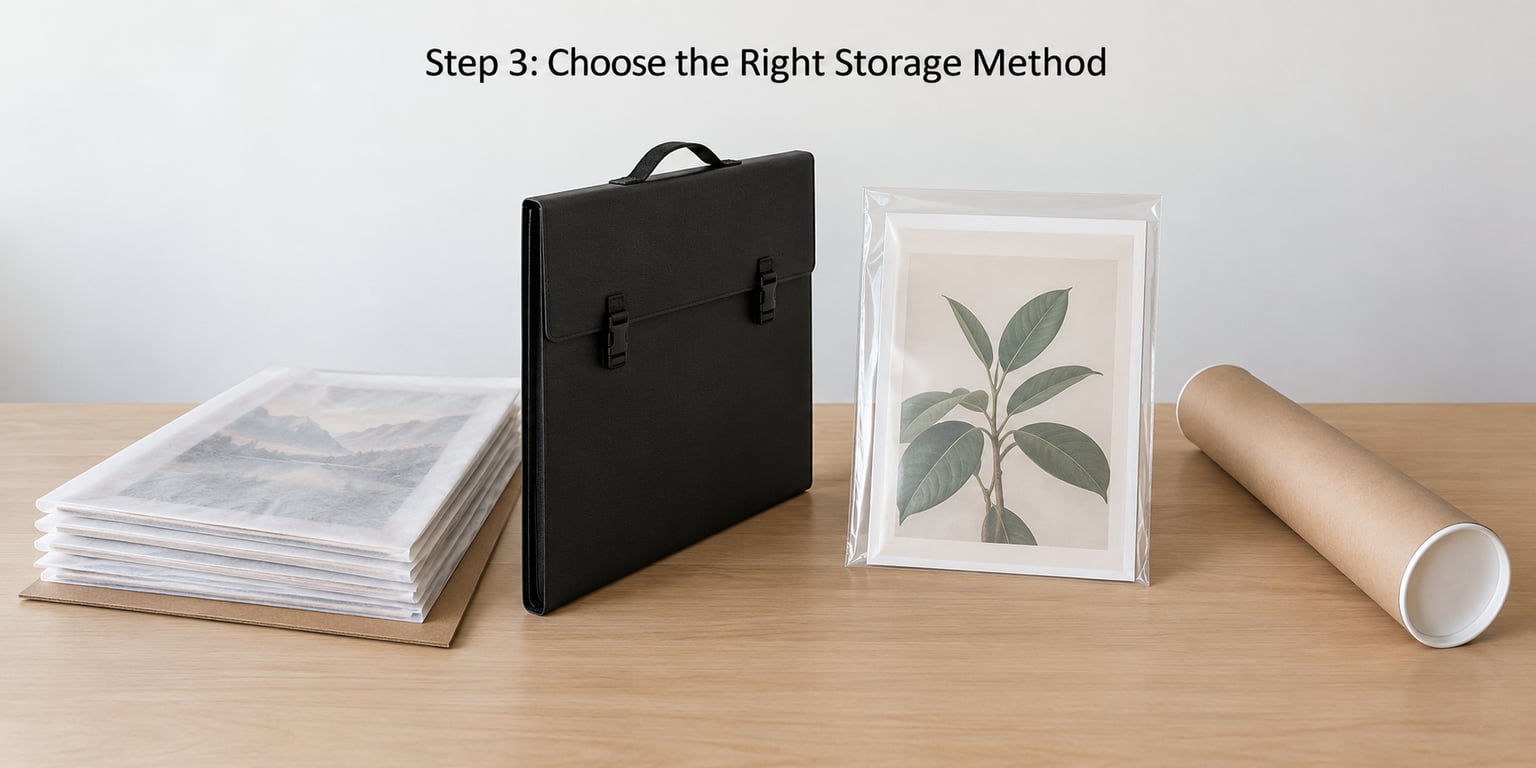
Here is how the main methods compare.
| Method | Best for | Relative cost | Capacity | Main risk |
|---|---|---|---|---|
| Sleeve plus backing board | One-off storage, any size | Low | Limited by shelf depth | Board bows if stored upright unwalled |
| Archival box, flat, tissue-interleaved | Valuable and long-term pieces | Low | 10 to 40 large posters | Weight, if you lift by the base only |
| Art portfolio | Browsing 10 to 30 posters | Moderate | About 30 poster boards | Pages bow as the collection grows |
| Presentation binder, 3-by-3 pages | Flyers, handbills, tickets | Low | Hundreds of small pieces | Pages crack past about 50% fullness |
| Flat file cabinet | 100-plus large posters | High | Hundreds | Depth means the back posters get forgotten |
| Poster tube | Moving and short-term carry | Low | One or two | Warping and creases over months |
For flyers specifically, the binder wins outright. Slide each flyer into its own polyester sleeve, add a sheet of unbuffered board behind it so nothing bends against a page seam, and file alphabetically by band inside a ring binder you can carry to a show. Collectors running a large-format setup often keep smaller posters in polyester sleeves inside storage boxes rather than tubes, for the same reason.
For large pieces, board-backed sleeves stacked flat in a lidded archival box is the best balance of protection and retrievability. Two collectors described the same DIY arrangement online: a flat file drawer, acid-free tissue backer at the bottom, and the poster resting on top of it.
Step 4: Label and File the Collection
Assign each piece a number at sorting, then write it in pencil on the sleeve edge: a number, artist, venue, city, and date. Pencil rather than pen, so a wrong date can be erased without a trace on the poster.
Order matters less than consistency. Year-then-artist suits a collection you browse chronologically; alphabet-then-year suits a single-band obsession. Either way, store a printed inventory sheet with the collection so a drawer can be rebuilt from scratch if it ever has to be.
For anything in a flat file, use folders with tabs so the front of every piece faces up, and pull from the front to the back. The moment you start stacking loose and digging, the pieces at the bottom take handling damage nobody ever notices until it’s too late. You’ll know the step worked when you can find any single poster without touching more than two others.
Step 5: Protect the Collection from Light and Climate
Paper is hygroscopic, which means it takes on moisture from the air and gives it back. Swings in humidity are what curl a poster and then crack the ink. Aim for 40 to 50 percent relative humidity and a temperature that holds steady around 60 to 70 degrees Fahrenheit, and care far more about stability than about hitting an exact number.
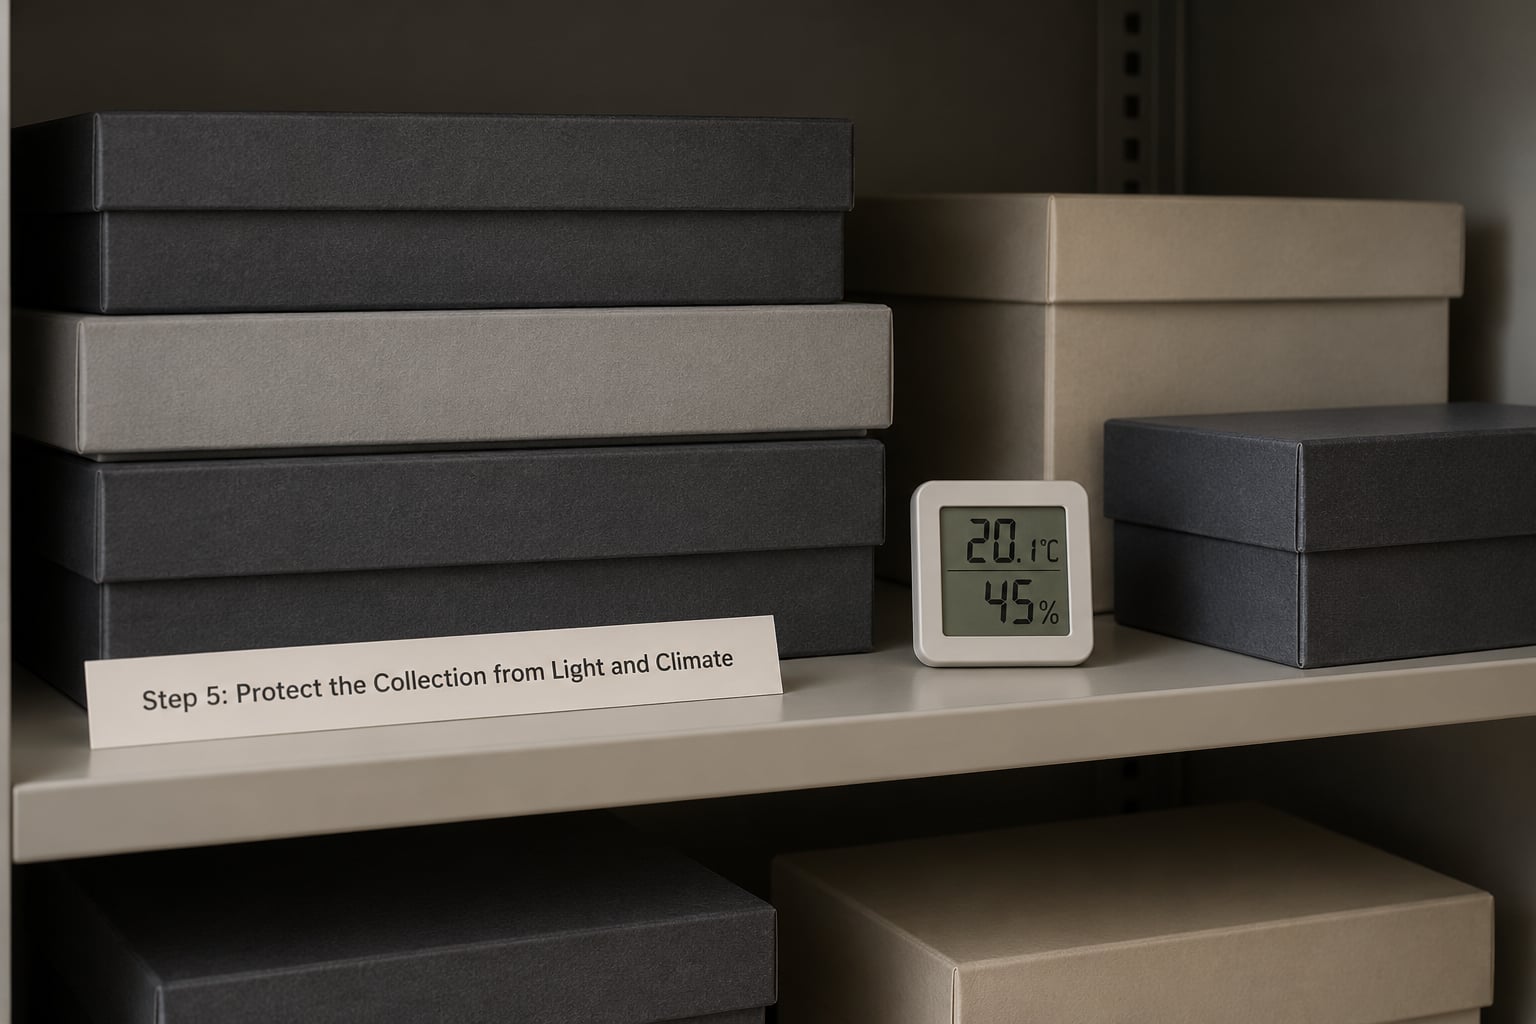
Avoid closets on exterior walls, above radiators, under a leaky roof, and anywhere a bathroom shares a wall. Sunlight through a single window is the most common cause of fading, and glass blocks almost none of the damaging wavelengths unless the glazing actually filters UV.
Outside of climate, you are managing dust, pests, and pets. A lidded archival box does more for all three than any chemical treatment, and if you live with a dog or cat, close doors matter more than anything you can spray. Check on the collection a few times a year and look for foxing, the small brown spots that signal damp.
Common Mistakes
Leaving posters in tubes long-term. This is the big one. A tube is fine for a week of transport and terrible for a year of storage, because the paper takes a set from the roll and later ripples instead of lying flat.
Using clear plastic sleeves that are actually PVC. Cheap photo sleeves off-gas and turn yellow and brittle over time. Look for polyester or Mylar, and if the packaging says nothing, assume it is PVC.
Tape and thumbtacks. Both stain, discolor, and cost you value. Forum advice on this is straightforward: don’t tape or pin the corners, because paper expands and contracts with humidity. Use polyester corner mounts or Japanese paper hinges instead, both of which are reversible.
Repeating the roll-and-unroll cycle. Every cycle puts a new memory into the sheet, and collectors tend to land on the same blunt advice: don’t unroll and roll it again. Decide on flat storage and stay there.
Folding flyers to make them fit a shoebox. Creases are permanent and they are the first thing a buyer notices. Box them instead, flat.
Storing damp or freshly printed pieces. Paper that goes into a sleeve while it still holds moisture will emerge rippled and may grow mold. Let anything flat on a surface for a day before you seal it up.
Frequently Asked Questions
Should I store concert posters flat or rolled?
Flat, whenever you have the room. Paper takes a set from a roll and will ripple for months afterward, so tubes work for moving a poster, not for keeping one. For large collections, an archival box or flat file with acid-free tissue interleaving protects best. If wall space is genuinely not there, a poster portfolio keeps pieces flat and browsable at the same time.
What is the best way to flatten a concert poster that warped in a tube?
Unroll it, lay it face down, mist the reverse lightly with plain water, sandwich it between two sheets of acid-free tissue, and weight it under hardcover books for two to seven days. The paper rehydrates and relaxes back toward flat. Do not use a steam iron or hairdryer on the printed face, and skip this on anything already torn or brittle.
Is it safe to keep posters in a plastic storage bin?
Only if the pieces are sleeved first. A bare plastic tote is a humidity trap, and unbuffered plastic can off-gas onto paper over time. The better setup is polyester sleeves plus unbuffered backing board inside a lidded archival box, so the paper never touches the container directly.
How do I stop a poster from rippling inside a frame?
Rippling means the paper is not fully flat and the glazing is pressing the high spots against the frame. Flatten and dry the poster first, then mount it with reversible polyester corners or Japanese paper hinges rather than tape. A mat board with a wide overhang holds the poster clear of the glazing, which stops the ripple and blocks light at the same time.
What type of frame is best for concert posters?
Use a solid wood or metal frame with UV-filtering acrylic glazing and an acid-free mat that fully covers the edges of the poster so no paper touches the frame itself. Match the frame size to the poster rather than cropping to a standard frame, or choose the next size up and float-mount it. Keep it off any wall in direct sunlight.
How do I organize hundreds of tour posters and still find them?
Number every piece at the start and store the numbers in a spreadsheet with artist, venue, city, and date. File alphabetically or by year, keep one printed inventory sheet with the physical collection, and use tabbed folders in a flat file so every front faces up. A collection you can rebuild from paper alone is worth far more than one you cannot.
Start with the pile you already have, not with the ideal collection. Sort it, sleeve it flat, put it in one archival box somewhere out of the sunlight, and write down what is inside. Everything else — the flat file, the portfolio, the climate monitor — can come once that first box exists.