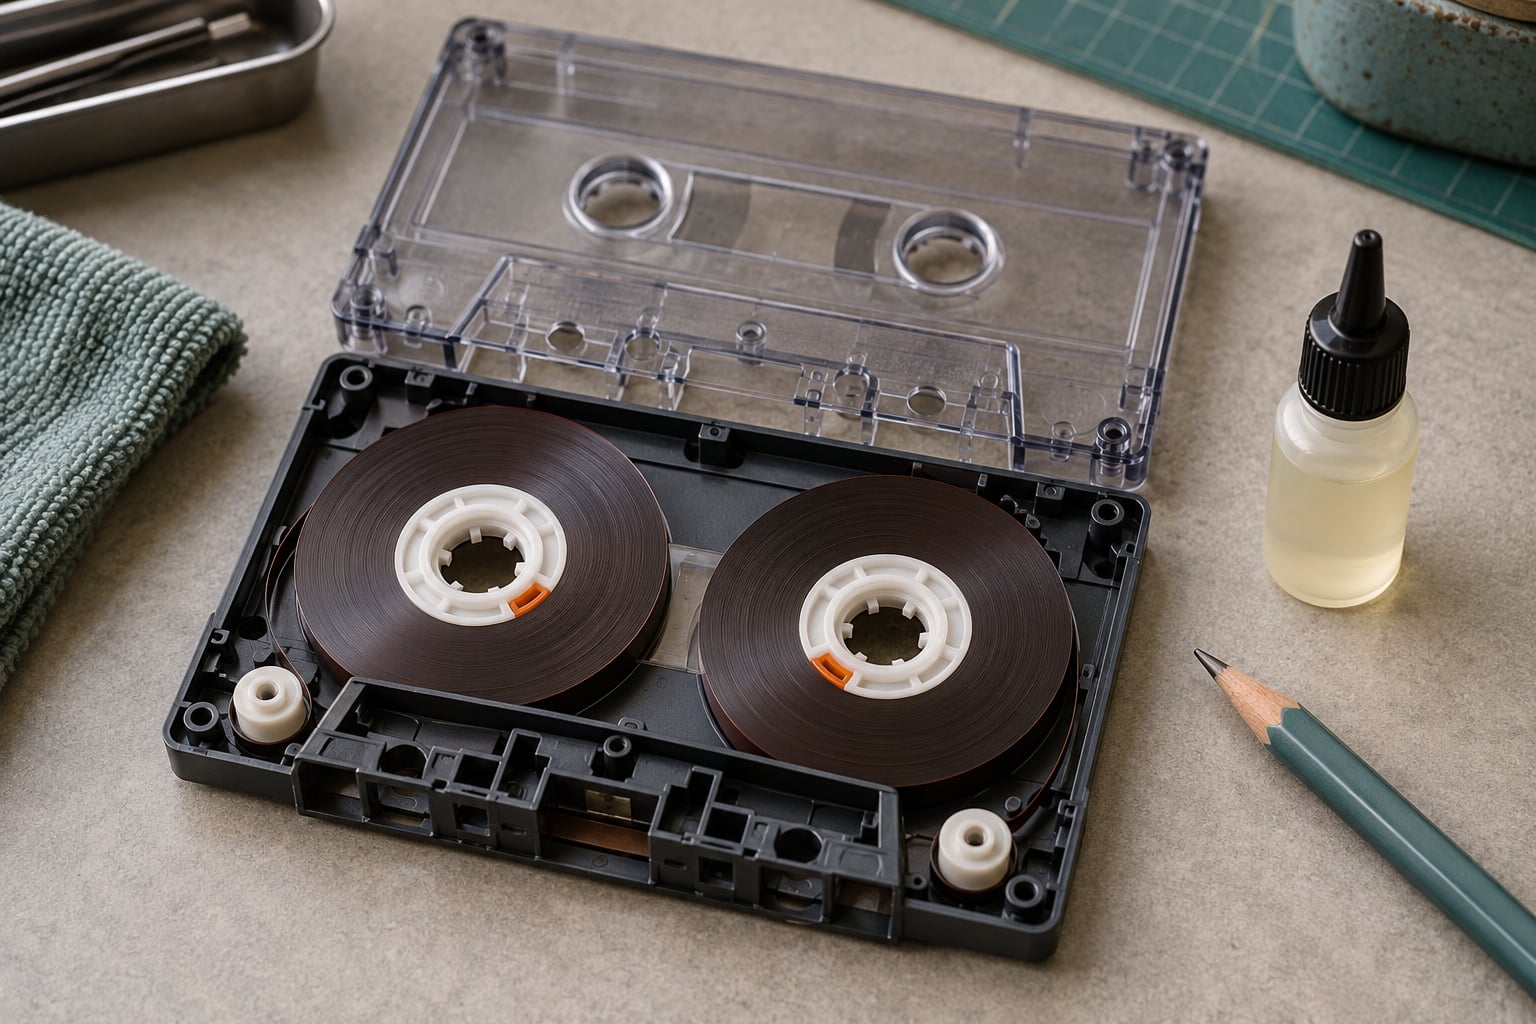
Most tangled cassette tapes come free in under ten minutes: push a pencil through a reel hub, wind the loose tape back on, untwist the ribbon by hand, then fast-forward and rewind the tape a few times to set it. You only need to open the shell when the twist is buried inside the cassette, and that takes longer plus a steadier hand. Here is how to fix a tangled cassette tape both ways, and how to check whether your deck is the real problem.
A word of warning before you start. Magnetic tape is thin enough to crease and stretch, and a crease will skip for the rest of the tape’s life. Slow down with a tape you care about.
Table of Contents
- What You Need
- Step-by-Step: How to Fix a Tangled Cassette Tape
- Step 1: Open the cassette safely
- Step 2: Find the actual snag
- Step 3: Untangle the tape by hand
- Step 4: Use the pencil method if needed
- Step 5: Rewind the tape correctly
- Step 6: Add lubricant only if the mechanism is dry
- Step 7: Close and test the cassette
- Common Mistakes
- Common Mistakes and Quick Fixes
- Frequently Asked Questions
- Can a tangled cassette tape be fixed?
- Is the pencil method safe for a tangled cassette tape?
- What should I do if the cassette reel will not turn?
- Should I cut a tangled cassette tape to remove the knot?
- What lubricant can I use in a cassette player or cassette shell?
- When should I stop trying to repair a damaged cassette?
What You Need
You need very little for the common fix, and a small kit only for the deeper jobs.
- A pencil with a round or hexagonal barrel, short enough that it sits in one reel hole without hitting the far side of the shell.
- Your hands, clean and dry, plus a flat work surface you can spread a tangled shell out on.
- A small screwdriver for the shell screws, usually Phillips, occasionally Torx.
- A splicing block and a sharp blade for trimming a torn or creased section. A craft knife works; a blunt pair of scissors shreds tape.
- Splicing tape, the kind made for magnetic tape, in a narrow roll.
- Cotton swabs and isopropyl alcohol if you are cleaning the deck’s tape path. Never touch the tape itself with alcohol.
- Cassette mechanism lubricant, small tin or syringe type, if the transport squeaks or moves slowly.
What to keep away: household sticky tape, scissors near the ribbon, and any amount of force. Clear packing tape and standard office tape shed adhesive that gums up heads and pinch rollers, and a sharp blade plus a slippy ribbon is how people cut their own thumb.
Step-by-Step: How to Fix a Tangled Cassette Tape
Work through the stages in order. Each one tells you what success looks like, so you can stop as soon as the problem is gone instead of taking a working tape apart for no reason.
Step 1: Open the cassette safely
First work out what kind of cassette you have. Standard 1/8 inch compact cassettes have five screws in the back label, and most shells separate once those are out. Some shells are glued shut or welded, and a few budget ones snap rather than open.
Remove the screws only if the shell allows it, and keep each screw in a small dish so you can put it back. If the shell is cracked, warped or flexes when you press the label, stop there. A bent shell will not guide the tape, and no amount of untangling fixes that.
Once the halves separate, lift the top shell straight off. The tape pack, the reel hubs and the pressure pad stay in the bottom half, which is what you want.
You worked if the ribbon now lies loose and you can see where the twist sits.
Step 2: Find the actual snag
Look at the ribbon before you touch anything. A loose loop draped across the open shell is the easy case. A tight knot wound into the tape pack, or a ribbon twisted onto itself like a shoelace, is the hard one.
Follow the ribbon with the light rather than with your fingers. You are looking for a crossing, a doubled-back section, or a place where the tape has ridden up over its own edge and rolled.
Keep your fingers out of the tape path between the hubs and the shell openings. Pushing a loop further in is the single most common way people make a bad tape worse.
You worked if you can point at the crossing section and see clear tape on both sides of it.
Step 3: Untangle the tape by hand
Lift the loop gently and follow the tape’s original direction back to where it crossed. Do not pull the two strands apart in opposite directions; that is what stretches and creases the oxide.
Work the twist out in small stages. Hold the taut side steady, nudge the loop, let the tension release, repeat. A knot tightens further every time you yank, so patience beats force every single time.
Lay the ribbon flat on the work mat as you go. If it refuses to lie flat, there is still a twist hiding in the pack, and you should rewind to find it rather than smoothing it with your thumb.
You worked if the ribbon now lies flat and straight with no crossed strands anywhere along its length.
Step 4: Use the pencil method if needed
Sometimes the tape is wound onto its own hub so tightly that the reels will not turn, and you need mechanical help. Push the pencil through a reel hole so the barrel sits inside the hub teeth, then turn the pencil in the direction the tape travels.
Turn slowly. Let a little slack feed out through the bottom opening so you can see the loop, and stop if the pencil starts to skip or the tape pack looks unevenly tight. That uneven pack is where a crease forms.
Know your stopping point. If two or three careful rotations produce no slack, the tape is packed or glued solid, and forcing it will stretch the ribbon past saving. That is the moment to open the shell or accept the loss.
Step 5: Rewind the tape correctly
Thread the tape end onto the empty take-up hub so it sits in the same groove and at the same angle as the rest of the pack. A diagonal lead is the most common reason a repaired tape jams again immediately.
Turn the pencil to wind the tape on evenly, keeping the pack flat and tight enough to turn but loose enough that you cannot read ridge lines on the edge. Clear any loops before you put the shell back on; a single loose loop will re-tangle the whole thing on first play.
You worked if the pack sits flush and level and the pencil turns with even resistance.
Step 6: Add lubricant only if the mechanism is dry
If the transport squeaks, moves slowly, or the reels hesitate while playing, a dry mechanism is a separate problem from the tangle. Apply a small amount of cassette mechanism lubricant to the capstan, reel hubs and the guide posts, keeping it off the tape and off the pinch roller.
Use the product made for cassette mechanisms. Household oil, grease, sewing machine oil and spray lubricants gum the transport and attract dust, and grease never comes back out of the bearing.
Rotate the hubs by hand afterwards and let the mechanism run a minute or two with nothing in it. A mechanism that moves freely before the tape goes back in has already saved you a second repair.
Step 7: Close and test the cassette
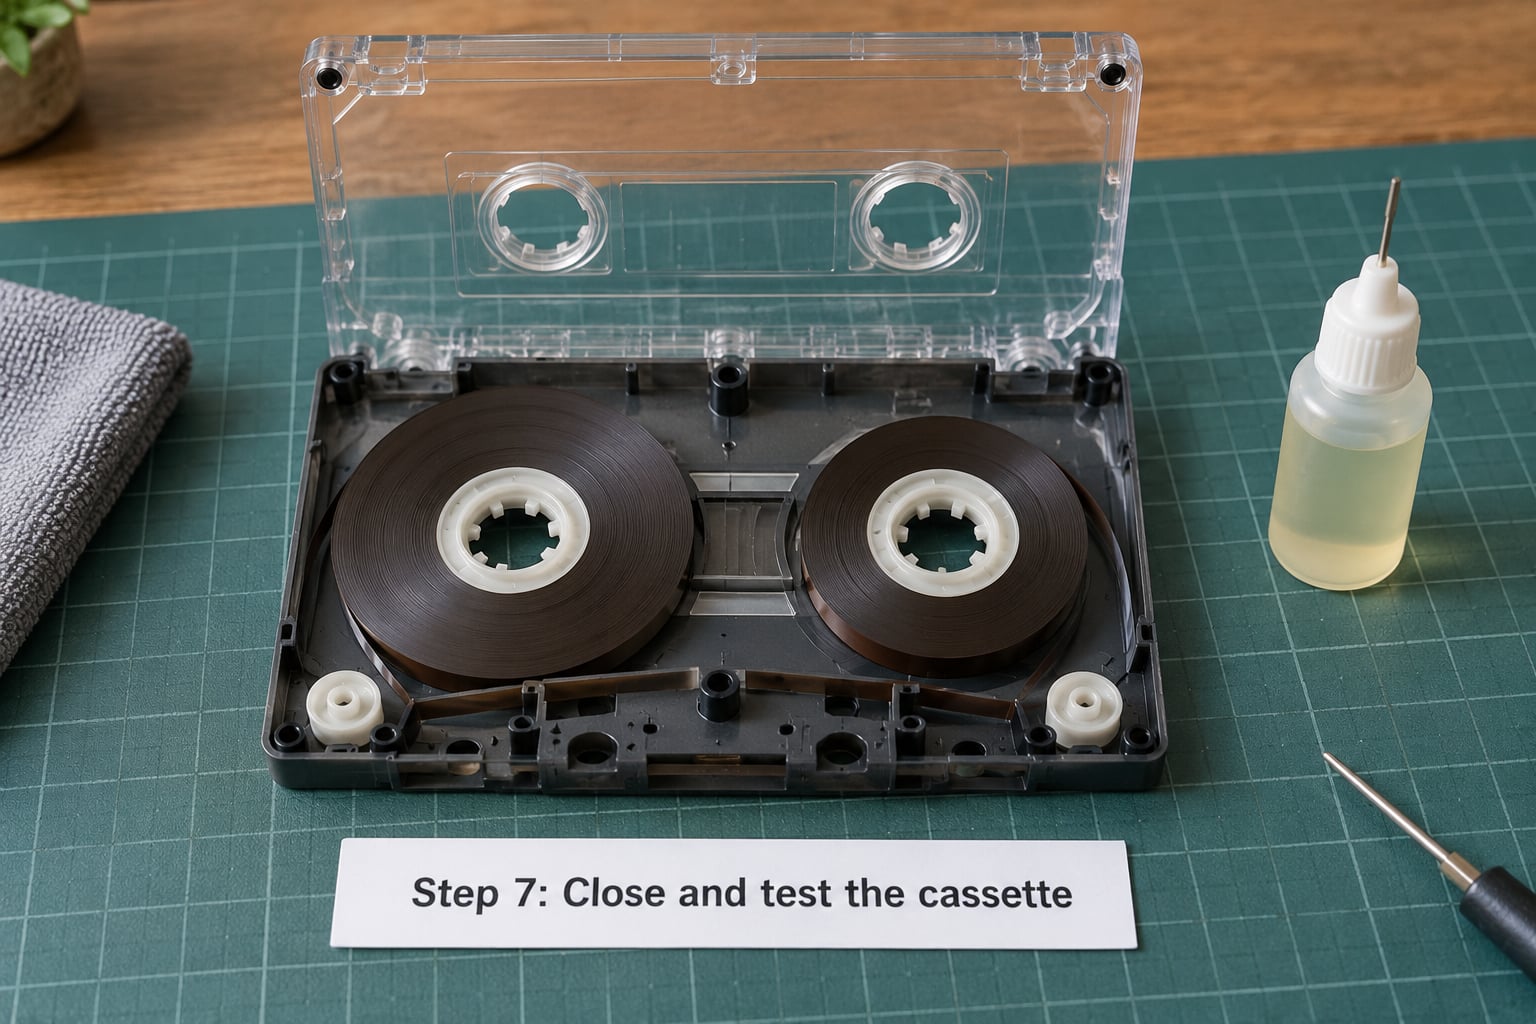
Put the top shell back on and replace all five screws. Not too tight, just snug. A shell whose halves gap open will shed sound and let the deck chew the tape again.
Turn both hubs by hand. They should turn smoothly in the transport direction with no scraping and no binding.
Test playback at low volume first, then fast-forward and rewind a few times, which is also the community’s standard advice before writing a jammed tape off. A successful repair plays through, spools both directions, and leaves no oxide residue on your fingers or the head.
Stop using a tape that drags, squeals repeatedly, or sheds brown or orange powder. That residue is shed oxide, and it collects on heads where it causes dropouts on later tapes.
Common Mistakes
These are the errors that turn a repairable tape into a scrap, each with the safer correction.
- Cutting the tape to remove the knot. Correct: untwist and wind it back. Cutting is a last resort for a genuinely shredded section, and it needs a proper splice.
- Pulling hard on the ribbon. Correct: hold the taut side and feed the loop out slowly, letting tension release instead of forcing it.
- Soaking the shell or the tape in cleaner. Correct: clean the deck’s tape path with a swab and isopropyl alcohol, and never wet the tape.
- Using ordinary sticky tape on a splice. Correct: use splicing tape made for magnetic tape, applied to the backing side, and trim the excess.
- Forcing a jammed transport again and again. Correct: take the tape out, open the shell, and rewind it by hand. A deck forced repeatedly chews more tape each attempt.
- Touching the tape surface with bare fingers. Correct: handle tape by the edges, or wear clean thin gloves. Skin oil collects dust and speeds shedding.
Common Mistakes and Quick Fixes
Here is the shortcut version, symptom first.
- One loop sticking out of the shell: wind it back with a pencil, no tools needed.
- Twisted ribbon visible through the window: open the shell, untwist by hand, rewind flat.
- Tape bunched and wound into itself: open the shell, pull the pack apart gently by hand, rewind slowly.
- Tape will not rewind in a player: almost always a snag at the head or capstan, not in the tape. Open the deck, free it, clean the path.
- Playback slows down or the pitch drifts: worn capstan or a dirty pinch roller in the deck, plus check that the tape pack is level.
- A squeal right at the start of a track: the pressure pad is off-position or the tape is packed unevenly. Rewind the pack by hand.
- Brown or orange residue on the head or fingers: shed oxide. The tape is shedding, and it will keep doing it in whatever player you use next.
Prevention is mostly habit. Store tapes upright in their cases, never on their sides where the pack can slump, and keep them away from heat and damp. Pop a tape out and rewind it by hand after long storage before the first play, since a pack that has sat for years is often the source of the twist.
Give the deck a swab clean of the tape path, guides and pinch roller every few dozen play hours, and keep a spare of whatever you use often. A clean transport is what keeps a tangled tape from becoming a mangled one.
Frequently Asked Questions
Can a tangled cassette tape be fixed?
Usually yes. Most tangles are a loop or a crossed ribbon sitting loose in or on the shell, and winding it back onto a reel with a pencil in the hub restores playback without opening anything. Open the shell only when the twist is buried in the pack, and splice only when the ribbon is torn or creased beyond use.
Is the pencil method safe for a tangled cassette tape?
It is the safest common fix, provided you turn slowly and never force it. A pencil in the reel hub gives you fine control and no metal edges near the ribbon. Stop if the pencil skips, the pack looks uneven, or the tape does not feed out slack after a few careful turns, because that is where stretching starts.
What should I do if the cassette reel will not turn?
Put the pencil method aside and open the shell. A reel that will not turn usually means the tape is packed onto itself or pulled into the shell opening, and no amount of turning from outside will free it. Lift the tape off the hub by hand, unwind the mess slowly, then rewind it evenly with the pencil before closing up.
Should I cut a tangled cassette tape to remove the knot?
Not for a knot. Cutting to remove a tangle throws away good recording and leaves two ends to join. Untangle and rewind instead. Cut only when the tape is physically broken, shredded or creased beyond recovery, then join the ends with a diagonal cut and splicing tape made for magnetic tape, applied to the backing side.
What lubricant can I use in a cassette player or cassette shell?
Use a lubricant made for cassette mechanisms, applied sparingly to the capstan, reel hubs and guide posts. Keep it off the pinch roller and off the tape itself. Household oil, grease, sewing machine oil and spray lubricants gum the transport permanently and attract dust, and none of them belong anywhere near a capstan.
When should I stop trying to repair a damaged cassette?
Stop when the ribbon creases instead of lying flat, when it sheds brown or orange oxide onto your fingers, or when the shell is cracked or warped. A creased or shedding tape will damage whatever player you use next, and a bent shell cannot guide the tape properly. At that point digitising what plays is kinder to both the recording and the deck.
Start with the pencil. Wind the loose tape back onto a reel, keep the pack flat, close the shell, and run fast-forward and rewind a few times before you play it properly. If the twist will not unwind by hand, open the shell rather than pulling harder, and if the tape is creasing or shedding, stop and digitise what you can still hear.