The fastest way to upcycle old album covers is to treat the cardboard jacket as craft stock: trim it, mount it on a backing board, seal it, or hand it straight to a frame. Most projects take under an hour and use materials you already own.
The catch is that a cover is often the only surviving part of a record you cannot replace, and cutting one is permanent. So spend your first ten minutes checking what the sleeve is worth and photographing it, then pick one project and start.
Table of Contents
- What You Need
- How to Upcycle Old Album Covers: Step by Step
- 1. Plan How to Upcycle Old Album Covers Without Damaging Them
- 2. Clean and Flatten the Covers Carefully
- 3. Make a Modular Album-Cover Collage
- 4. Turn One Cover into Framed Wall Art
- 5. Build Record-Storage Boxes and Wall Pockets
- 6. Seal Album Artwork Inside Protective Coasters
- 7. Make Bookmarks, Gift Tags and Party Decorations
- 8. Finish, Protect and Display the Project
- Common Mistakes
- Frequently Asked Questions
- Can I cut up an album cover without reducing the value of my record?
- What is the safest way to clean an old album cover?
- What should I use instead of glue or tape for album artwork?
- Will sunlight fade album artwork when it is displayed on a wall?
- What is the easiest project for a beginner with basic craft supplies?
- How should I store reused album covers after making a project?
- Conclusion
What You Need
Grab the basics before you sort anything. Most collectors own half of this list already, which is exactly why the projects are cheap.
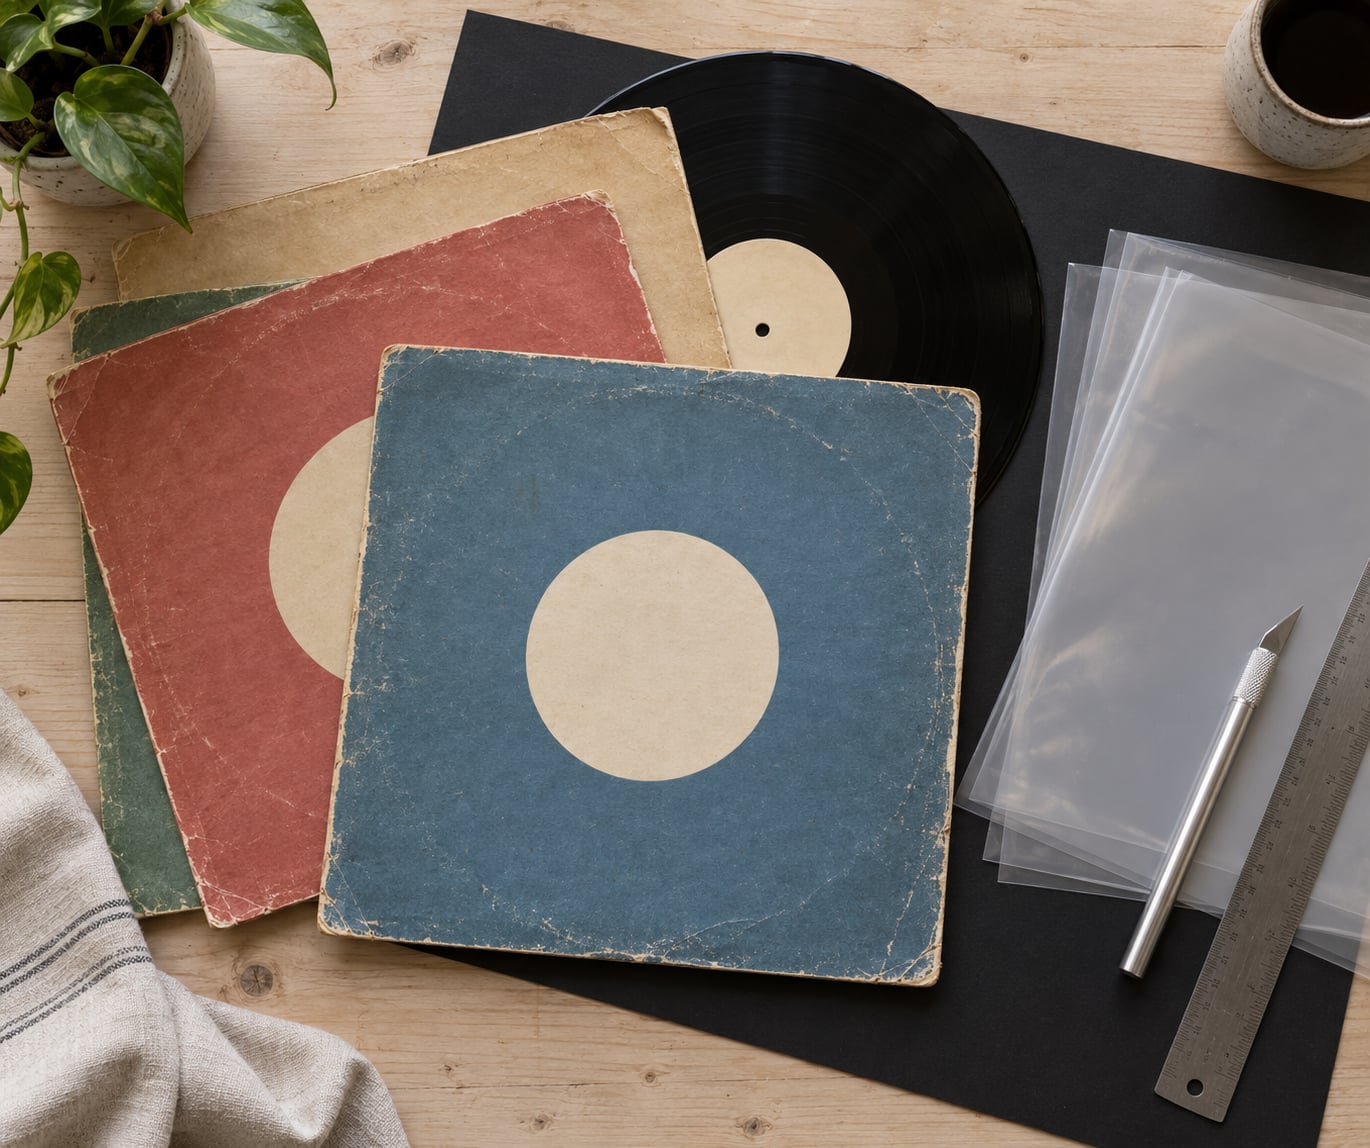
- A soft-bristle brush for dust
- Microfiber cloth and a bowl of plain water
- A cutting mat, straightedge and craft knife or guillotine trimmer
- Acid-free backing board, foam core or archival foam
- Photo corners, archival photo hinges or removable mounting strips
- Acid-free matboard and a frame with UV-filtering glass
- Scenic acetate or self-adhesive laminating sheets for coasters and bookmarks
- Clear archival pockets or standard file boxes for storage builds
- Neutral blocks or old hardback books for pressing covers flat
- A phone or camera for photographing each cover before you alter it
Archival materials cost more than their craft-store cousins, and the difference shows up in five years. Acid-free board, buffered paper and photo hinges will not yellow or bleed acid into neighbouring sleeves over decades. Ordinary foam board, masking tape, cheap glue and poster putty will. If a project needs to survive longer than a year, spend the extra on the board and the hinges and use ordinary materials everywhere else.
Handle the printed side with clean, dry hands as much as possible. Skin oils and damp fingerprints show up as cloudy patches on gloss or metallic finishes, and they are nearly impossible to remove once set. Lifting a cover by its edges with two hands keeps most of that off the artwork.
One safety note if any of your plans involve the record itself rather than the sleeve. Heating vinyl softens it and gives off an irritating odour, and that smell is not a pleasant sign but a warning to stop. Work outdoors or in a well-ventilated room, never in a closed space, and never near food you plan to eat. Everything in the steps below works on cardboard only, so nothing here requires an oven.
How to Upcycle Old Album Covers: Step by Step
The workflow below runs from sorting to final display. Prepare your covers once, then choose a single project. That order matters, because clean flat stock makes every later step cleaner and more precise.
1. Plan How to Upcycle Old Album Covers Without Damaging Them
Sort before you cut. Split your pile into three groups: sleeves in good condition, sleeves with tears or ring wear, and sleeves that are valuable enough to leave alone.
Pull the record out of any sleeve you plan to alter. Record and sleeve are sold as a set, and removing the disc from a collectible first pressing can itself affect how collectors judge the copy. Once the record is out, you also stop worrying about slicing a thumb or catching a corner in the opening flap.
To sort out value, search the artist, title and catalogue number on a discography database, then check sold listings rather than active listings on a marketplace, and run the number through a price guide for records in your condition. A sleeve with a specific pressing or regional variation can be worth more than the record, and you cannot undo finding that out later.
Photograph every cover you are considering. Lay it flat on a neutral surface in daylight, shoot straight down, and include a note of the release details in the filename. A good scan is your permanent copy; once the project exists you can remake it as many times as you like.
Note that most flatbed scanners cannot handle a 12-inch jacket in one pass. Photographing it, or scanning in two overlapping halves and joining them in an image editor, gets you a usable copy without a special machine. For anything you intend to print or publish, work at roughly 2000 by 2000 pixels or higher.
Finally, match the project to the sleeve. Large square covers suit collages and framed art, narrow spine strips suit bookmarks, and heavy card suits storage builds that need to carry weight.
2. Clean and Flatten the Covers Carefully
Start dry. Hold the cover face-up and sweep a soft brush across it in one direction, working from the centre outwards so you push dust off the artwork rather than grinding it into the print.
For compatible sleeves, a barely damp microfiber cloth does the rest. Wring it out until it barely drips, test on a corner you will trim later, and work in small strokes. Dry sleeves, matte-finish card and most modern reissues respond well. Coated or metallised covers often do not, so skip the cloth there and use the brush alone.
Never soak a cover, and never use a cleaner, alcohol or a wet wipe. Water carries dirt straight into the paper fibres and leaves a tide mark, and the marks do not come out.
To flatten a wavy sleeve, sandwich it between two sheets of clean plain paper and set heavy hardback books on top for a day or two. Press only as long as the paper feels flexible. A sleeve that stays ridged after a few days of pressure has usually been dampened or softened at some earlier point in its life, and forcing it flatter can crack the artwork.
3. Make a Modular Album-Cover Collage
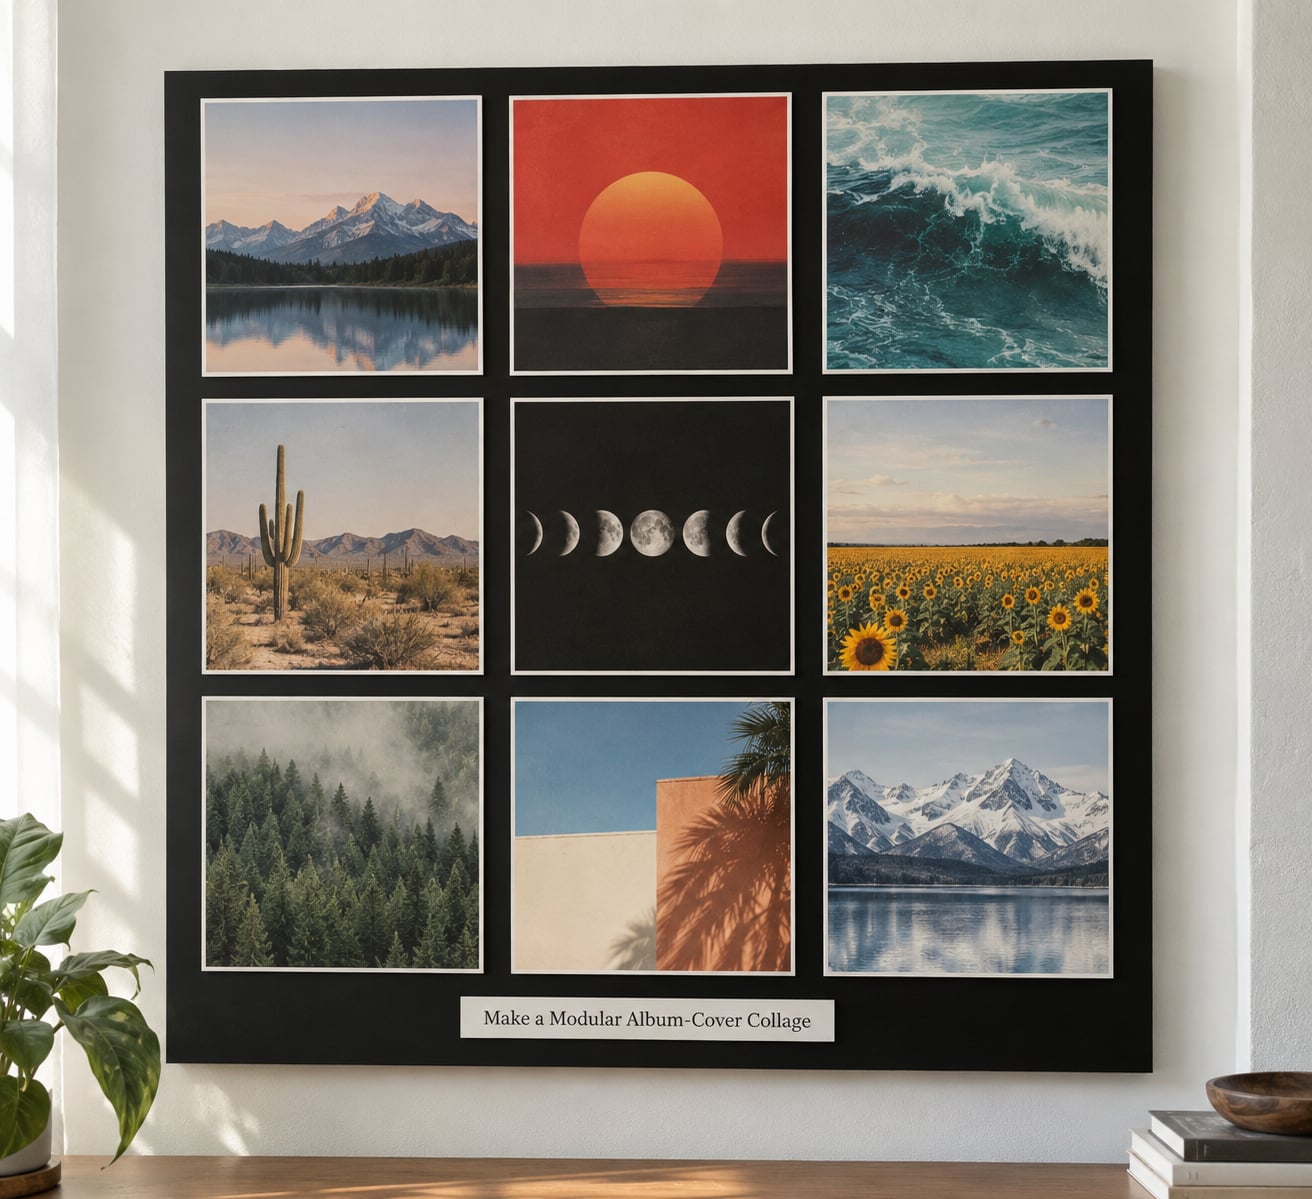
A modular collage works because you can add or remove sleeves without rebuilding anything. It is the best project when your collection is large and uneven.
Trim each cover you want to include to the same height, cutting on the printed side of the line so the border is clean. Measure twice with a straightedge and score before cutting with a craft knife; a guillotine trimmer gives straighter edges and takes less pressure on the artwork.
Plan the layout on paper first, at actual size, and mark where each cover goes. Work outward from your largest or boldest piece, since colour balance is easier to control from a focal point than from a corner.
Fix each cover to the backing with photo corners or archival photo hinges rather than glue. Corners release easily, which means you can rearrange the wall when you find new sleeves, and hinges hold a full-size jacket flat where tape would only catch a corner and let the rest curl.
Leave an even margin of board around the outside and keep the gaps between covers consistent, around an inch is a good starting point. Consistent gaps make a mixed collection look deliberate rather than crowded.
For a rental or an office wall, skip the board entirely and mount each framed cover with removable velcro strips. Weigh one finished cover first, because lightweight plastic frames plus velcro is what holds on a partition wall while a heavy moulding frame slides down it.
4. Turn One Cover into Framed Wall Art
One cover, one frame, no cutting. This is the safest project for anything you would rather keep intact, and it is the single most requested idea in collector forums when people ask about creative ways to display album covers.
Measure the jacket and the frame’s opening, not the frame’s outside dimensions. Album jackets vary, and most off-the-shelf LP frames are built for the common size rather than for every edition.
If a cover is a fraction too large, mount it anyway and let the mat window crop the edges rather than trimming the artwork. An acid-free mat with a window cut slightly smaller than the cover holds it at the edges and gives the piece a clean border. Back it with acid-free board and tape only the backing, never the front.
Choose UV-filtering glass for any wall that sees daylight. It slows fading noticeably, and fading is the one problem with framed album art that cannot be reversed once the colour has gone.
Hang it with a proper D-ring or sawtooth rated for the frame weight, and hang the wire so the hardware sits in the upper third of the frame rather than at the top edge. Level it with a small shim of card behind one side of the hardware rather than eyeballing the wire.
The no-frame version costs almost nothing: mount the cover on a foam core panel with archival hinges and cover the face with a sheet of clear acrylic held by small corner clips. Nothing touches the printed surface, the dust stays out, and the panel is light enough to hang with two removable strips. The acrylic will scratch, so keep a microfiber cloth with it and never wipe it dry.
5. Build Record-Storage Boxes and Wall Pockets
Storage builds are the most useful thing to make, because they solve a real problem instead of adding another ornament. They also work with covers you would never cut up, since most of them keep the jacket whole.
Leave the cover intact for file-box dividers and pocket fronts. Slide a finished pocket or box front over the artwork and fasten it to the board with archival hinges along one edge only, so the sleeve can still be lifted out.
Cut sleeves only when you are matching several covers to one panel face. Cut from the back, score first, and stay well away from the sleeve opening, the spine and any printed text you want to read.
Be clear about what can carry weight. A single cardboard jacket on a board will hold one record without bowing. It will not hold a stack, and a cover wall pocket is a display pocket, not shelving. For anything that carries more than one record, back it with a rigid panel and add a lip at the bottom so the disc cannot slide out.
Use clear archival pockets for the front faces, and index the box with a plain label rather than a strip of masking tape. The tape adhesive will darken the board and stain the neighbouring sleeves over time, which is exactly the yellowing problem you are trying to avoid.
6. Seal Album Artwork Inside Protective Coasters
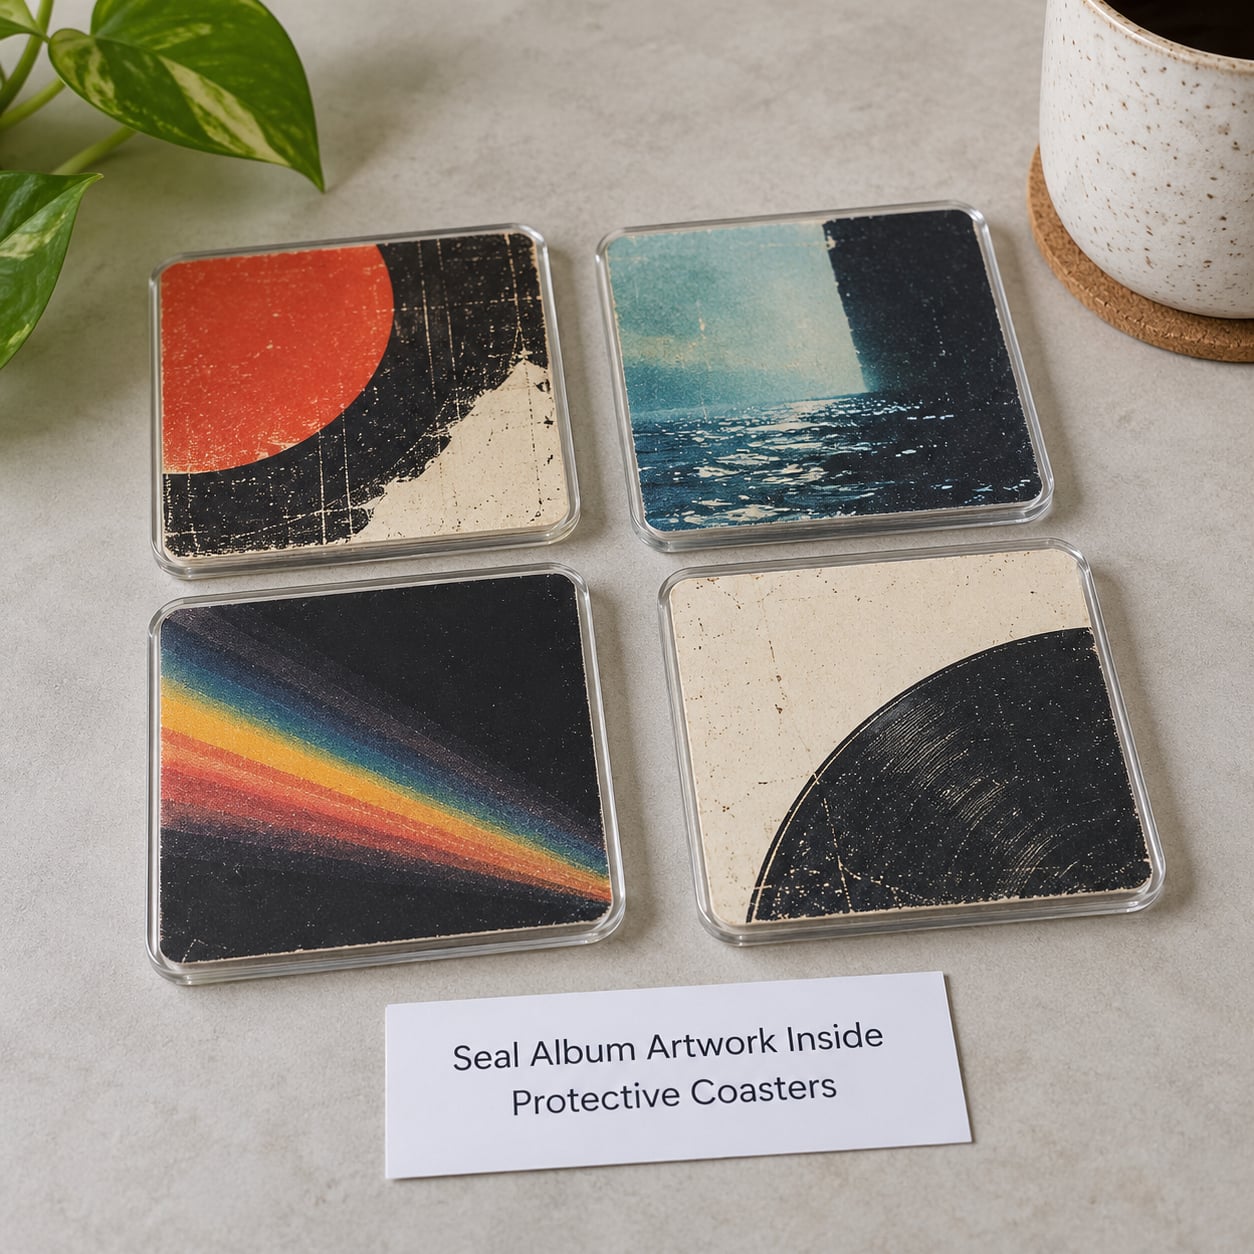
Sealed coasters are the best way to use cover artwork that is too damaged to mount and too interesting to bin. Once the artwork is sandwiched properly, it is genuinely waterproof and easy to wipe.
Cut squares roughly four inches across from cover sections, choosing areas with strong colour and no text if you can. A sliver of lettering across a corner is the one thing that gives the project away.
Back each square with a piece of acid-free board or thick card so the print is not stretched over a hard edge, then seal the front with scenic acetate, a self-adhesive laminate sheet or a thin clear acrylic pane.
Apply the adhesive to the back of the acetate, never to the artwork, and work from one edge outwards with a plastic scraper to push out air bubbles. Trapped air is what turns a clear seal into a frosted one.
Leave a small margin of clear material past the edges, then trim flush. Sand or file the cut edge lightly and finish it with a thin bead of clear sealant or two coats of water-based varnish, and the coaster will feel smooth rather than sharp.
Give the sealant a full day to cure, and follow the cure time printed on the product you actually use. Test a finished coaster with a cool wet glass first. Avoid very hot drinks, since heat is the one thing that will eventually haze a sealed surface, and do not load coasters with a heavy mug and a full ashtray of habit at once.
7. Make Bookmarks, Gift Tags and Party Decorations
These take fifteen minutes each and use the least valuable material in the pile: spine strips, inner sleeve panels and duplicate artwork from the same release.
Cut strips a half inch wide and as long as the bookmark, running them along the strongest part of the image. Punch the hole in solid colour rather than through a face or a line of text, and reinforce the hole on the back with a small ring of clear archival tape laid down before you punch, not after.
For sealing, use self-adhesive laminate sheets rather than a heat laminator whenever the paper is acidic or old. Heat and pressure will brown already-brittle paper, and a laminator will not forgive a mistake. If you want gloss without heat, sandwich the strip between two thin acetate sheets and trim the edge.
Square off a smaller piece of artwork and add a hole for a ribbon, and these become gift tags. Punch the corners instead and thread them on a stack of presents. For party decorations, cut bold shapes from cover sections and mount them on card, which keeps them sturdy enough to survive an evening of handling.
8. Finish, Protect and Display the Project
Stand back a few feet and check the thing. Uneven gaps, a cover sitting half a millimetre proud of its neighbour, or a border that is wider at the bottom than the top are all visible from across a room and invisible from your desk.
Reinforce any corner that has started to curl with an archival hinge or a photo corner rather than glue, and replace anything already torn. Once a corner is gone it stays gone, and a clean repair reads far better than a distressed one.
Keep direct sunlight off the finished piece, especially anything framed with ordinary glass. Keep it away from moisture too, and skip the bathroom entirely, where humidity and steam will curl card and yellow paper no matter how good the frame is.
For storage projects, label the outside with what is inside and write the date on it. A box of sleeves left unlabelled is unreadable within a year.
If you displayed an original, you now have a clean photograph of it that stays with you, plus a scan you can reprint whenever the arrangement changes. That backup is the difference between a craft project and a loss.
Common Mistakes
Glue applied directly to artwork is the first and worst error. It stains, it dries yellow, and it makes the cover unframeable forever. The fix is to always glue or tape the back, or use hinges and photo corners that hold the edges and leave the print untouched.
Acidic tape is the quiet version of the same problem. Masking tape and ordinary clear tape off-gas and will brown the cover in a few years. Use archival tape, or a photo corner where the design allows it.
Cutting into a sleeve opening, spine or catalogue number destroys the part of the cover that identifies the release. Cut from the back, score before cutting, and keep cutting lines off the opening flap.
Poor trimming shows up as a millimetre of white edge around some covers and none around others. Measure the height of every piece once, mark a single cut line, and use a straightedge for every cut rather than eyeballing each one.
Excessive moisture is the mistake that cannot be undone. A barely damp cloth is the limit; a wet one leaves a tide mark, and paper fibres never fully recover.
Outdoor display is the last one to drop. Card, tape and glue fail outdoors within months even when the artwork itself is fine. Bring anything external inside at the end of the season and let it acclimatise in the room it will live in.
One care tip covers most of the rest: keep the finished projects away from direct sun, dust them with a soft brush rather than a damp cloth, and take a photograph of the arrangement on the day you finish it.
Frequently Asked Questions
Can I cut up an album cover without reducing the value of my record?
Usually yes, but only after you check. Search the artist, title and catalogue number on a discography database, then compare it with sold listings and a printed price guide. Value to a collector comes from the complete set, so altering a sleeve from a rare or limited pressing can reduce what the record is worth even though the disc plays fine. For a common pressing, a trimmed sleeve is a minor cosmetic loss. For a valuable one, display the cover intact and upcycle a duplicate instead.
What is the safest way to clean an old album cover?
A soft brush on a dry cover, then a barely damp microfiber cloth for sleeves that tolerate water. Always test a corner first, work in small strokes, and dry immediately. Never soak a cover, use a wet wipe, alcohol or any household cleaner, because water carries dirt into the fibres and leaves a permanent tide mark. Coated, metallised and glossy covers often react badly to moisture, so use the brush alone on those.
What should I use instead of glue or tape for album artwork?
Use photo corners or archival photo hinges. They grip the edge of the cover, hold a full-size jacket flat, and release again later, which means you can rearrange a collage without damaging anything. For permanent work, glue or tape only the back of the cover or the backing board, never the printed face. Avoid masking tape and ordinary clear tape, whose adhesive off-gases and turns the artwork brown over a few years.
Will sunlight fade album artwork when it is displayed on a wall?
Yes, and the damage is permanent. Printed inks and metallised finishes fade fastest in direct daylight, and the usual signs are a washed-out black, a shift in saturated colours and a loss of shine. UV-filtering glass slows this considerably at a modest premium, and hanging out of direct sun helps more than anything else. For the most valuable covers, display a printed copy made from your own photograph rather than the original.
What is the easiest project for a beginner with basic craft supplies?
The coaster set. You need scissors or a craft knife, card, a ruler and a self-adhesive laminate sheet. Cut four-inch squares from cover sections, back them with card, apply laminate to the back of the sheet rather than the print, trim the edges and finish them with a thin bead of sealant. The whole set takes under half an hour and needs nothing you would have to buy specially, which makes it a good first attempt.
How should I store reused album covers after making a project?
Store covers that are still intact flat, out of direct light and away from any damp room, with a heavy book or flat board on top so the corners do not curl. Store trimmed offcuts in a labelled acid-free box rather than stacked loose in a drawer, and keep the record itself out of the jacket if you removed it. A cool, dry room matters far more than any container you choose, and the bathroom is the one place to avoid.
Conclusion
Upcycling old album covers is a ten-minute job once the stock is clean and flat, and the only real risk is cutting something you wish you still had. The projects above all share the same rule: keep adhesives off the printed side, keep sunlight and damp off the finished piece, and make a photograph before you touch anything.
Start with these four actions. Identify which covers are worth keeping, pull the record out of each sleeve, photograph every cover you are considering, and test your adhesive on a duplicate or a scrap section. Then pick one project, a collage or a set of sealed coasters works well for a first attempt, and finish the batch in one sitting while the stock is already out.