You can clean a record without a machine by holding it by the edges, brushing from the outer rim toward the label with a soft anti-static brush, then lifting the loosened dust with a dry lint-free cloth. It takes about five minutes a side, needs no liquids, and it removes the surface dust that causes most pops.
That is the honest answer. A record surface is smooth, non-porous PVC, so floating dust wipes off easily. What is embedded in the groove walls takes more than a brush, and no method short of a machine gets it all. Set your expectations there and the rest is simple.
If you have never cleaned a record before, do the dry method first. It is the least risky thing you can do, and for most thrift-store and estate-sale finds it makes a shocking difference before you ever consider anything wet.
Table of Contents
- What You Need to Clean a Record Without a Machine
- Step-by-Step
- Step 1: Remove the Record From Its Sleeve and Inspect It
- Step 2: Work on a Clean, Stable Surface
- Step 3: Clean a Record Without a Machine Using a Soft Brush
- Step 4: Remove Loose Dust With a Microfiber Cloth
- Step 5: Clean the Label and Center Area Carefully
- Step 6: Check the Grooves and Repeat Only If Needed
- Common Mistakes
- Frequently Asked Questions
- Can I clean a vinyl record with a damp cloth without using a machine?
- Is it safe to use rubbing alcohol or household cleaner on a vinyl record?
- What is the best brush for cleaning vinyl records by hand?
- Should I clean a record while it is on the turntable?
- How do I remove sticky residue or mold from a record without a machine?
- Why does my record still sound crackly after dry cleaning?
- A Safe Record-Cleaning Routine
What You Need to Clean a Record Without a Machine
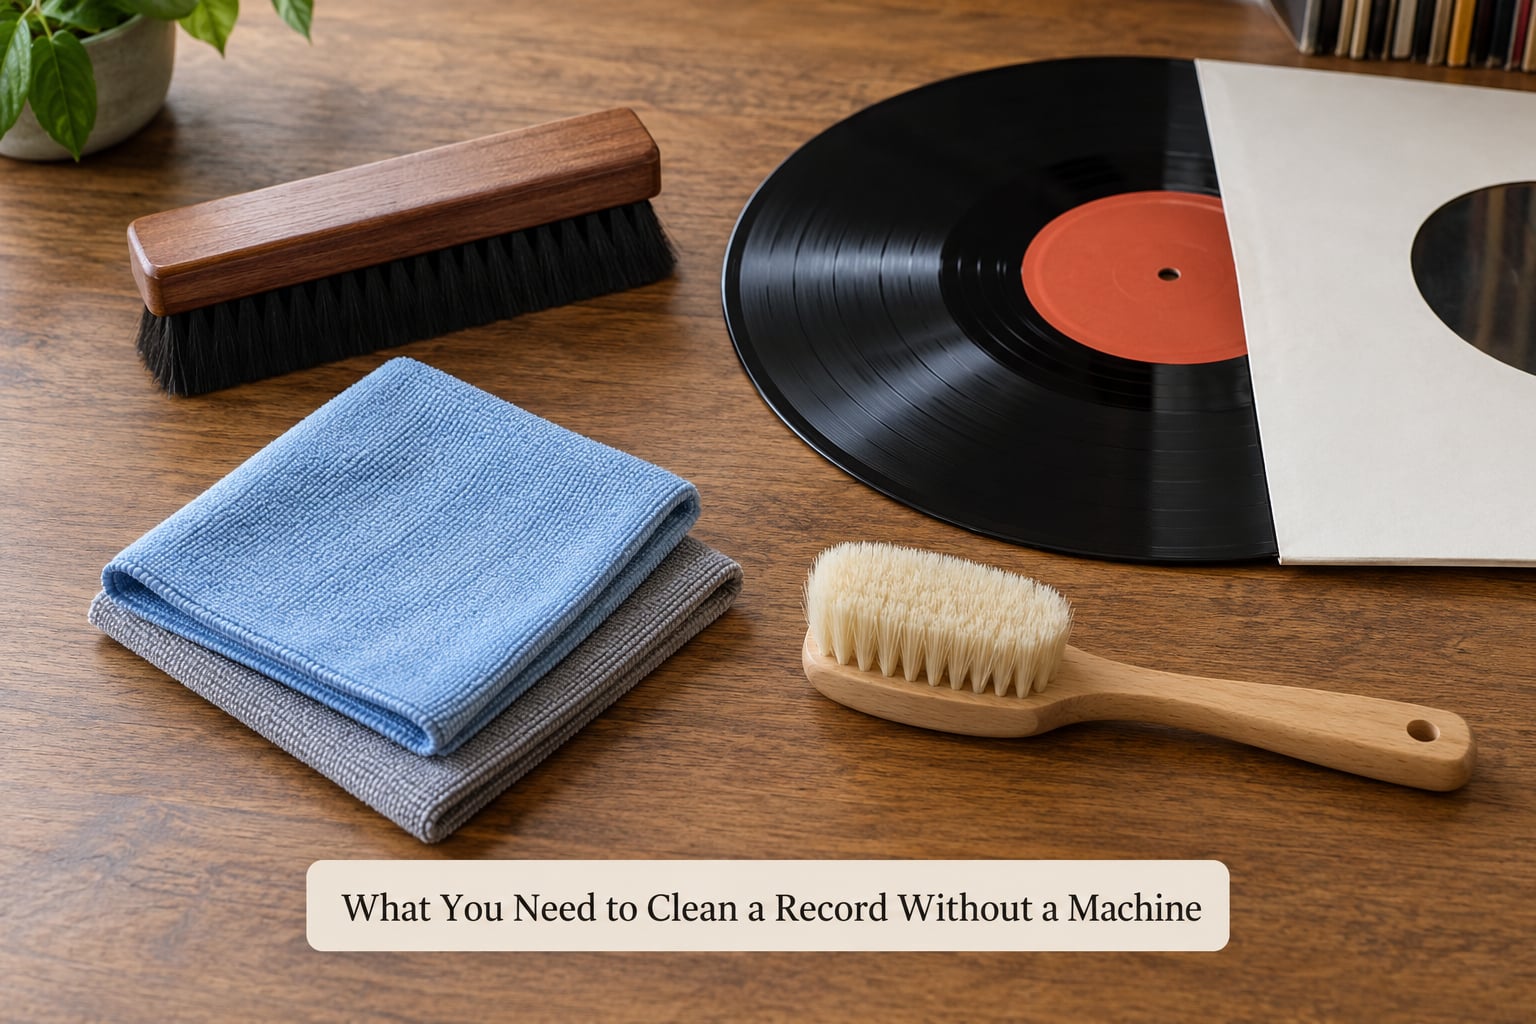
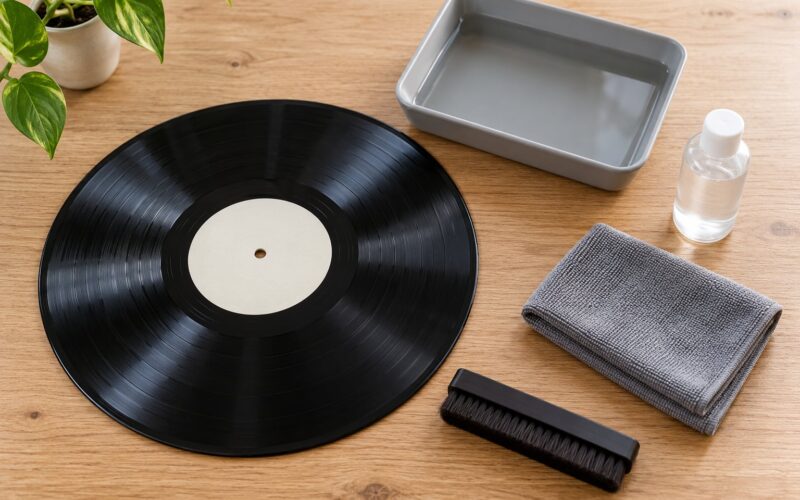
Four things, and you probably own two of them already.
- A soft anti-static or carbon-fibre record brush. These have fine conductive fibres that pick up dust instead of pushing it around. A clean, soft-bristled household brush works in a pinch, as long as the bristles are soft and the brush is free of detergent or scented oil residue.
- Two lint-free cloths. Microfiber works well. They have to be freshly washed and completely dry, because detergent left in a cloth leaves a film that makes the record worse than when you started.
- A soft, short-bristled detail brush. Optional. Useful for the label area and the grooves just outside the run-out.
- An anti-static inner sleeve. Not for cleaning, but for putting the record back into. A paper sleeve keeps dust and static off a disc that is now clean.
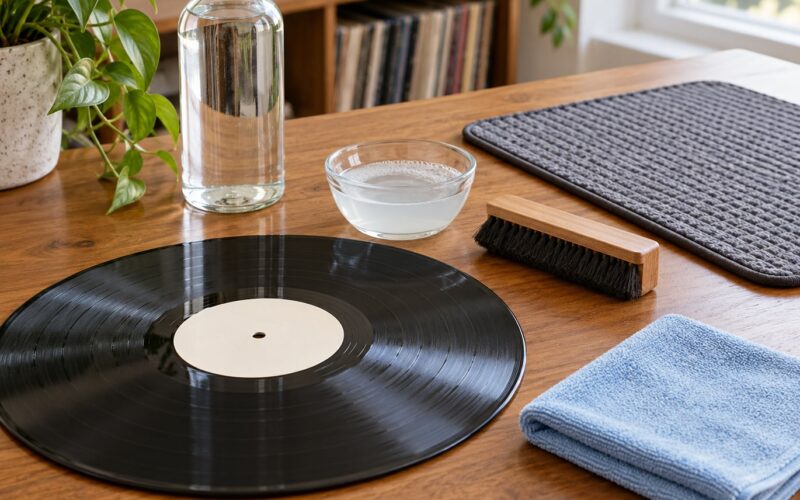
Skip the liquids entirely for now. Water, alcohol, vinegar, and household sprays all carry risk, and the dry method gets most of the available benefit.
Work away from dust, in good light, somewhere with no carpet. Do not clean a record over a fluffy rug or a dusty table, because you will be sweeping grit straight into the grooves you are trying to clear. Wash and dry your hands first.
Handle 78-rpm shellac discs and any warped or brittle vinyl with extra care. Shellac is a different material from PVC, it is more brittle, and it is easy to scratch through to the playing surface. Never brush a 78 with pressure. Old lacquer discs that feel sticky or smell of vinegar are also a stop-and-think case, because the label adhesive and the lacquer itself can be affected by almost anything wet.
Step-by-Step
Step 1: Remove the Record From Its Sleeve and Inspect It
Hold the disc by its outer edge between your thumb and fingers. Never hold it by the label or by the centre hole, because oils from your skin get into the label and, on some pressings, creep under the edge and lift the paper.
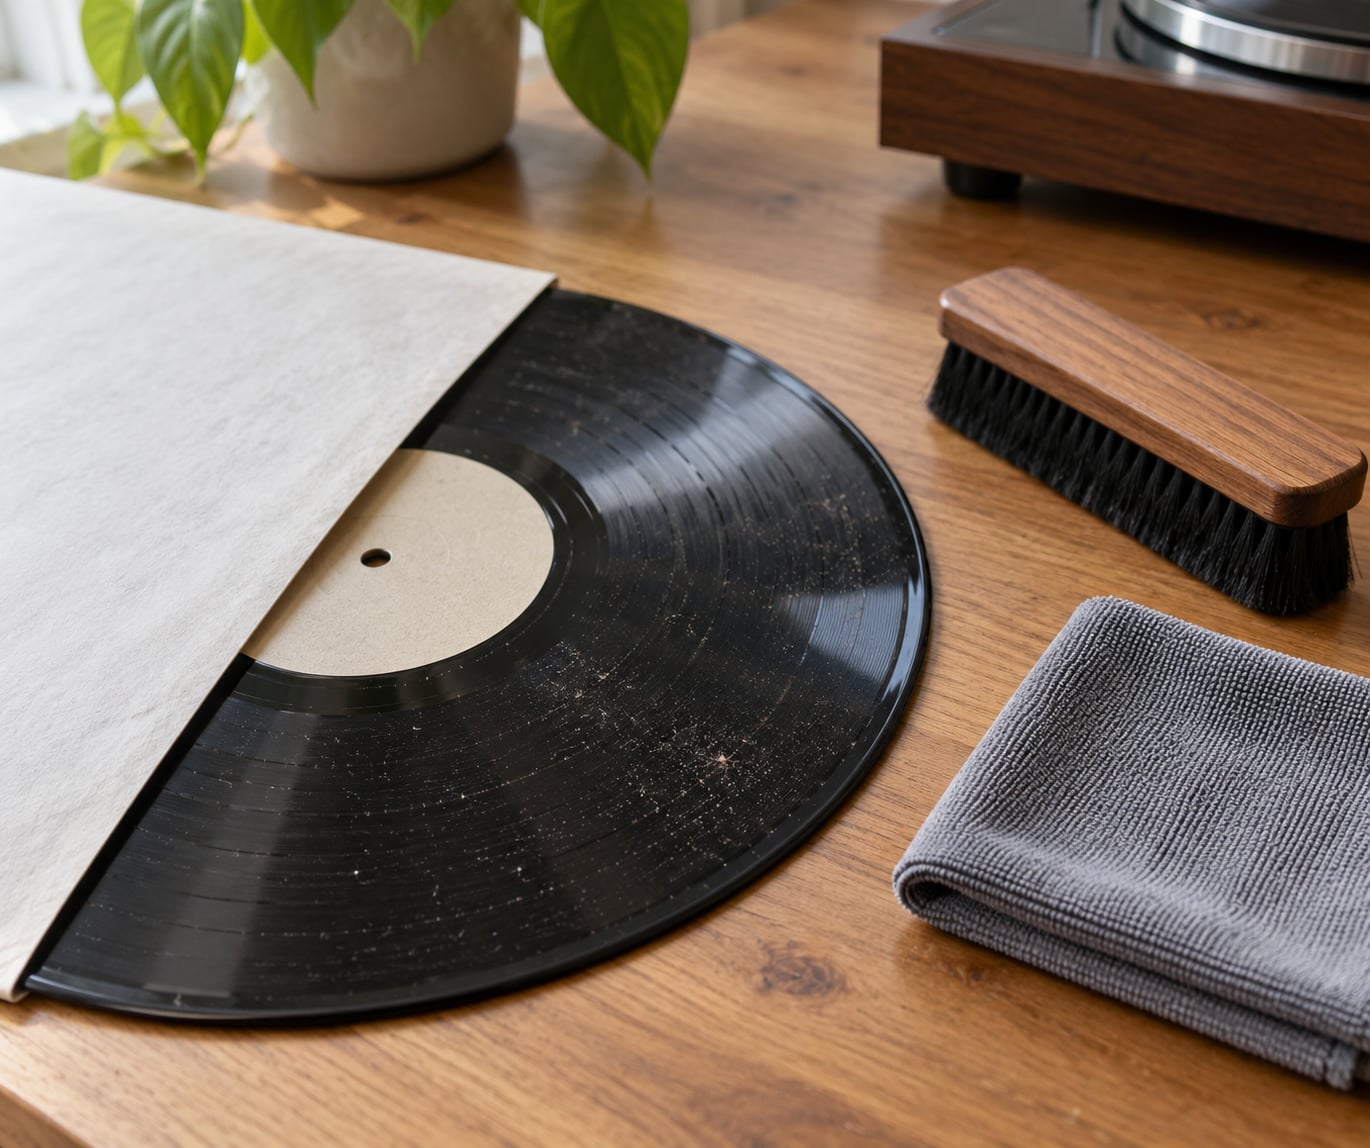
Slide the record halfway out of the inner sleeve first, then lift it free. Pulling it straight up while it is still sitting in the sleeve drags the vinyl across the paper lining and grinds dust into the outer grooves.
Look at both sides under angled light. You are checking for surface dust, sticky residue, fingerprints, and any scratches or warping you can see. If the record is visibly warped, cracked, or flaking, stop there and play it as-is. A warped disc is a risk to the stylus, and cleaning will not fix the warp.
You will know dry cleaning is the right call when the problem is pops between tracks, a general surface haze, or a record you have not touched since it came out of a box.
Step 2: Work on a Clean, Stable Surface
You need a flat surface where the record can stay still for five minutes. A clean table, a shelf, even a sheet of plain card on a hard floor works.
Wipe the surface down first. If you clean the disc in one spot and then slide it across a table to work on the other side, you put back everything you just removed. Move the disc instead of dragging it.
Good light matters more than you would think. A lamp at an angle to the surface makes dust, haze and fingerprints visible as a milky sheen. Overhead light hides them, and you will finish thinking a dirty record is clean.
Step 3: Clean a Record Without a Machine Using a Soft Brush
Hold the disc by the edges with one hand, slightly off the table, and let the brush do the work. Brush from the outer edge inward toward the centre label.
Work in short sections around the disc rather than one long sweep. Follow the direction of the grooves the whole way. The grooves run in a single circle around the disc, so brushing with them carries debris along and out, while brushing across them presses it deeper in and drags grit sideways through the walls.
Keep the pressure light. You are guiding fibres across the surface, not scrubbing a stain. If you press hard, stiff household bristles can leave fine scratches that are visible under angled light and audible as crackle.
Turn the disc a few degrees between sections so you stay aligned with the groove direction. Overlap the sections slightly rather than leaving a ring of dust behind at the boundary.
You will know it is working when the brush starts moving smoothly instead of feeling gritty, and when the milky sheen disappears under your angled light.
Step 4: Remove Loose Dust With a Microfiber Cloth
With the brush still in one hand, take the dry lint-free cloth in the other and wipe the disc following the grooves, again from the outer edge inward. One pass per section, then move on.
The cloth catches what the brush lifted. You do not need to go over the same area repeatedly. Repeating passes just spreads the same dust around in a thinner layer.
Do not press the cloth into the grooves, and do not rub in small circles. Circular motion across the groove direction is the single most common way people scratch a record by hand while trying to clean it.
Check the cloth between sides. If you find grit on it, move to a clean section or swap for the second cloth. A dirty microfiber cloth is an abrasive pad.
Step 5: Clean the Label and Center Area Carefully
The label and the area just outside it collect fingerprints and ring-wear marks. Treat them more gently than the grooves.
Start completely dry. A dry cloth and a soft brush usually shift label grime, because most of it is on the surface rather than soaked in.
If a mark will not lift dry, a barely damp cloth is sometimes enough. Dampen it in your hand rather than under the tap, touch it to an inconspicuous spot near the run-out first, and if any darkening, bleeding or softening appears, stop immediately.
Never let water sit on a paper label. It will ring, bubble, or lift, and the resulting damage is permanent. Skip moisture entirely if the label is glued down, peeling, glossy, or already fragile.
No cleaning fluid on the label, either. Alcohol and other solvents attack label adhesives and can bleed ink. Keep moisture and liquids off the centre of the disc.
Step 6: Check the Grooves and Repeat Only If Needed
Hold the disc up to your angled light and go round it again mentally. A record looks dull and grey when it still has dust, and the dullness disappears in patches as you clean, which makes the remaining dirty areas obvious.
Run a finger lightly across the surface between tracks. Smooth means clean. Any gritty patches get one more brush pass and one more cloth pass, confined to those patches.
Put it on before you go further. Listen for surface noise between tracks, not in the music itself. Pops that thin out or vanish tell you the brushing worked.
Then stop. Over-cleaning is a real risk: repeated brushing dulls the vinyl, and a dull surface holds more static and more dust than a clean one did. If light pops remain after two careful passes, they are probably embedded dirt or decades of stylus wear, and a brush will not shift either.
The honest list looks like this. Dry cleaning reliably removes surface dust, fingerprints, mild haze, and general handling grime. It will not remove mould, it will not lift a sticky label, and it will not bring worn-out crackle back to silence. When you have that clear, you will stop at the right point instead of scrubbing a record to death chasing the last pop.
Common Mistakes
Almost every damaged record I have seen came from one of these.
- Household cleaners, glass cleaner, and sprays. Windex-type products leave a residue that traps dust and can craze the surface. Skip them.
- Dish soap. It rinses off with great effort and leaves a film if you do not get it fully. There is no place for it in a dry clean.
- Rubbing alcohol straight from the bottle. Undiluted alcohol is far too harsh for routine use. If you ever go wet, it gets diluted heavily with distilled water and kept well off the label.
- Hydrogen peroxide. Never. It bleaches and can attack the label and the vinyl.
- WD-40, acetone, nail polish remover, lighter fluid. These are solvents. Some of them will destroy the playing surface outright.
- Vinegar. An old tip that leaves an acidic film. There is no good reason to put it on a record.
- Sponges and baby wipes. Both carry binders and detergent, and both act as abrasives on the groove walls.
- Brushing in the wrong direction. Across the grooves is the fast way to make crackle that was not there before.
- Holding the record by the label. Get oils into the paper and under the edge.
- A dirty brush. The most common mistake in the collection, and the easiest to fix. Wash the brush, dry it fully, and change it when the bristles feel rough.
- Pressure. Light pressure and patience get the same result as force and no damage.
Two exceptions break the dry-first rule, and both matter.
Mould and musty boxes. If a record smells musty, has fuzzy or powdery spots, or the sleeve is damp, do not brush it dry. You will spread spores into the air and across everything nearby. Isolate the affected records from the rest of your collection, work outside or in a well-ventilated room, and clean the disc as part of a wet process instead. The cardboard jacket is usually the part you lose. The PVC disc usually survives.
Pre-1950 shellac 78s. Alcohol dissolves a shellac playing surface. Dry brushing only, with almost no pressure, and treat any 78 as more fragile than it looks. When a shellac record needs more than a brush, that job is for someone who knows the material.
One last tip, and it saves more records than cleaning ever will: put a clean record back into a fresh anti-static inner sleeve, store it upright rather than stacked flat, and keep the shelf somewhere dry. Humidity is what turns a dusty record into a mouldy one.
Frequently Asked Questions
Can I clean a vinyl record with a damp cloth without using a machine?
Yes, with care. A barely damp lint-free cloth can lift fingerprints and light grime, but only on discs you know are sound. Test an inconspicuous spot near the run-out first, keep all moisture away from the paper label, and let the disc air dry completely before you sleeve it. Never use a wet cloth on a shellac 78 or a sticky, fragile-label record.
Is it safe to use rubbing alcohol or household cleaner on a vinyl record?
Rubbing alcohol is safe only when heavily diluted, roughly one part 70 percent isopropyl alcohol to nine parts distilled water, and even then it stays off the label. Household glass cleaner, general sprays, WD-40, acetone, vinegar, and hydrogen peroxide are not safe. They leave films that attract dust, or they attack the vinyl, the label adhesive, or the ink.
What is the best brush for cleaning vinyl records by hand?
A soft-bristled record brush with anti-static or carbon-fibre fibres is the one to buy. The conductive fibres pick up dust rather than pushing it along the groove. A clean, soft household brush works in a pinch, but skip anything stiff, perfumed, or washed in scented soap. Replace a brush once the bristles start to feel rough or splayed.
Should I clean a record while it is on the turntable?
No. Take the record off the platter and clean it on a clean, flat, stable surface where you can hold it by the edges and view it under angled light. A record turning on the platter gives you no grip, no way to feel for dust, and no way to work an angle to the surface, which is exactly what you need to see haze and residue.
How do I remove sticky residue or mold from a record without a machine?
Separate the record from your collection first, then work in a ventilated space away from the rest of your vinyl. Do not dry brush it, because that spreads spores. A mouldy disc needs a wet clean as part of a larger job, and hydrogen peroxide is not an option. The cardboard sleeve is usually beyond saving; the disc itself is often fine.
Why does my record still sound crackly after dry cleaning?
Because crackle and pops are not the same problem. Dry cleaning lifts dust sitting on the surface, which clears most pops. Crackle that continues between tracks is usually permanent: dirt worked into the groove walls over decades, or wear from a stylus that has been tracking the same record for years. Repeat brushing will not fix it and will eventually dull the vinyl.
A Safe Record-Cleaning Routine
Start with the record in your hand. Slide it out of the sleeve without dragging it, hold it by the edges, and brush from the outer rim inward toward the label with a soft anti-static brush.
Then wipe following the grooves with a dry lint-free cloth. If the label needs attention, use moisture only on a label you have already tested and know will not bleed. That is the whole routine for most records, and it is worth doing before every play for the ones you listen to most.
The gentlest thing that actually works is nearly always the right call for vinyl. It protects the groove walls your stylus has to read, and a groove wall is not something you get back once it is scratched.