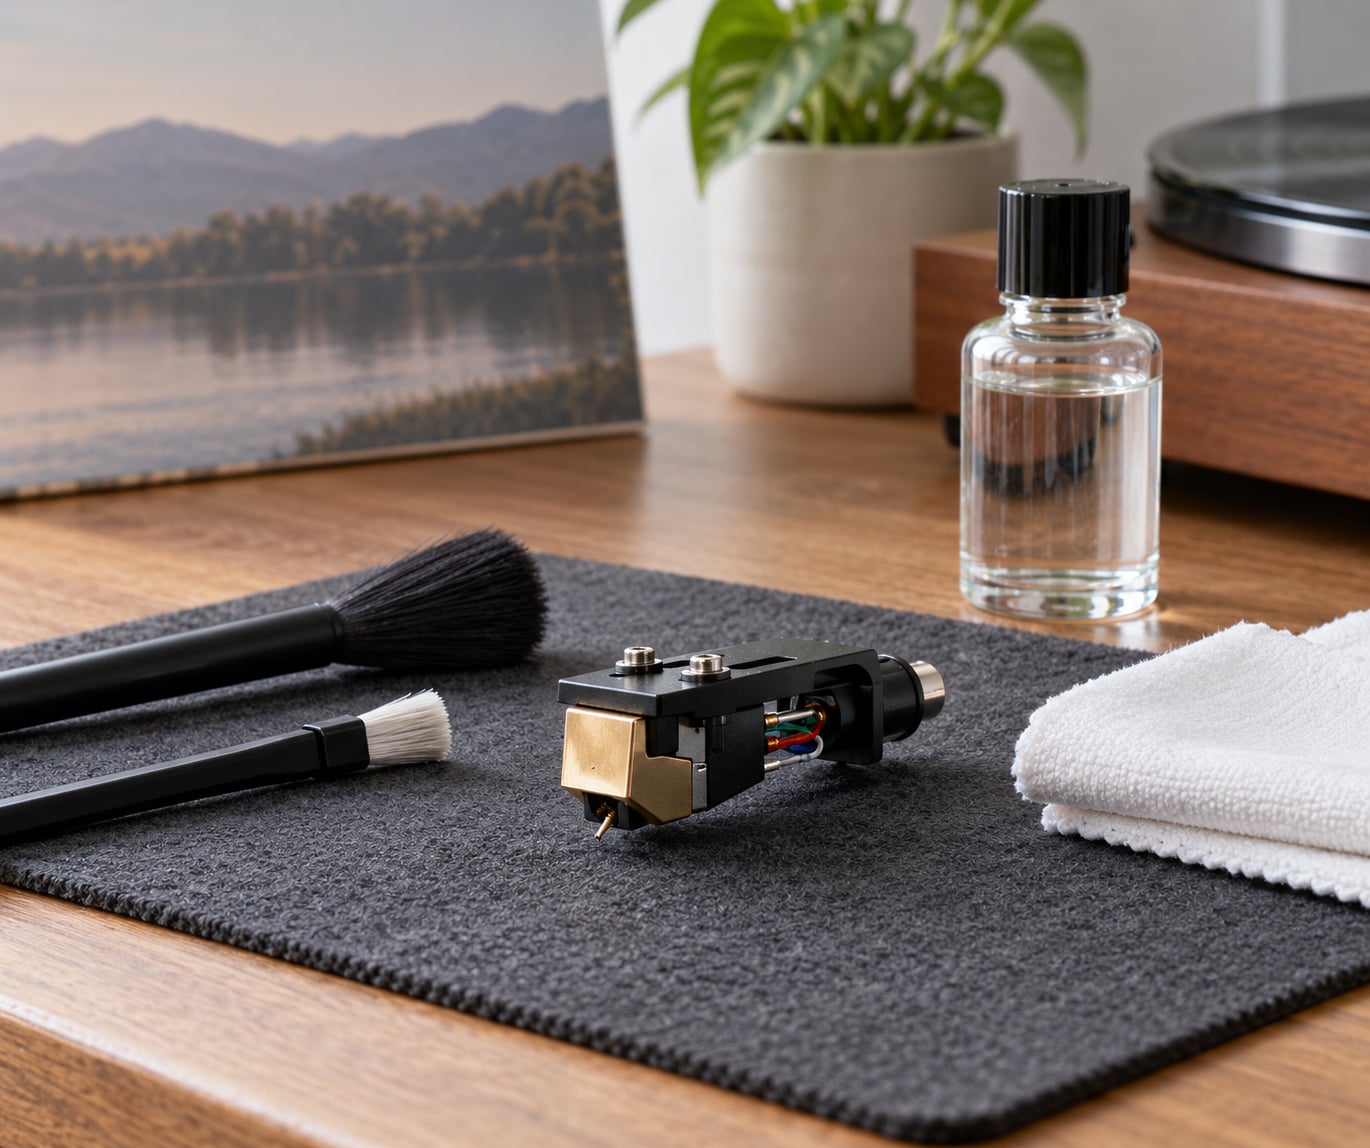
To clean a stylus safely, you need almost nothing: a soft, dedicated stylus cleaning brush, a lint-free cloth, and a small amount of 90% isopropyl alcohol or a purpose-made stylus fluid applied to the cloth, never to the needle. Most of the job is dry brushing, back to front, and most of the risk comes from touching the cantilever by mistake.
A stylus traces grooves a few millionths of an inch deep. Dust sitting on that tip acts like a bulldozer, dulling the treble and gouging the record as it goes. The good news is that routine cleaning takes a minute, and the whole job fits on a kitchen table.
The rule that matters more than any other: always brush from the back of the stylus toward the front, the direction the needle travels. Never side to side, never front to back. Debris pushed toward the tip is exactly the debris that scratches a record, and a sideways nudge can snap the cantilever.
Table of Contents
- What You Need
- Step-by-Step
- 1. Check the cartridge before cleaning
- 2. Power off and prepare the turntable
- 3. Remove loose dust with a soft brush
- 4. Apply cleaner to a lint-free cloth, not the stylus
- 5. Let it dry and test the stylus
- Common Mistakes
- Frequently Asked Questions
- Can I use isopropyl alcohol to clean a stylus?
- How often should I clean a record player stylus?
- What if my stylus feels sticky and will not move?
- Can I clean the stylus while the record is playing?
- Is a cotton swab safe for cleaning a stylus?
- When should I replace a dirty or damaged stylus?
- A safer first step for your stylus
What You Need
Gather everything before you touch the turntable. Half of cleaning damage happens because someone started with a damp cloth and a bad light and ended up improvising.
- A dedicated stylus brush. Hana-style brushes, with very soft bristles that are slightly sticky to the touch, are the standard. A clean, unused, soft paintbrush works in a pinch. Skip anything with stiff bristles, and skip a toothbrush.
- A lint-free cloth or cotton swab material that you will dampen, not the stylus itself.
- A fluid. 90% or 91% isopropyl alcohol is the widely used choice. Purpose-made stylus cleaners are the cautious option, and stylus gel handles heavier buildup.
- A flashlight or a phone with a bright light, plus a loupe or jeweler’s loupe if you own one. You are looking for dust, gel, and any sign of a bent tip.
- A stable surface. The turntable should sit level, with the dust cover open and the platter free of a record.
What to keep out of the kit: contact cleaner such as Deoxit, household glass cleaner, furniture polish, nail polish remover, compressed air, and any liquid you would not put on your own hands.
Step-by-Step
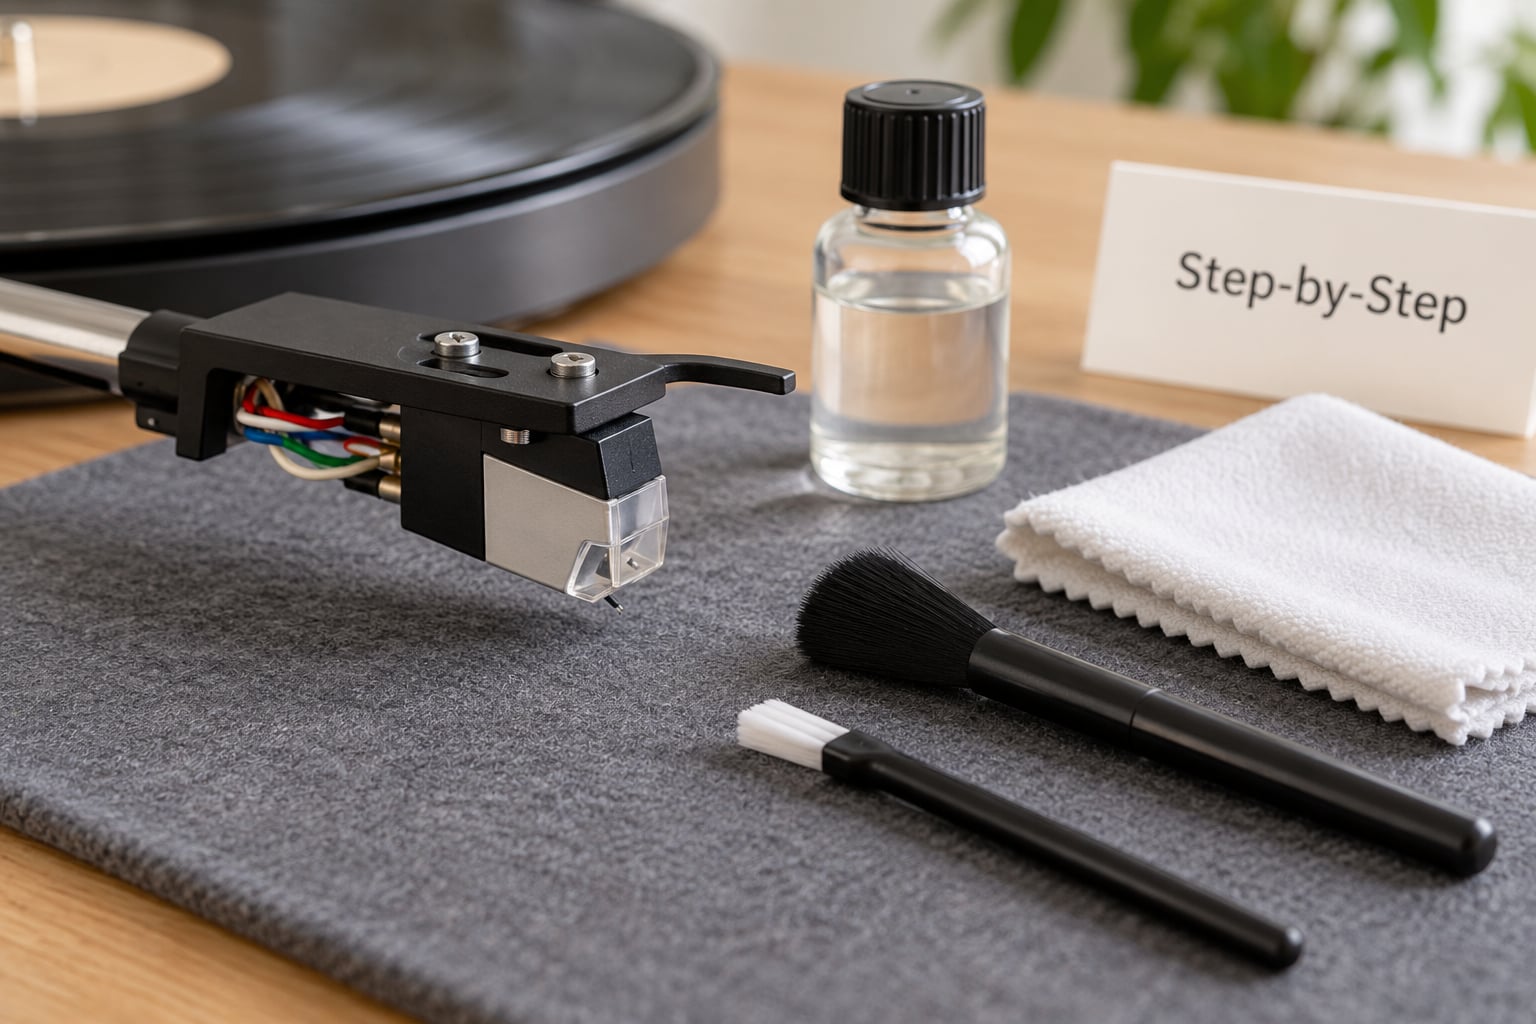
Work through these in order and stop at any point if something looks wrong. The inspection pauses are the whole point; a cartridge that already has a problem should be diagnosed, not cleaned harder.
1. Check the cartridge before cleaning
Put a bright light on the stylus and look at it from the side and slightly below. You are looking for three things: visible dust or fuzz on the tip, a build-up of gel or dried cleaning fluid, and a tip that no longer sits in line with the rest of the cantilever.
A healthy stylus has a tiny, symmetrical tip pointing straight down from a slender cantilever. A bent cantilever usually shows as a kink or a hook in that beam, and no amount of cleaning fixes it. If you see a bend, a visibly chipped tip, or a cartridge body that has been knocked out of alignment, stop there and plan a replacement instead.
2. Power off and prepare the turntable
Stop the record, lift the tonearm, and switch the turntable off at the mains where your model allows it. Never cue down onto a spinning record to clean, and never reach past the tonearm while it is moving.
Set the anti-skate to zero and park the tonearm. From here on, the only thing allowed to touch the stylus is the cueing lever. If you are going to work on a sticky needle, you lower the stylus onto the cleaning material with the lever and lift it away the same way, and your fingers stay well clear.
3. Remove loose dust with a soft brush
With the stylus resting lightly on the record, hold the brush so the bristles sit just in front of the tip, angled slightly. Stroke from back to front, in the direction the stylus travels, using light, unhurried pressure.
That first pass will look like it is doing nothing, because you are only moving the brush, not scrubbing the needle. The needle stays put in the groove and the bristles sweep past it. Most of the debris should come away in two or three strokes.
You can also brush with the stylus lifted out of the groove, back to front, without touching it. Do that between records rather than mid-side.
4. Apply cleaner to a lint-free cloth, not the stylus
Dampen the corner of a lint-free cloth, or the tip of a cotton swab, with a few drops of 90% isopropyl alcohol. The fabric should be barely damp. Overdampening is the most common self-inflicted fault, and it is how liquid ends up running onto the cartridge body or the cantilever suspension.
Now bring the damp material up to the stylus from behind, the same back-to-front direction, and wipe the visible residue away without pressing on the cantilever. Light contact on the tip itself is fine; a firm push on the beam is not.
If residue will not budge, stop after a few passes. Repeated soaking does more harm than a remaining speck of dust, and a caked needle is better handled with a dry method or a replacement cartridge than with a flood.
5. Let it dry and test the stylus
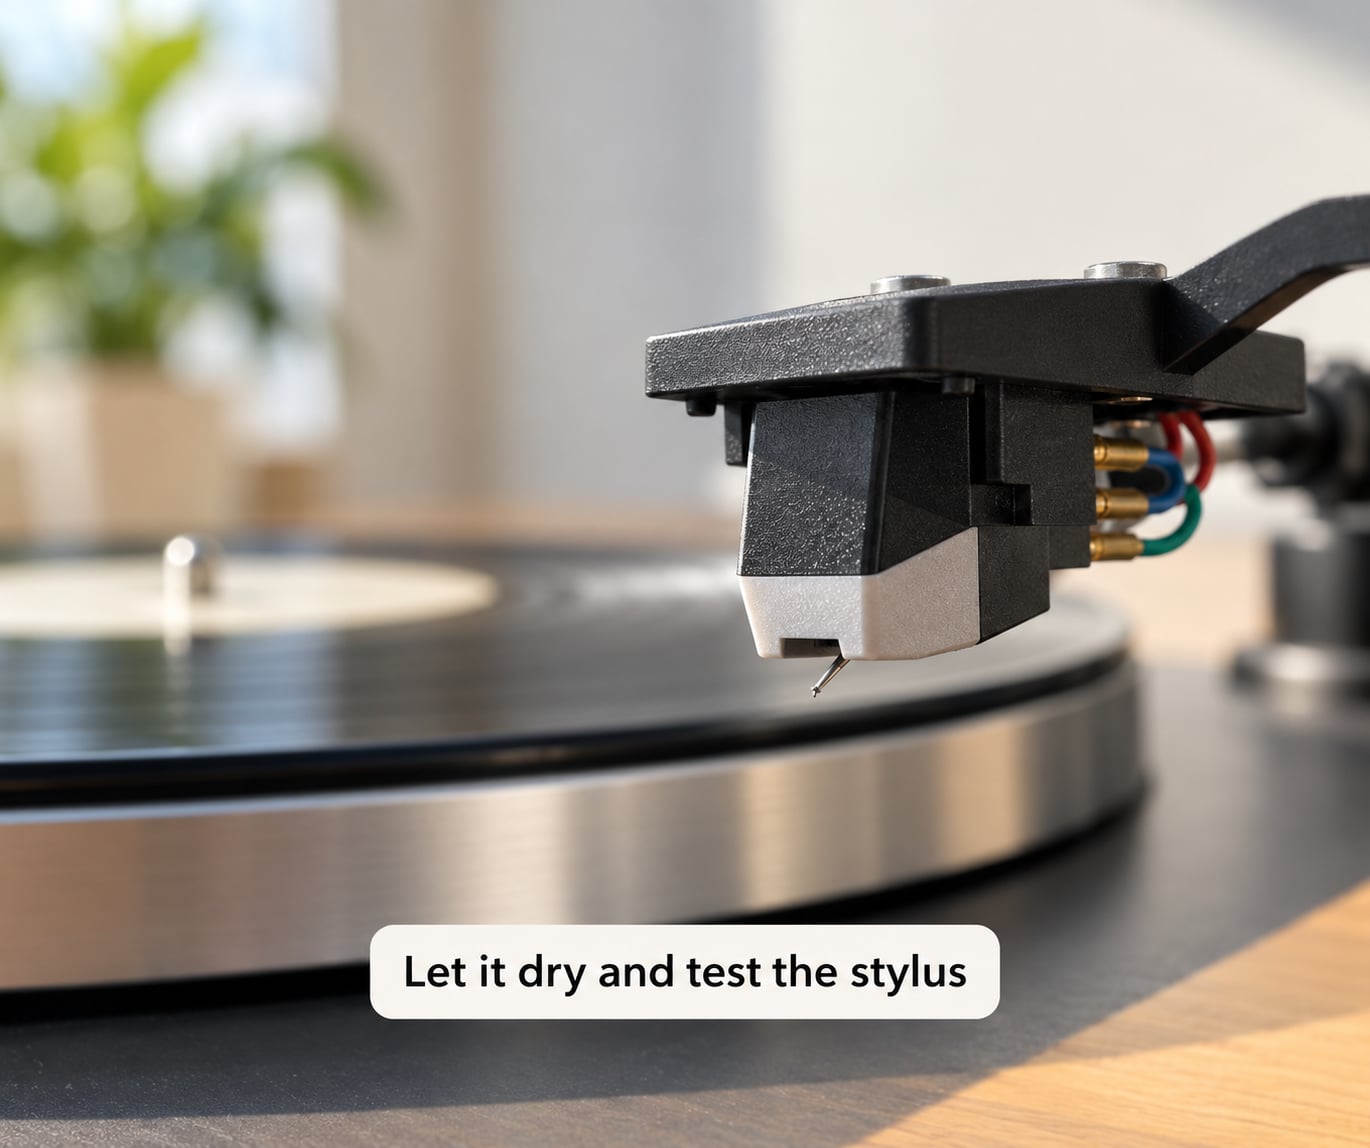
Isopropyl alcohol evaporates in seconds, but give it a minute anyway, especially around a moving-coil cartridge where the suspension is delicate. Look at the tip once more under the bright light. It should be clean, symmetrical, and pointing exactly as it did before you started.
Restore the anti-skate setting, lower the dust cover, and play a record you know well. Listen for surface noise, hiss in the top end, and any change in tracking. If the sound improves, the needle was dirty. If a buzz or distortion appears that was not there before, lower the stylus immediately and inspect again; you may have a bent cantilever.
Common Mistakes
Touching the cantilever. This is the expensive mistake. A fingertip resting on the beam while you try to brush will bend it, and a bent cantilever is a cartridge replacement. Use the cueing lever for every contact.
Pressing a cotton swab onto the tip. Swabs are fine dampened and used gently from behind. Held against the needle like a cleaning eraser, they are a cantilever-bending tool.
Flooding the cartridge. More than a few drops on the cloth, or a dripping brush, and liquid can run under the cartridge body, into the suspension wires, or onto the pole pieces. Some cartridge manufacturers advise against liquid cleaners altogether for exactly this reason.
Cleaning while the record spins. It feels efficient and it is not. A spinning record will drag the stylus across the record, and a sticky needle dragged sideways is a bent needle.
Brushing side to side or front to back. Side to side risks the cantilever. Front to back pushes debris toward the tip and toward the groove wall. One direction only: back to front.
Contact cleaner and Deoxit. These show up in forum threads as suggestions and they are a bad idea on a stylus. They are designed to improve electrical contact, they leave an oily film, and that film collects dust faster than a clean tip ever did.
Compressed air, blowing, or picking dust off with a fingernail. A breath of air across the arm can send the stylus skating, and a fingernail is hard enough to scratch a diamond tip.
Household products. Glass cleaner, furniture polish, and nail polish remover contain residues and solvents that no cartridge manufacturer intends to see on a cantilever.
Frequently Asked Questions
Can I use isopropyl alcohol to clean a stylus?
Yes, used carefully and applied to a cloth rather than the needle. Most experienced owners use 90% or 91% isopropyl alcohol, dampening a lint-free cloth or the tip of a cotton swab and wiping back to front with light pressure. Avoid 70% rubbing alcohol, which is mostly water, and skip denatured alcohol. Several cartridge makers advise against liquid cleaners entirely, so check your owner’s manual first, and never let the cloth drip.
How often should I clean a record player stylus?
Dry brush it back to front after every side you play, which takes a few seconds and prevents most buildup. Wipe it down with a barely damp cloth every few sides if you play often. A damp clean is a deeper job, and doing it too often does more harm than good, so reserve it for roughly every 100 sides or whenever the sound has clearly degraded.
What if my stylus feels sticky and will not move?
Caked-on cleaning fluid or old vinyl residue is the usual cause, particularly on a record rescued from long storage. Do not force it and do not pick at it with a swab held in your fingers. Place a small piece of a magic eraser on a nonabrasive surface and lower the stylus onto it using only the cueing lever, then brush back to front and test. If it stays sticky, the tip is likely gouged and the cartridge should be replaced.
Can I clean the stylus while the record is playing?
No. A spinning record drags the stylus sideways across the grooves, and a sticky or dirty needle will skate or jump, which is the fastest way to bend a cantilever. Cue the record up first, stop the platter, and only then work on the stylus. The same caution applies to the tonearm: nothing should be moving while your fingers or tools are anywhere near the cartridge.
Is a cotton swab safe for cleaning a stylus?
A cotton swab is safe only when dampened with a little alcohol and used gently from behind the tip, in the back-to-front direction. A dry swab pressed onto the stylus is abrasive, and a swab held against the tip as you scrub can snap the cantilever. Never grip the stylus body or beam with the swab in your fingers. If you are unsure, use a cloth and a brush instead.
When should I replace a dirty or damaged stylus?
Replace it when cleaning cannot restore the sound, when the tip looks chipped or asymmetrical under a bright light, when the cantilever is visibly bent or kinked, or when the stylus has been left caked for years. Dirt dulls the treble and adds surface noise but improves after a clean, while a worn stylus stays dull and slightly unclear even when perfectly clean. Cartridges with bonded or elliptical styluses are usually not worth repairing.
A safer first step for your stylus
Start with the least invasive action there is: a dry brush, back to front, after each side. Inspect before you clean, keep every drop of liquid on the cloth rather than the cartridge, and let the cueing lever be the only thing that touches the stylus.
If the tip looks bent, loose, or chipped, or if the sound has not improved after a careful clean, contact the cartridge or turntable manufacturer and treat a replacement as the real fix. A ruined record is a far bigger loss than a cartridge.