To record vinyl to digital files you need three things: a turntable that puts the audio out somewhere, a box or circuit that raises and conditions that signal to a level your computer can accept, and recording software on the computer to capture it. A single side of a 12-inch record is roughly 18 to 22 minutes of audio, so capture plus cleanup for one side is about half an hour, and a full LP is a comfortable afternoon’s work.
I do this constantly for my own shelves, and the difference between a clean transfer and a disappointing one almost never comes down to the software. It comes down to the preamp, the levels, and whether anything in the chain clips. Get those right and the editing is almost an afterthought.
Table of Contents
- What You Need to Record Vinyl to Digital Files
- Step-by-Step: Recording Vinyl to Digital Files
- 1. Prepare the Record and Workspace
- 2. Connect the Turntable Correctly
- 3. Choose the Recording Software
- 4. Set the Input and Recording Format
- 5. Control Levels and Check the Sound
- 6. Record Each Side
- 7. Edit, Name, Save, and Export
- Common Mistakes
- Frequently Asked Questions
- Can I record vinyl directly to MP3?
- Do I need a phono preamp to record vinyl?
- What USB audio interface works with a turntable?
- Should I split a recorded vinyl side into individual songs?
- How do I remove clicks and hiss from a vinyl recording?
- Is it legal to record an entire vinyl album to digital files?
- Conclusion
What You Need to Record Vinyl to Digital Files
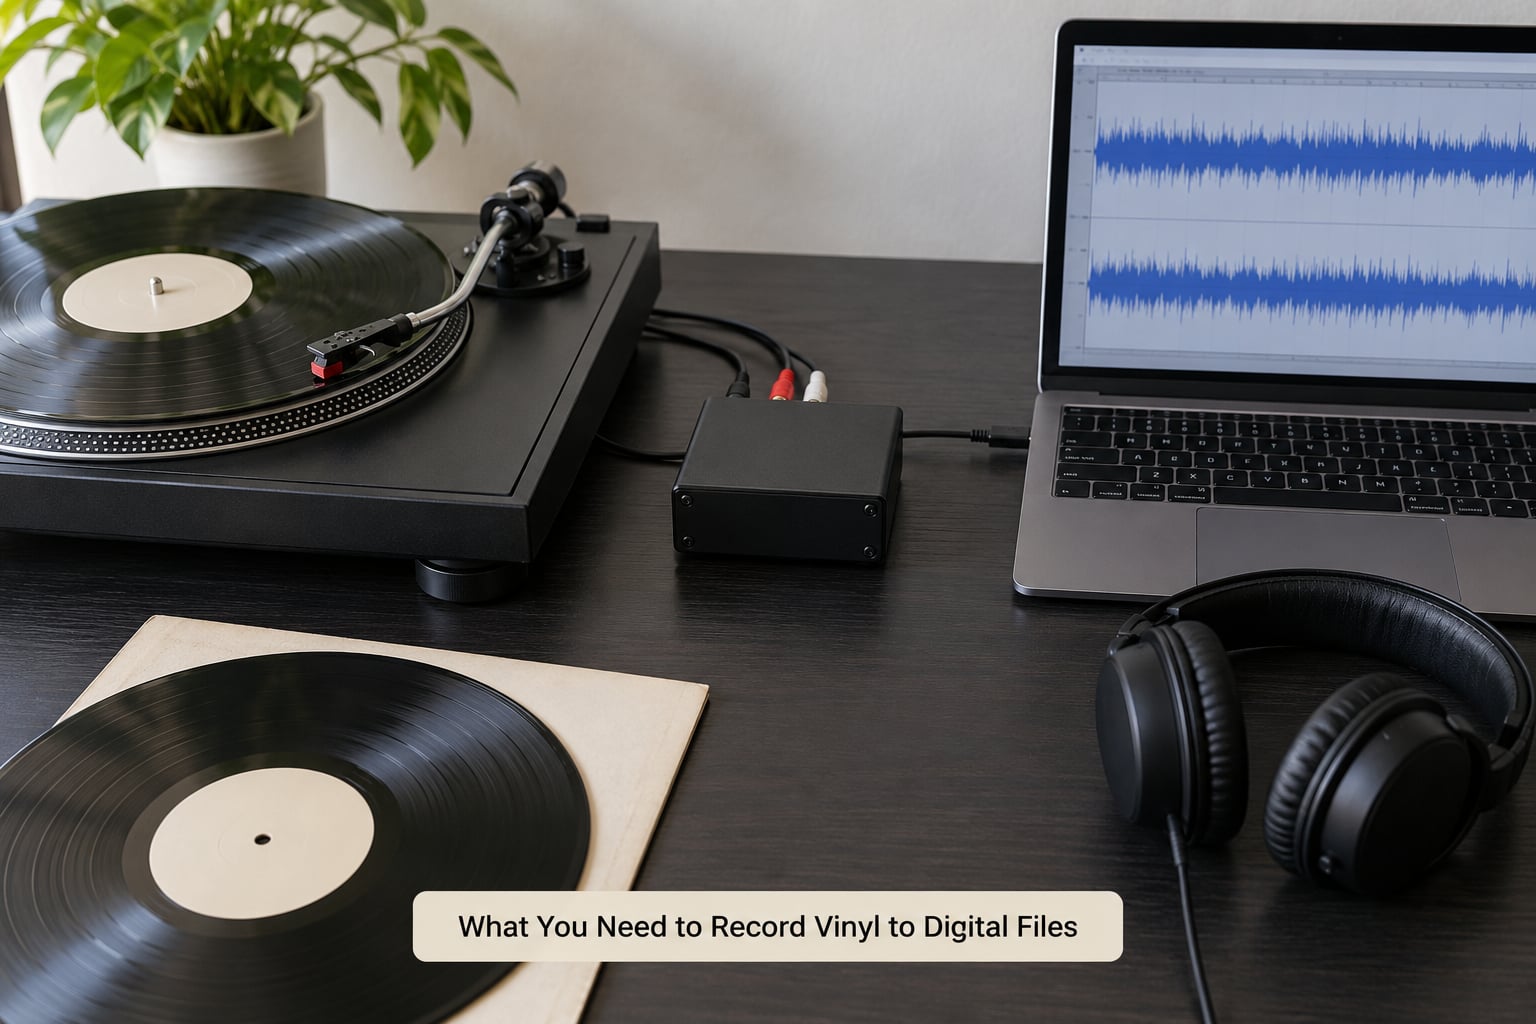
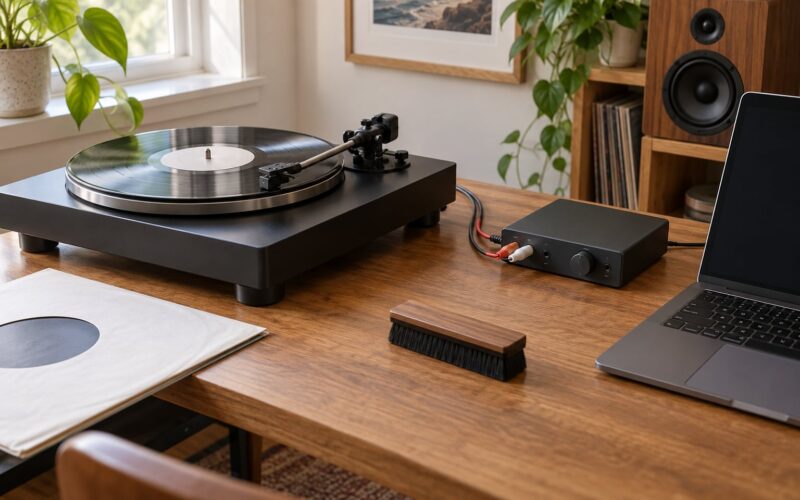
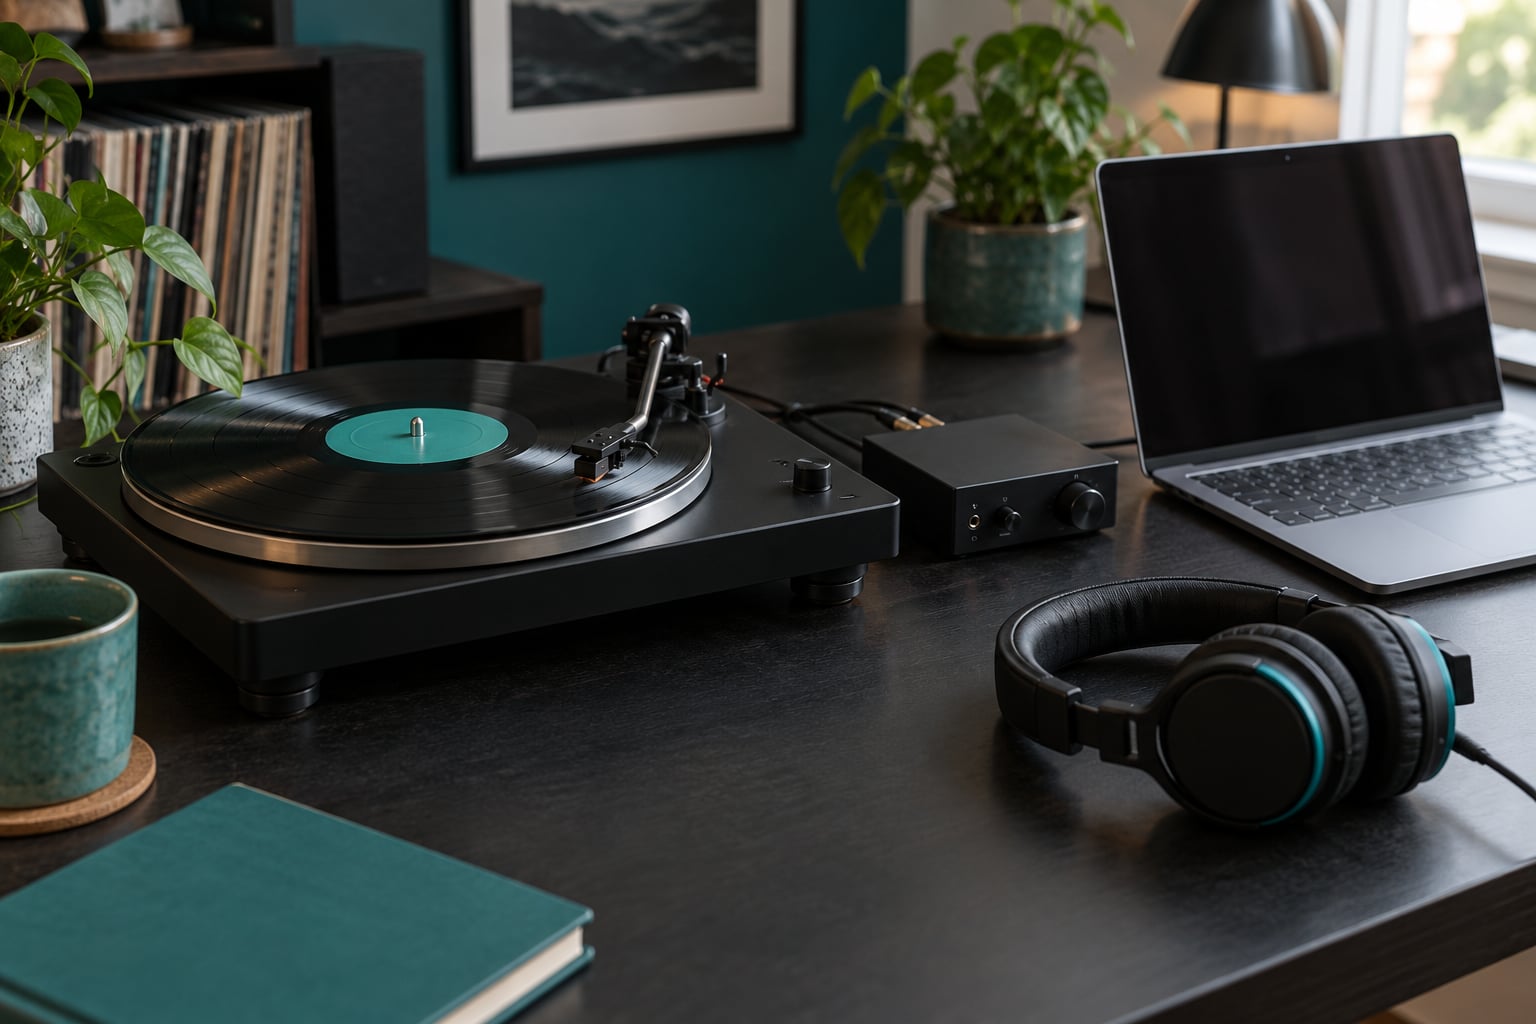
Here is the chain, in order: stylus and cartridge in the tonearm, phono preamp, audio interface or USB output, recording software, then your disk. The cartridge produces a signal measured in millivolts, which is far too small to record directly. The preamp applies the inverse RIAA curve and lifts the level to something a normal audio input expects.
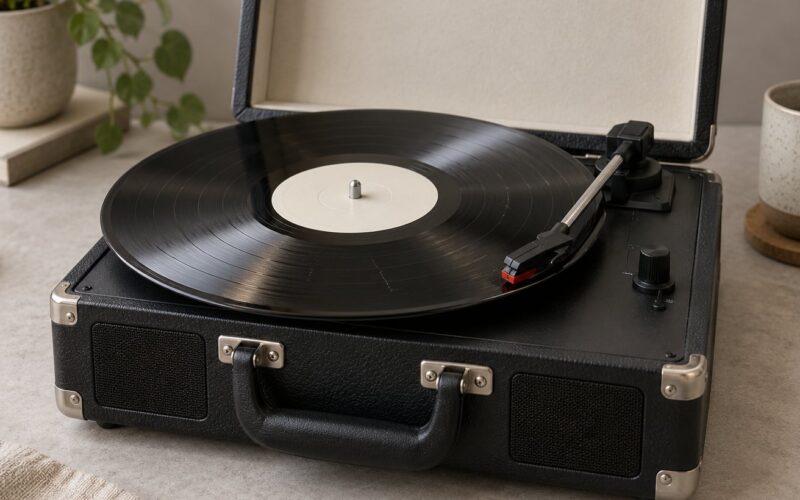
A turntable with a built-in USB output already contains a preamp, usually with a switch to toggle the RIAA curve on or off. A turntable with only RCA phono outputs needs a separate preamp. If you have neither, a small preamp plus a USB audio interface is the cheapest route into recording, and it also handles cassette decks and other analogue sources later.
Two things trip up almost everyone starting out. First, most laptops have a microphone input and a headphone output but no line input, and plugging a line signal into a mic input gives a thin, quiet, badly equalised recording. A USB audio interface with proper line inputs solves it for a modest outlay, and many interfaces also let you record two sources at once. Second, an audio interface with no gain knob will happily clip if you feed it too hot, so leave yourself headroom on purpose.
Software is the easy part. Audacity is free, cross-platform, and does everything the job needs. Purpose-built rippers such as OcenaF2R split tracks by detecting silence and look up track names automatically, which saves real time on a large collection.
Finally, decide your file format before you start, because it is hard to add lossless masters later. Record and save a WAV preservation master at the end of every session, then make MP3 copies for everyday listening.
Step-by-Step: Recording Vinyl to Digital Files
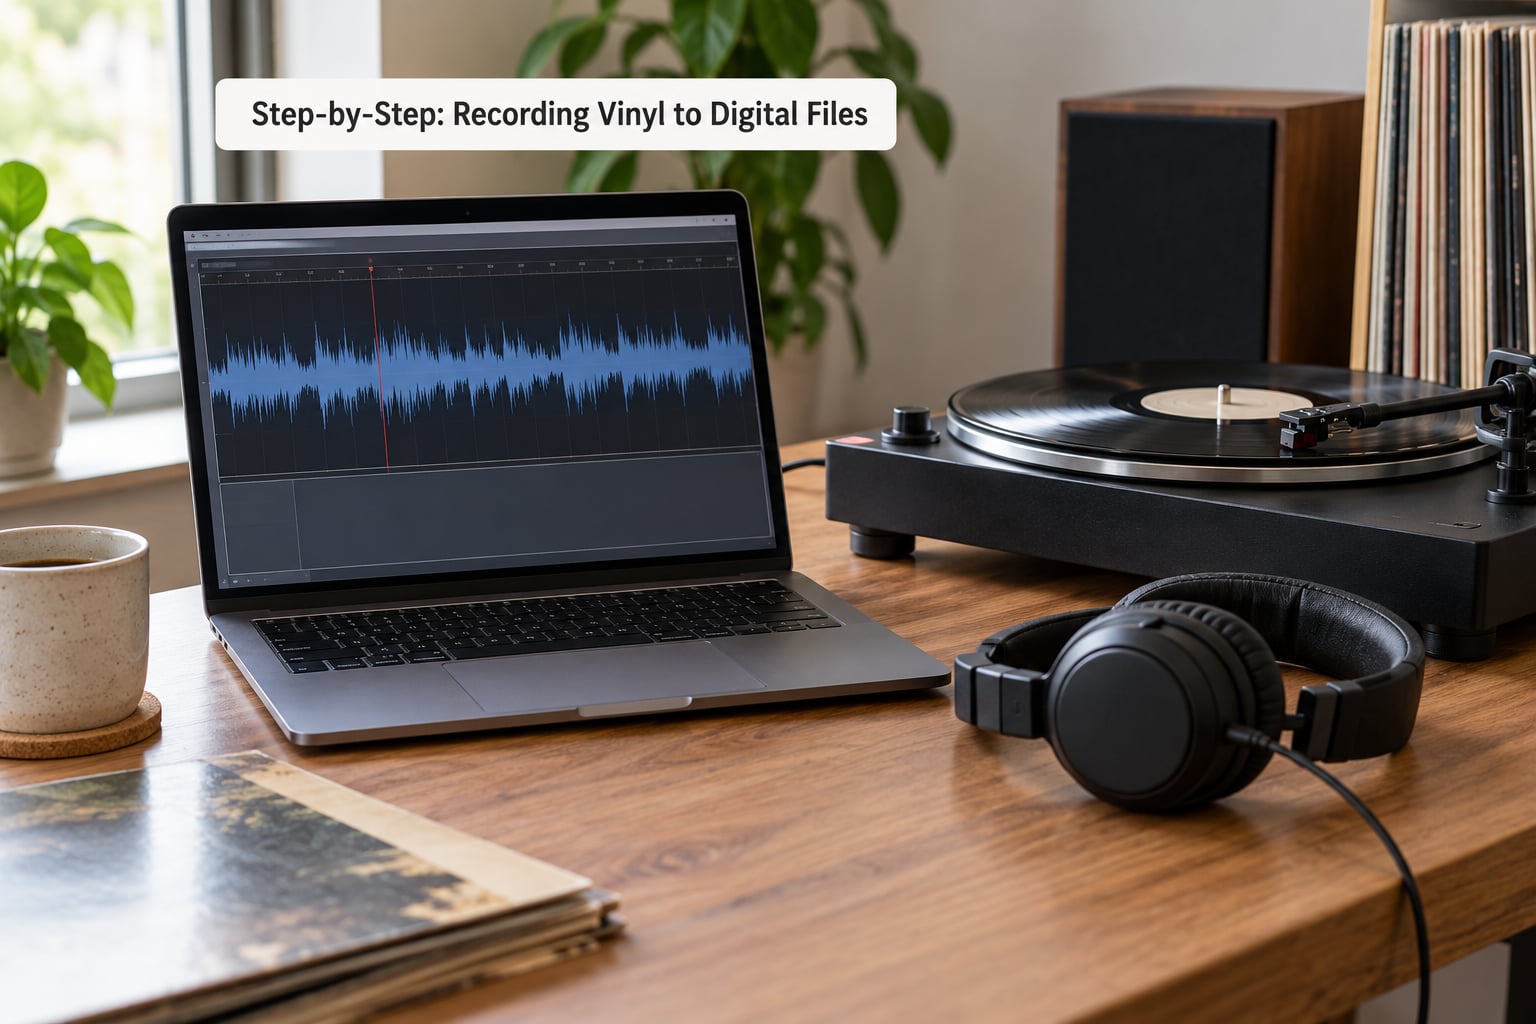
The workflow below is the same whether you are doing one inherited single or four hundred records. Work through it in order and the first album is the slowest; after that you can run a side through in twenty minutes.
1. Prepare the Record and Workspace
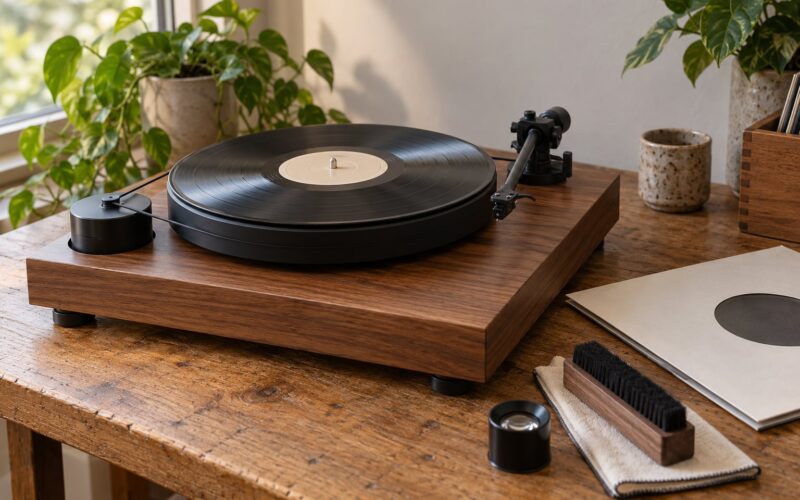
Clean the record first. Dust and static are the loudest defect on an otherwise healthy pressing, and ten minutes with a record cleaning fluid, a carbon-fibre brush and a lint-free cloth removes noise that no amount of editing will fix cleanly. Wipe the groove from the outside inward and never use household products on a record.
Set the turntable on a firm, level surface away from the speaker. A subwoofer two feet away will add rumble that no high-pass filter fully removes without thinning the bass. Put a felt mat or closed-cell foam pad under the feet if the surface is hollow.
Confirm the speed before the needle drops: 33 and 45 for modern records, 78 for shellac. Check the cartridge too. By 2026 most styli supplied with a budget turntable have worn thin or the cartridge sits on dried-out bearings, and that sounds like dull, thin music no matter how good your recording is.
How do you know it worked: the record spins cleanly at the marked speed with no wobble, the stylus drops smoothly, and there is no repeating scratch you can hear before the music starts.
2. Connect the Turntable Correctly
If your turntable has a USB output, plug it into the computer and skip the preamp entirely. If it has RCA outputs only, run them into a preamp, then run the preamp’s line outputs into a line input on your interface. Never feed a phono-level signal into a microphone input, and never feed a line signal into a phono input expecting the preamp to fix it, because a phono input applies heavy RIAA shaping to audio that is already shaped.
Watch for the RIAA switch. On a USB turntable the built-in preamp is often bypassed when the switch is in the phono position, which is correct only when another preamp is doing the work. Having the curve applied twice gives a muffled, bass-heavy recording; having it applied not at all gives a thin, harsh one. Recording a few seconds and listening will tell you which you have.
Ground hum shows up as a steady buzz, usually at 50 or 60 Hz, and it usually means the chain has two earth paths or none. Keep one connection between the turntable and the rest of the chain, try a different USB port, and if your interface is bus-powered try it on the wall. Moving the turntable away from an amplifier or a power strip often solves it too.
How do you know it worked: your meters show a moving signal, headphones or speakers play music rather than buzz, and the input is a line input rather than a microphone input.
3. Choose the Recording Software
Audacity is the default for a reason: free, available on Windows and macOS, and it records a continuous side exactly as the turntable plays it. What it does not do by itself is find song boundaries or write track names, so those are manual steps. Anyone comfortable with a full digital audio workstation gets the same audio out of Audacity, because the software only captures the digital stream and the hardware chain determines quality.
OcenaF2R is built specifically for this job. It detects the gaps between tracks, splits them automatically, and fetches track titles and times from a database, then writes them into the files. VinylStudio and similar paid rippers do the same class of work. Free tagging software such as Mp3tag covers the metadata job on its own, which means the paid tools earn their keep only when you rip many records.
Some people use a DAW such as Reaper because they already have one open, and it records fine, but the workflow is longer than what the free rippers give you.
There are phone apps that record through a USB turntable, and they work for listening on the go. For files you intend to keep, a computer gives you lossless masters and proper tagging control.
4. Set the Input and Recording Format
In Audacity 3.6 or later on Windows or macOS, open Edit, then Preferences, then Devices. Set the Recording Device to your turntable or interface, set Channels to 2 (stereo), and check the latency numbers if your interface shows them. On some versions the same controls sit under the Audio Setup and Recording headings rather than Devices, which is the only real difference between the Windows and macOS menus in this workflow.
Then open Edit, Preferences, Audio Settings and set the Project Sample Rate to 44100 Hz with 32-bit float if your version offers it, or 24-bit as a minimum. Record at 44.1 kHz because that is the sample rate of CD and every streaming service, and record at 24-bit or better so quiet vinyl detail is not thrown away before you have cleaned anything.
How do you know it worked: hit record, the meters move when the stylus is down, and the track is silent when the stylus lifts. That silence tells you the input is correct and nothing else in the room is feeding the channel.
5. Control Levels and Check the Sound
Set the gain on the interface or preamp so the loudest part of the record sits around minus 6 dB on the meter. Most vinyl is mastered well below full scale, so if you are dragging the gain up until the bars dance you are too loud. Clipping in the analogue-to-digital converter is unrecoverable, and no later processing brings those flattened peaks back.
Record the loudest track on the record for a few seconds and watch the meter. If it never goes above about minus 10 dB you have plenty of headroom and can stop worrying. Note that some cheap interfaces have no gain control at all, so if yours does not, the software output slider is your only lever, and the trick is to set the source hardware as low as it goes before you record.
Listen for four specific problems while you monitor. A steady buzz is ground hum. A low swell that comes and goes with the music is rumble from a nearby subwoofer or an uneven record. Hiss that fades when you lift the stylus is normal surface noise and is the one defect that editing handles reasonably. A quiet, thin, overly bassy recording means the RIAA curve has been applied twice or not at all.
6. Record Each Side
Start recording before the needle reaches the run-out groove, so the opening instruments are not lost, and run it until the needle has returned to the arm rest. Twenty-two minutes of continuous capture covers a full side with a margin. Do not pause between tracks and do not lift the arm early.
Leave the album rotating for a minute or two on the finished side, or at least never clean, sleeve, or re-seat it immediately, because a warm vinyl keeps playing.
Save the raw capture as a new project straight away before touching anything. That untouched file is your preservation master, and every later decision about cleanup becomes reversible because the original is still there.
How do you know it worked: the waveform covers the whole side with a steady body of audio between tracks, rather than a repeating flat block or a silent stretch where a song should be.
7. Edit, Name, Save, and Export
Start with the least destructive fix that solves the problem. Apply a DC offset removal if the waveform does not sit centred, then a gentle high-pass filter to cut rumble below roughly 20 to 30 Hz, then remove clicks and pops with Audacity’s built-in click repair or pop remover. Leave hiss alone unless it genuinely bothers you, and if you do use noise reduction, capture a noise profile from a silent passage first and keep the amount small, around 9 dB, with a low sensitivity.
Trim the lead-in and run-out silence, and place track labels by hand where each song begins. Record the whole side continuously and split it by ear rather than slicing at fixed time intervals, which will always cut a song in the wrong place.
Export a WAV master at 44.1 kHz and 24-bit for the archive, then export MP3 copies at 320 kbps for phones and cars. Name files the same way every time: artist, album, side, track number, track title. A folder structure of artist then album, with the ripped side saved alongside the finished tracks, keeps a large collection navigable years later.
Back up the WAV masters before you start tagging. Tagging tools can fail halfway through a batch, and rewriting a name on a damaged master costs you the whole side.
Common Mistakes
Running a line-level signal through both the preamp and a phono input on the interface doubles the amplification and the RIAA curve, producing a distorted, bass-heavy mess. Use one preamp, and know which one you are using.
Recording as loud as possible is the most common error. Vinyl peaks sit low by design; aim for headroom and lose nothing.
Leaving any automatic gain control on the input fights your manual settings and pumps the level track by track. Turn it off and watch the meters.
Letting the stylus skip damages both the record and the transfer. If it is skipping consistently, clean the record and check the tracking weight before recording the take.
Ripping at a faster speed and pitching the result back is a bad idea in every community that discusses it. It thins the treble, sharpens the artifacts and stresses the stylus.
Applying heavy general-purpose noise reduction is how a warm, detailed transfer becomes thin and underwater. Small amounts, or none at all, preserve the character of the pressing.
Saving only compressed copies means you can never improve a transfer later. Keep the lossless master and treat the MP3 as the throwaway copy.
Frequently Asked Questions
Can I record vinyl directly to MP3?
You can, because most recording software offers MP3 as an export format, but the sensible order is different. Record and save a WAV file first, then export MP3 copies from that WAV. If you record straight to MP3 you discard detail permanently, and you cannot go back and remove hum, redo a fade or raise a quiet track without working from the lossy source again.
Do I need a phono preamp to record vinyl?
Only if your turntable does not already have one built in. A turntable with a USB output almost always includes a preamp with a switch, and a turntable feeding a receiver or amplifier usually gets its preamp from that amplifier. If your turntable has bare RCA outputs going straight to your computer, you need a phono preamp, otherwise the audio is far too quiet and the equalisation curve is missing.
What USB audio interface works with a turntable?
Any interface with stereo line inputs will work with a preamped turntable, because that is the same job as recording a CD player. Buy on line inputs, not microphone inputs, and on a gain control if you can, since many small interfaces have none and clip if fed too hot. A stereo interface with two inputs also lets you capture a second source, such as a cassette deck, at the same time.
Should I split a recorded vinyl side into individual songs?
Split by listening, not by the clock. Record the side as one continuous file, then place track labels where each song actually starts and export from those labels. Cutting at fixed time intervals or trusting automatic silence detection without checking will land a boundary in the middle of a fade or a long intro. Hand-placing labels takes a few minutes per side and is far more reliable.
How do I remove clicks and hiss from a vinyl recording?
Start with clicks and pops, which editors handle well: a click repair tool or pop remover fixes almost all of them without touching the music. Rumble is next, using a high-pass filter set between 20 and 30 Hz. Treat hiss last, and gently, because noise reduction can dull a transfer noticeably if applied heavily. Take a noise profile from a quiet passage, keep the reduction modest, and listen to the whole track before exporting.
Is it legal to record an entire vinyl album to digital files?
In the United States, recording a copy of a record you own for your own personal listening is generally treated as fair use, and the resulting files are not shared or distributed. Making copies for other people, selling them, uploading them to a public service or using them as the master behind a release is a different matter and can infringe copyright. This is a general overview of personal use, not legal advice, so check the rules that apply where you live.
Conclusion
Start by confirming the path: know whether your turntable’s output already passes through a preamp, and make sure it lands in a line input rather than a microphone socket. Then record the loudest thirty seconds of the record, watch the meter, and pull the gain down until the peaks land near minus 6 dB.
Listen to that test clip for hum, thinness or distortion before committing to a full side. Once the test sounds right, capture the whole side as one file, save a WAV master immediately, and leave the tidying and tagging for the next sitting.