Short answer: bitrate is the wrong setting to look for. Bitrate describes lossy compression like MP3, and WAV and FLAC have no bitrate at all. When you rip vinyl, capture at 24-bit and 96 kHz into lossless WAV, archive it as FLAC, and only make 320 kbps MP3 copies for listening on the move.
That framing matters more than it sounds. A vinyl record is an analogue source with roughly 50-60 dB of dynamic range and plenty of surface noise, and your job is to capture that signal as faithfully as your converter can. A lossy encoder never adds anything back, so the file you keep should be the untouched capture, not an already-compressed copy.
Here is the short version of the settings for what bitrate to use for ripping vinyl, and then the whole process.
Table of Contents
- What You Need
- Step-by-Step
- What Bitrate to Use for Ripping Vinyl, and Why the Answer Is None
- Set Up the Audio Interface and Turntable
- Record and Edit the Audio in Audacity
- Export, Tag, and Verify the File
- Common Mistakes
- Frequently Asked Questions
- Is 320 kbps good enough for ripping vinyl?
- Should I record vinyl as WAV or FLAC?
- Is 16-bit or 24-bit better for a vinyl rip?
- Do I need a phono preamp to rip vinyl?
- Does cleaning a record improve the digital recording?
- What sample rate should I use when recording vinyl?
- Conclusion
What You Need
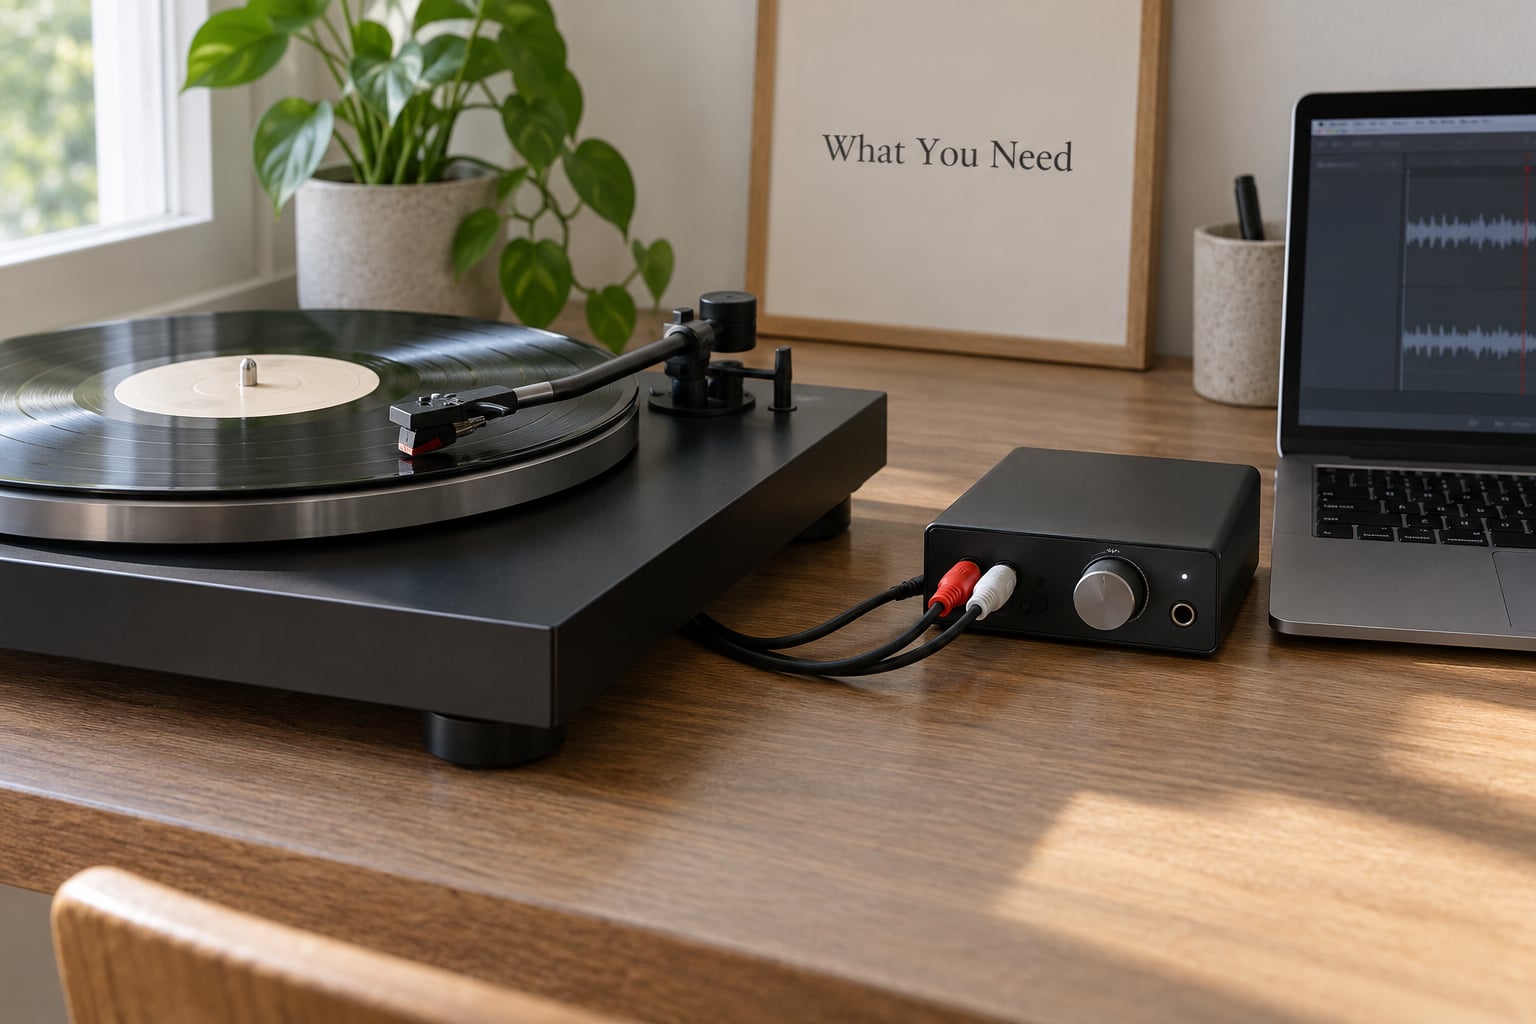
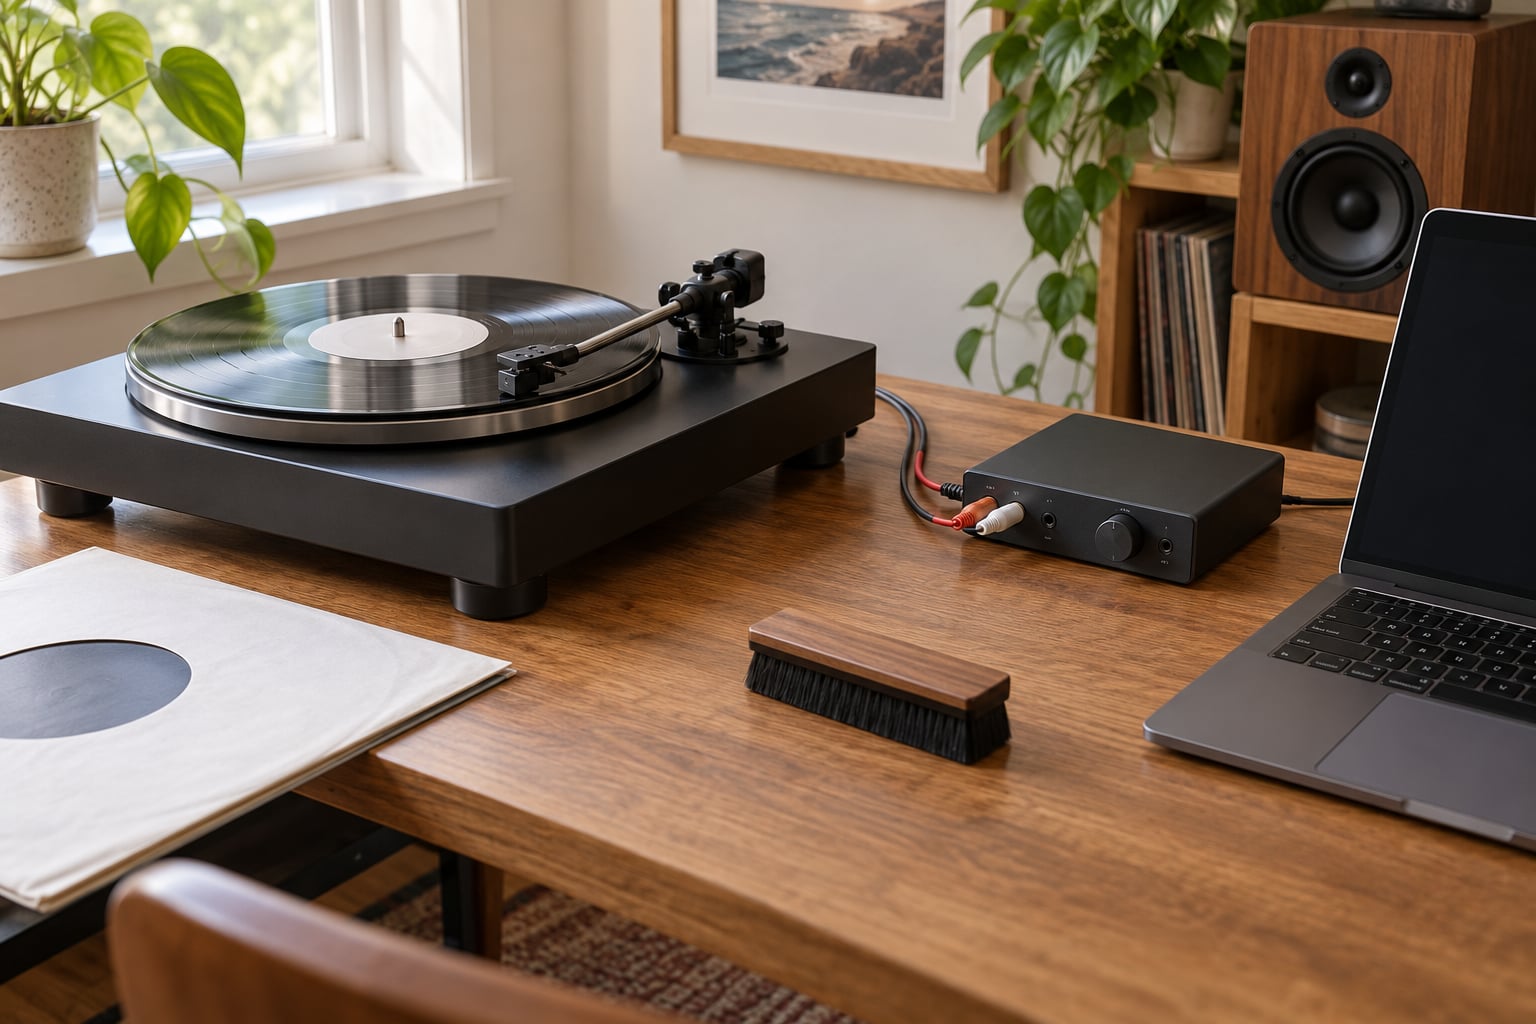
Every chain is the same four links: turntable, phono stage, audio interface, computer. What changes is how many boxes are doing the amplifying.
- Turntable with an output. A built-in phono preamp gives you line-level RCA output and is the easiest starting point. A moving-magnet cartridge plus an outboard preamp gives you more control over gain, which matters for quiet records.
- RCA cables. The standard pair of red and white stereo cables. You almost certainly have some already.
- Audio interface with line inputs. This is the piece people get wrong. You want line-in sockets, not a microphone input, because a mic preamp applies gain and limiting that a phono signal does not need.
- Computer. Windows or macOS. Audacity runs on both and VinylStudio is the dedicated option for whole-album work with automatic track splitting.
- Storage. A single 12-inch side captured at 24-bit/96 kHz lands near 700 MB, so plan on tens of gigabytes per album.
- Optional but helpful. A carbon brush or fluid for record cleaning, and closed-back headphones so you can monitor without the speakers feeding back into the microphone.
The signal chain decides whether a gain mistake is recoverable. Every stage downstream of the cartridge amplifies the same noise, so the cleanest version of your signal is the one with the fewest amplifiers in the path.
Step-by-Step
What Bitrate to Use for Ripping Vinyl, and Why the Answer Is None
WAV and FLAC are lossless: the file contains exactly the samples your converter produced, and there is no bitrate dropdown anywhere in the process. The number people sometimes quote for CD-quality audio, 1,411 kbps, is simply the arithmetic of 44.1 kHz sampling 16-bit values across two channels. It describes the same lossless WAV file that has no bitrate setting.
So the real choices are bit depth and sample rate. Here is the matrix.
| Bit depth | Sample rate | Format | Best used for |
|---|---|---|---|
| 16-bit | 44.1 kHz | WAV | Burning to CD, sharing, quick captures |
| 24-bit | 44.1 kHz | WAV | CD output with headroom for editing |
| 24-bit | 96 kHz | WAV to FLAC | Archiving a collection |
| 32-bit float | 96 kHz | WAV | Mixing, processing, mastering |
| Any | Any | MP3 at 320 kbps | Portable listening copies only |
Capture at 24-bit whenever you can. A vinyl surface delivers far less than the 96 dB of theoretical range that 16-bit offers, so bit depth is not about fitting the music in. It is about headroom: with 24-bit you can keep the faders and gain low enough that noise stays down and peaks never touch the ceiling. At 16-bit you end up pushing the interface gain harder, which is what actually ruins quiet recordings.
On sample rate, stay inside one family and never convert. The 44.1 kHz family is 44.1, 88.2 and 176.4; the 48 kHz family is 48, 96 and 192. Converting between families forces a resample that throws away information and adds a small amount of distortion. Pick 44.1-based if you will burn CDs, 48-based if the files live on a computer, and 96 kHz as the sensible default that leaves room to downsample once at the end. 192 kHz mostly just fills the drive.
For size, here is one 20-minute LP side at each setting.
| Setting | Data rate | File size |
|---|---|---|
| WAV 44.1 kHz / 16-bit | 1,411 kbps | about 210 MB |
| WAV 44.1 kHz / 24-bit | 2,117 kbps | about 315 MB |
| WAV 96 kHz / 24-bit | 4,608 kbps | about 690 MB |
| WAV 96 kHz / 32-bit float | 6,144 kbps | about 920 MB |
| FLAC from 96/24 | variable, typically 55 to 65 percent of WAV | about 400 MB |
| MP3 320 kbps CBR | 320 kbps | about 48 MB |
| MP3 128 kbps | 128 kbps | about 19 MB |
MP3 belongs at the end of the chain, not the start. VinylStudio’s own documentation calls 128 kbps perceptually transparent, which is generous but fair for a noisy analogue source; 320 kbps constant bitrate, or VBR at the highest quality setting, is comfortable enough that encoding is not the limiting step. It is still lossy, so keep it as a copy.
Set Up the Audio Interface and Turntable
Connect the turntable’s RCA outputs to the interface’s line inputs with the interface powered off, then power it up. On the front panel, select the line input you actually plugged into, and leave the gain knob near the bottom for now.
Two things catch newcomers out. The first is the microphone input, which is usually a 3.5 mm socket sitting right next to the real line inputs; a phono signal there comes out thin and quiet. The second is the output gain, which should sit at unity so you are not colouring the signal on the way back out.
Send a cable from the interface to your speakers or headphones, and pull the volume down. You will bring it back up after the level is set.
Record and Edit the Audio in Audacity
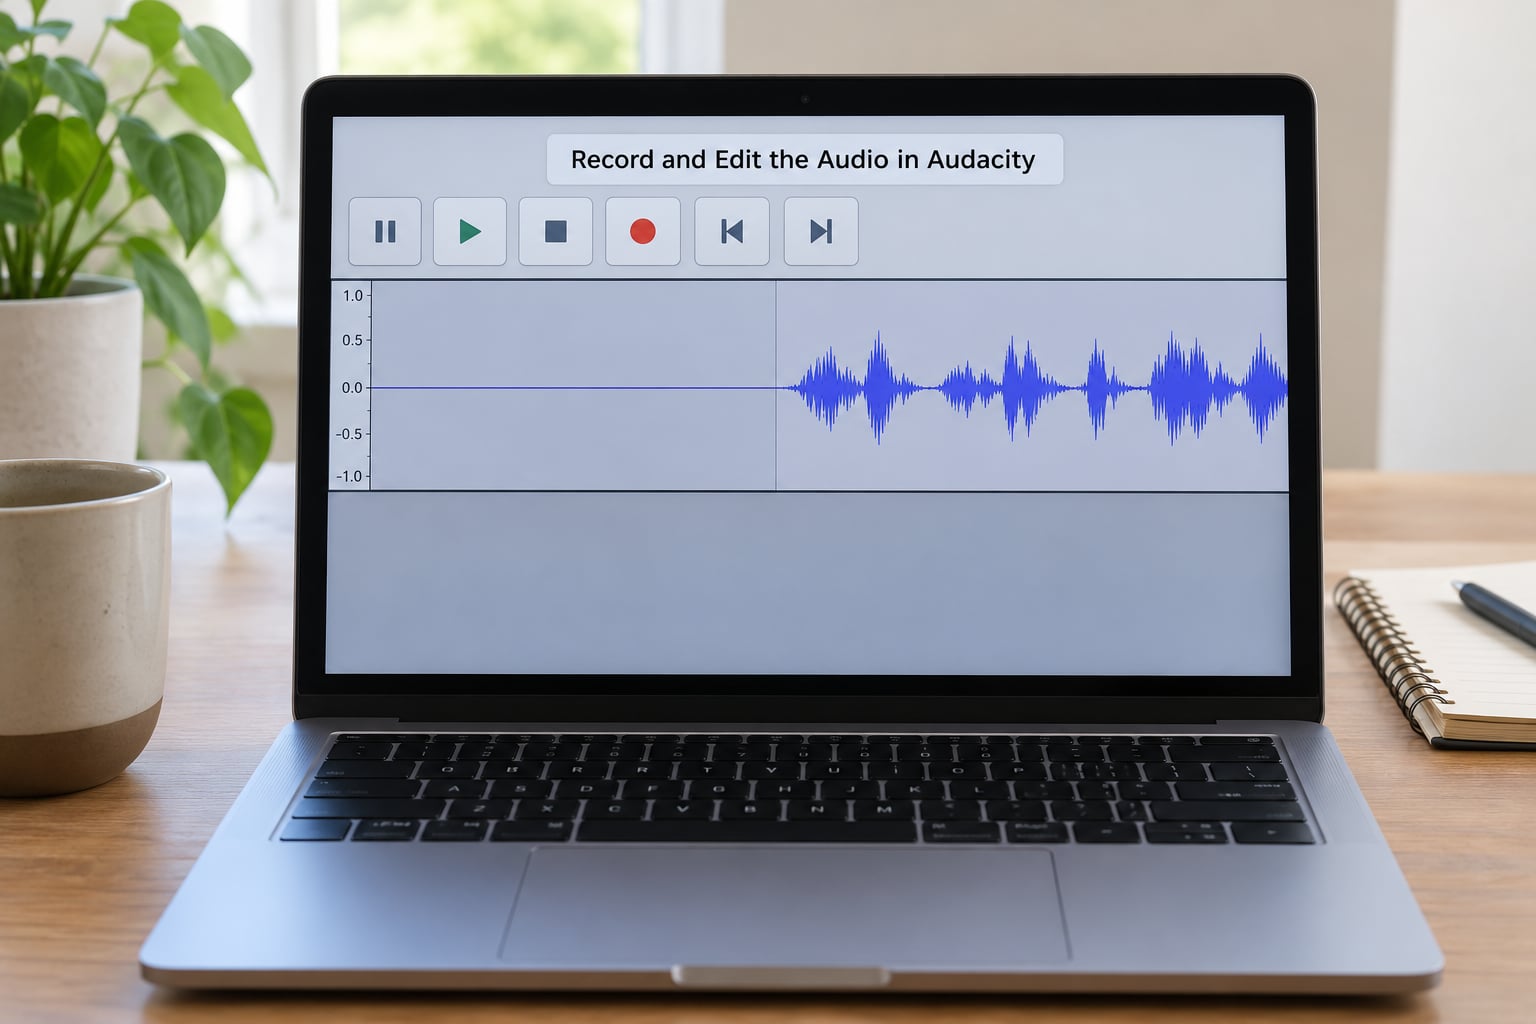
In Audacity 3.x, open Edit > Preferences > Recording on Windows or Audacity > Preferences > Recording on macOS. Choose your interface from the Audio Device list, set Channels to 2, and set Sample Rates to 44100 Hz for a CD-family capture or 96000 Hz for the 48-family default.
Now do a level check. Drop the stylus onto a loud part of the record, start recording, and watch the peak meter. You want peaks landing around -12 dBFS and never touching 0. If you are clipping, the fix is to turn the gain down and record again, because a clipped capture cannot be repaired later. Nothing else in this process is that unforgiving.
Record the entire side, run-out groove included. That leading silence is not waste: it is the noise profile you need for click and pop removal, and it gives you room to edit without cutting the first track short.
Work through the cleanup in this order, and the order is not arbitrary:
- Click and pop removal. The built-in tool under Effect > Noise Reduction handles surface clicks well and does almost nothing to the music.
- Noise reduction. Select a couple of seconds of the run-in groove, open the same panel and click Get Noise Profile, then rewind and apply a modest reduction, usually 6 to 9 dB. Go further and the music goes watery and pumping.
- DC offset correction. A small checkbox in the same panel that stops asymmetric waveforms from drifting on playback.
- Normalise. Normalise brings the loudest peak to 0 dBFS. For a library where rips sit beside streamed music, loudness normalisation to about -14 LUFS is the better target, and it is what streaming services use.
Split tracks last, using the silent gaps rather than a fixed window.
Export, Tag, and Verify the File
Save the working master as WAV first, then export through File > Export > Export as WAV for the capture or FLAC for the archive. Audacity can write FLAC directly, and it shrinks a 96/24 file to roughly 400 MB with nothing removed from the signal.
Name files so they stay organised without a tagger fight later: Artist – Album – 01 – Track Title.flac. Then add album art and the track metadata at rip time while you still know which pressing it came from.
Before you file it away, play the first thirty seconds and the last thirty seconds at normal volume. Listen for flat-topped peaks in the loud sections, thin patches or silence that should not be there, a speed that seems slightly off, and any pitch wobble between tracks. Any of those means the capture needs redoing, which is much cheaper to find out now.
If you need a 16-bit file for a CD, convert once at the end and let the dither option stay enabled. Dither adds a tiny noise floor that trades for removing the harsh distortion of truncated low-level samples. It only matters on the way down, never on the way up.
Common Mistakes
Hunting for a bitrate setting at capture. If you are looking for a kbps box in your recording dialog, you are in the wrong tool. Choose bit depth and sample rate and capture lossless; MP3 bitrates appear later, during export.
Clipping by turning the gain up too far. A quiet record tempts you to crank the interface. Peaks flatten against the ceiling and the damage is permanent. Capture at 24-bit and accept a lower meter reading instead.
Switching between 44.1 and 48 kHz. Every conversion between the two families resamples the file and costs you a little information. Pick one base rate and stay in it, downsampling once at the end if you need to.
Over-reducing noise. Dragging noise reduction until the surface is silent flattens the music along with it. Use a profile from the run-in groove, apply a gentle amount, and re-listen to a quiet passage afterwards.
Skipping the lead-in. Starting the recording on the first note costs you the noise profile and tempts you into clipping the opening by pushing the level late. Capture the silence before the music.
Keeping only the MP3. Once the lossy file is your only copy, the original capture is gone. Keep the WAV or FLAC master and let the MP3 be the thing you can delete and re-make.
Leaving level set while editing. Turning monitoring volume up during a session is how you start the record mid-song. Set the capture level once, then lower the monitors.
Treating the playthrough as repeatable. There is one good pass over the record, and it is the one you are recording. Clean the disc, check the cueing, and keep walking around the deck until it ends.
Frequently Asked Questions
Is 320 kbps good enough for ripping vinyl?
Yes, for listening. At 320 kbps constant bitrate the encoding step is essentially inaudible, even on a rip that carries surface noise. The catch is that MP3 discards information permanently, so an MP3 is a copy you make from a lossless master, never the master itself. Keep the WAV or FLAC and encode copies as needed.
Should I record vinyl as WAV or FLAC?
Record as WAV, because FLAC is better suited to storing finished tracks than a raw capture. Once you have cleaned up the clicks, noise and levels, export the result as FLAC for your library. FLAC holds exactly the same samples as WAV at roughly 55 to 65 percent of the size, and every player and streaming server reads it.
Is 16-bit or 24-bit better for a vinyl rip?
24-bit. Vinyl delivers roughly 50 to 60 dB of dynamic range, so the limit on a quiet record is the phono signal level, not the bit depth. Recording at 24-bit lets you keep interface gain low enough that noise stays down and peaks never clip. Six extra bits are headroom for editing rather than extra music.
Do I need a phono preamp to rip vinyl?
Only if your turntable does not already have one. A cartridge produces a tiny phono-level signal that needs RIAA equalisation and roughly 40 dB of gain, and any turntable with a built-in preamp or a USB output handles that for you. Without a phono stage somewhere in the chain, the recording will be quiet, thin and badly equalised.
Does cleaning a record improve the digital recording?
Yes, noticeably. Dust and grit on the groove add surface noise that no click removal will fix, and each pass wears the stylus a little faster. A soft brush and a proper cleaning fluid take a few minutes and leave a noticeably quieter, cleaner capture. Clean before you cue up, not during the recording.
What sample rate should I use when recording vinyl?
96 kHz is the best default, and 48 kHz is a perfectly good second choice. Stay inside one family: 44.1, 88.2 and 176.4 belong to the CD family, while 48, 96 and 192 belong to the computer family. Converting between them resamples the file and loses a little quality, so pick one base and downsample once at the end if you need to.
Conclusion
Start with one side and do it properly. Run the RCA cables into the interface’s line input, set Audacity to 24-bit and 96 kHz, drop the peaks to about -12 dBFS, and capture the whole side into a lossless WAV.
That master file is the one thing you cannot make again, so protect it. MP3 is a delivery format for your car and your phone, not a way to improve the signal, and encoding copies from a preserved lossless capture costs you nothing but a few minutes.