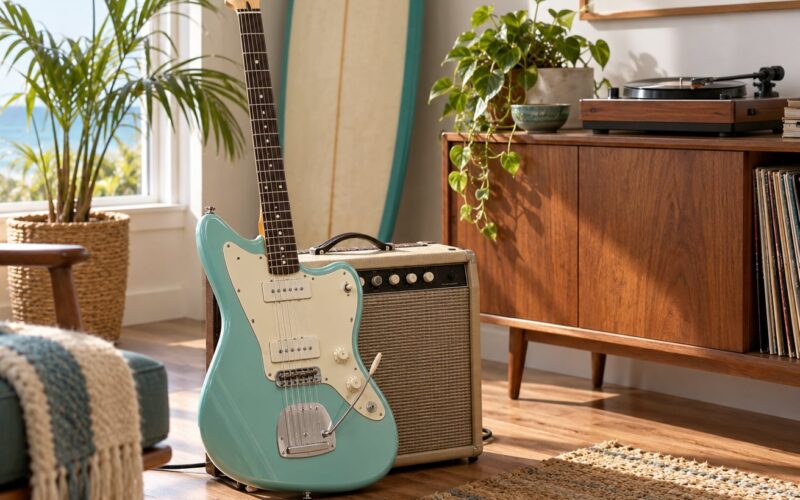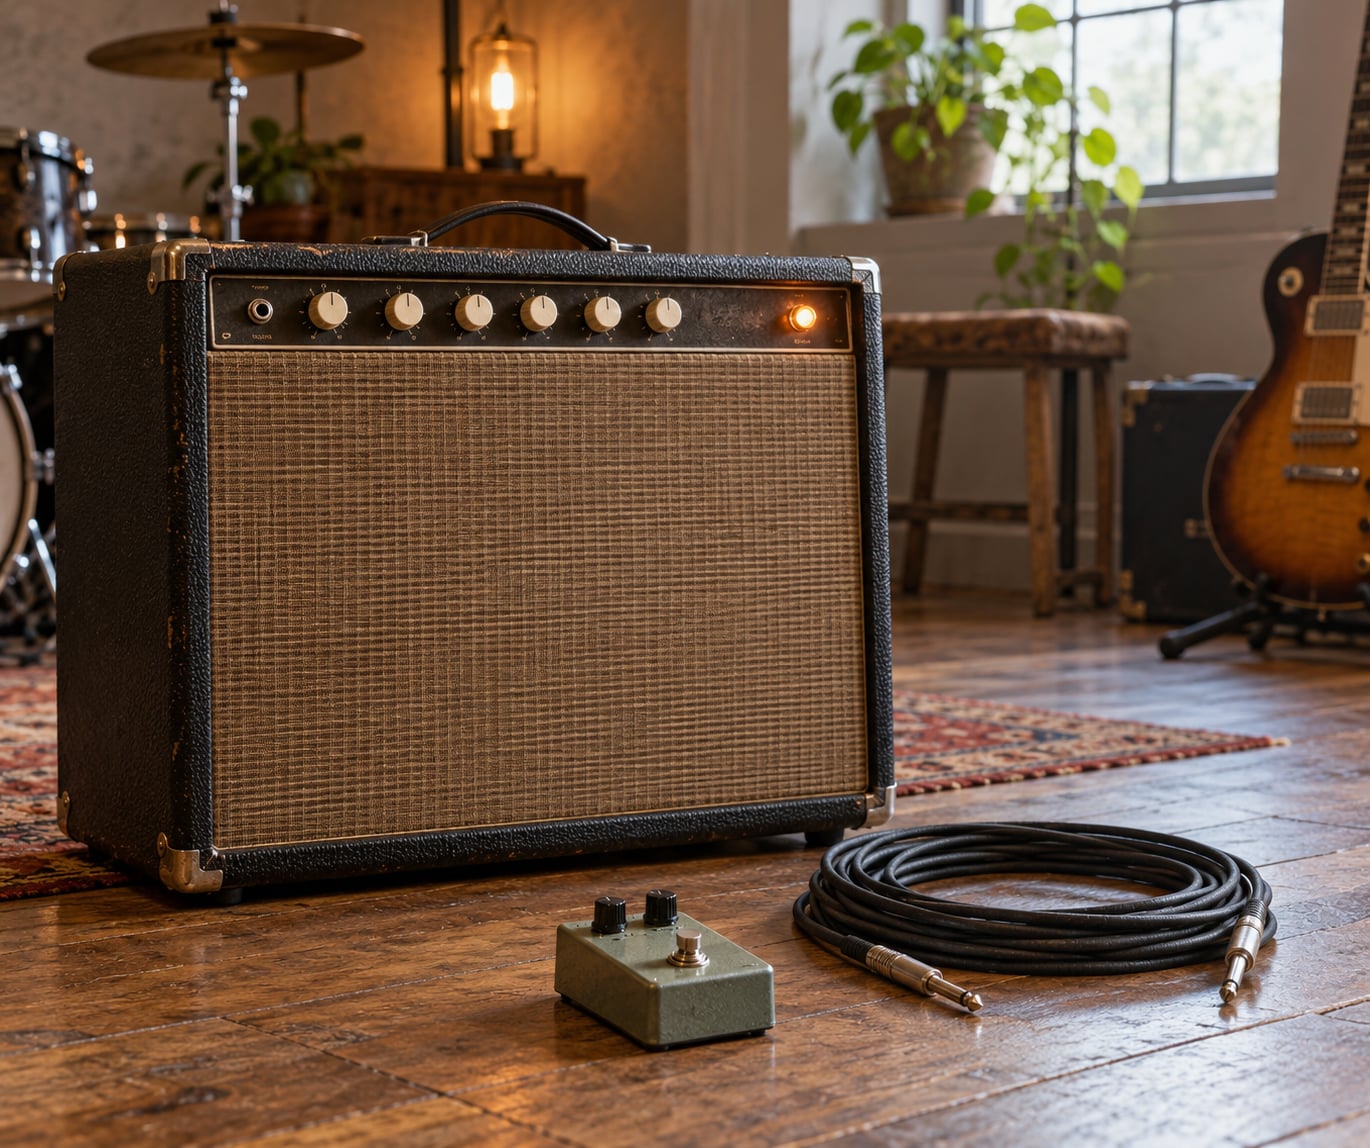
Surf guitarists get that reverb sound from a spring reverb tank, usually fed by a tube driver and pushed by a clean-to-edge amplifier, then shaped by tremolo, pickup choice and a very light hand on the strings. The wash you hear on Dick Dale and The Ventures records is not one effect. It is four decisions in the right order, and each one can be faked well enough on a modest rig.
This guide walks through those four decisions the way I would set them up on a new signal path: instrument first, then the amplifier, then the reverb, then tremolo, then the chain order, and only then your picking hand. It works whether you own a vintage blackface, a modern tube combo or a solid-state practice amp. As of 2026, none of the steps depend on anything discontinued or rare.
Table of Contents
- What You Need
- Step-by-Step: Building the Surf Guitar Sound
- 1. Choose a guitar with the right attack
- 2. Set the amplifier for a firm, clean foundation
- 3. Add spring reverb or a convincing digital substitute
- 4. Use overdrive without burying the reverb
- 5. Add tremolo for movement and pulse
- 6. Build and arrange the effects chain
- 7. Play with a controlled, articulate technique
- Common Mistakes
- Frequently Asked Questions
- Can I get a surf guitar sound with a solid-state amplifier?
- Is reverb better before or after overdrive for a surf sound?
- Do I need a Fender-style amplifier to play surf guitar?
- What type of tremolo do surf guitarists usually use?
- How do I make spring reverb sound brighter and less muddy?
- Should I use a surf guitar with humbuckers or single-coil pickups?
- Conclusion
What You Need
Six things make up a surf rig, and only the first two are mandatory.
- A guitar with a sharp, articulate attack. An offset body with three single-coils is the traditional choice, but any guitar with enough headroom and a bridge that rings will work.
- An amplifier that stays clean and firm. Reverb needs an amplifier with headroom. If your amp is already breaking up, the tank has no clean signal left to smear.
- A reverb source. A spring tank built into an amp, an outboard tank such as the Fender 6G15 style unit, or a pedal that models a spring.
- A low-level overdrive. Not distortion. Surf tones sit right at the edge of clipping, where the amp or pedal adds a little grit and the springs do the rest.
- A tremolo source. Some amplifiers include one; if not, an optical or amplitude tremolo pedal covers the same ground.
- Short cables and a sensible gain order. Long runs of unbalanced cable before the reverb steal high end and thin the whole rig out.
Step-by-Step: Building the Surf Guitar Sound
1. Choose a guitar with the right attack
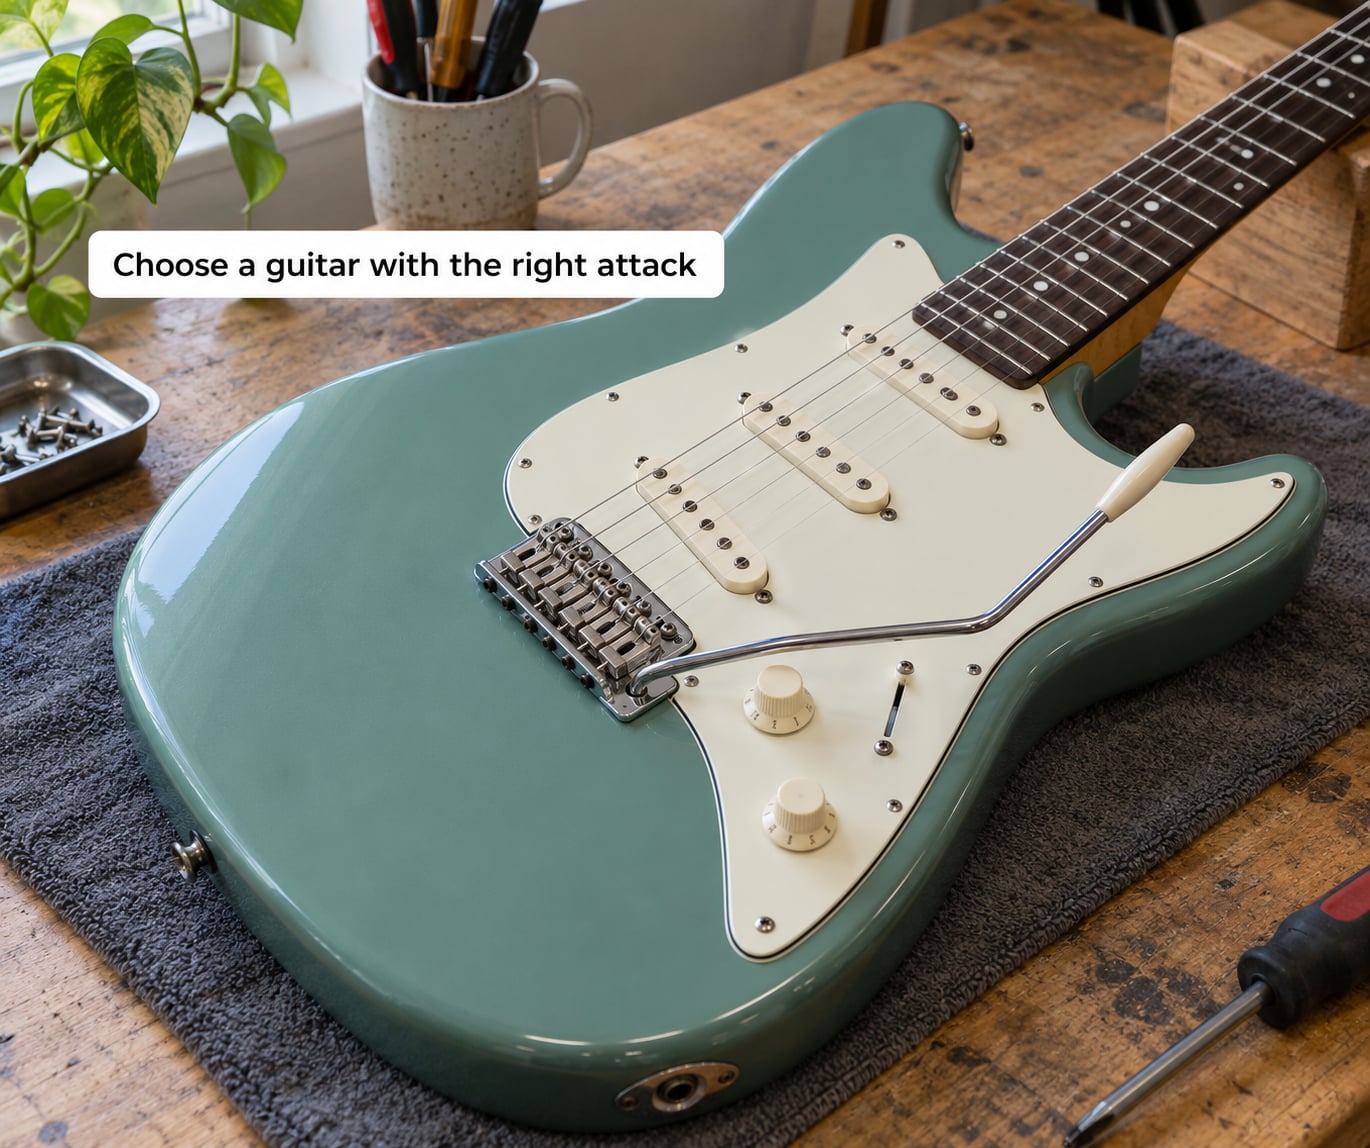
A surf guitar needs note definition, because the reverb is going to smear everything behind it. The attack has to survive the wash or the whole thing turns to porridge.
Offset shapes such as the Jazzmaster and Jaguar became the standard because their floating tremolos keep string tension even and the pickups sit in a warm-to-bright spread across the neck. Players in this style regularly run the neck pickup alone for lead lines, the bridge for rhythm, and both together through the rhythm circuit, where the separate volume and tone controls keep the neck pickup from dominating.
Pickup height is the control most people leave alone and should not. Raise the bridge pickup until it hits the strings just enough to drive the amp, then back it off a quarter turn. Then find the same balance at the neck. A cramped neck pickup with high output will feed a reverb tank enough signal to sound like a spring shorted out.
Scale length matters less than pickups, but a slightly longer scale gives the low E more fundamental and less wool. If your guitar hums louder than it sounds clean, that is usually the neck pickup sitting too close, not the guitar being faulty.
2. Set the amplifier for a firm, clean foundation
The amp is the boring part that makes everything else work. Surf tones were built on amplifiers designed for a bright, scooped response with reverb, and the same tone stack is still the fastest route to the same result.
Start flat: volume around seven, treble somewhere near six, and the middle pulled back a little. The mids are what muddies up once a tank is in the circuit, and pulling them down keeps the centre of the note readable. Bass stays low. Too much bottom and the tank turns the low strings into a boom that swallows the rhythm.
Then find your clean platform with a chord, not a single note. If a full E major chord distorts at the volume setting you want to play at, you need more headroom, a lower-input instrument, or both. Players chasing this sound rarely run their amplifiers wide open, and the belief that surf requires a loud, overdriven amp is the most persistent myth in this genre.
3. Add spring reverb or a convincing digital substitute
A spring tank works like this: your signal feeds a transducer that pulls on a set of metal springs, the springs carry the energy down their length and bounce it back, and a second transducer turns that motion back into an audio signal. The delay between the pull and the return is why the reverb trails behind the note instead of sitting under it. That trailing, liquid character is the fingerprint of the sound.
Longer tanks decay longer and sound bigger. Shorter ones tighten up and stay out of the way. Accutronics tank numbers encode this: the first digit is the input impedance, the second the tank length in inches, and the letter codes the tube or solid-state driver. A three-spring tank driven by a tube gives more of the growling attack you hear on older records.
Now the dial. Start with dwell low and bring it up until you hear the springs engage as a soft splash when you hit a chord. Dwell controls how much signal is fed into the tank before it reaches the output; more dwell gives a brighter, more explosive entry and a longer decay. The tone control feeds back toward the tank output, and turning it down removes the fizzy edge at the top. Mix is your main balance, and the mix is usually set lower than you expect.
Players on SurfGuitar101 and The Gear Page threads repeatedly describe mix around two or three and dwell in the same low range as a starting point, then adjust by ear. That is good advice. A heavily damped tank is not obviously audible. A loud, bright tank swallows the guitar, and every clean note you play sounds worse.
Outboard units like the 6G15 sit between the amplifier and the speaker and give you a bigger tank with a separate drive tube, which is where most of the classic drip comes from. Modern outboard units and pedals model that behaviour, and the better ones put a real tube in the drive circuit. Players tend to report that solid-state digital springs sound thin and plastic next to a tube-driven tank, so if you are shopping purely for surf tone, that is the specification to check first.
4. Use overdrive without burying the reverb
The surf signal is not distorted in the usual sense. It sits just past the edge of clean, adds a little compression and a little harmonic grit, and then gets soaked in reverb. That distinction matters because heavy distortion into a spring tank turns the wash into noise.
A transparent overdrive pedal placed after the reverb handles this well: the reverb stays clean and bright, then the pedal rounds the edges slightly on the way out. Drive set low, level moderate. If you hear the pedal working rather than hearing a thicker guitar, the drive is too high.
Alternatively, run the amplifier into its own soft clipping and let the springs soften it. Dick Dale’s live tone was not perfectly clean. Players who have studied his records and live tapes describe a pushed amplifier with heavy reverb on top, which is a different recipe from a modern high-gain pedal tone.
5. Add tremolo for movement and pulse
Two effects get confused constantly here, and the confusion dates back to the amplifiers themselves. Tremolo changes volume. Vibrato changes pitch. Vintage Fender amplifiers have labelled the pitch effect as vibrato, which is technically correct and almost completely unhelpful when you are reading a manual.
Duane Eddy used pitch vibrato from a Magnatone amplifier, and Hank Marvin and The Shadows used echo and delay rather than reverb at all. That distinction matters for your rig: if you are chasing Marvin, your delay pedal is the priority and reverb stays modest. If you are chasing Dick Dale and the Ventures, tremolo is the pulse.
Amplifier tremolo on the classic surf platforms is a gentle push-and-pull in volume and works perfectly. Optical and amplitude tremolo pedals cover the same job in a pedal rig, and both sound closer to the vintage behaviour than a pitch-based effect does.
Set speed somewhere in the middle of the control range, around four or five, and keep the depth low. Depth above five starts to sound like a stuttering gimmick rather than a wash. A slower rate with a shallower depth is the more useful direction: movement without pulsing.
6. Build and arrange the effects chain
Order changes the result more than most people expect, and the amp’s own arrangement is the tradition to follow.
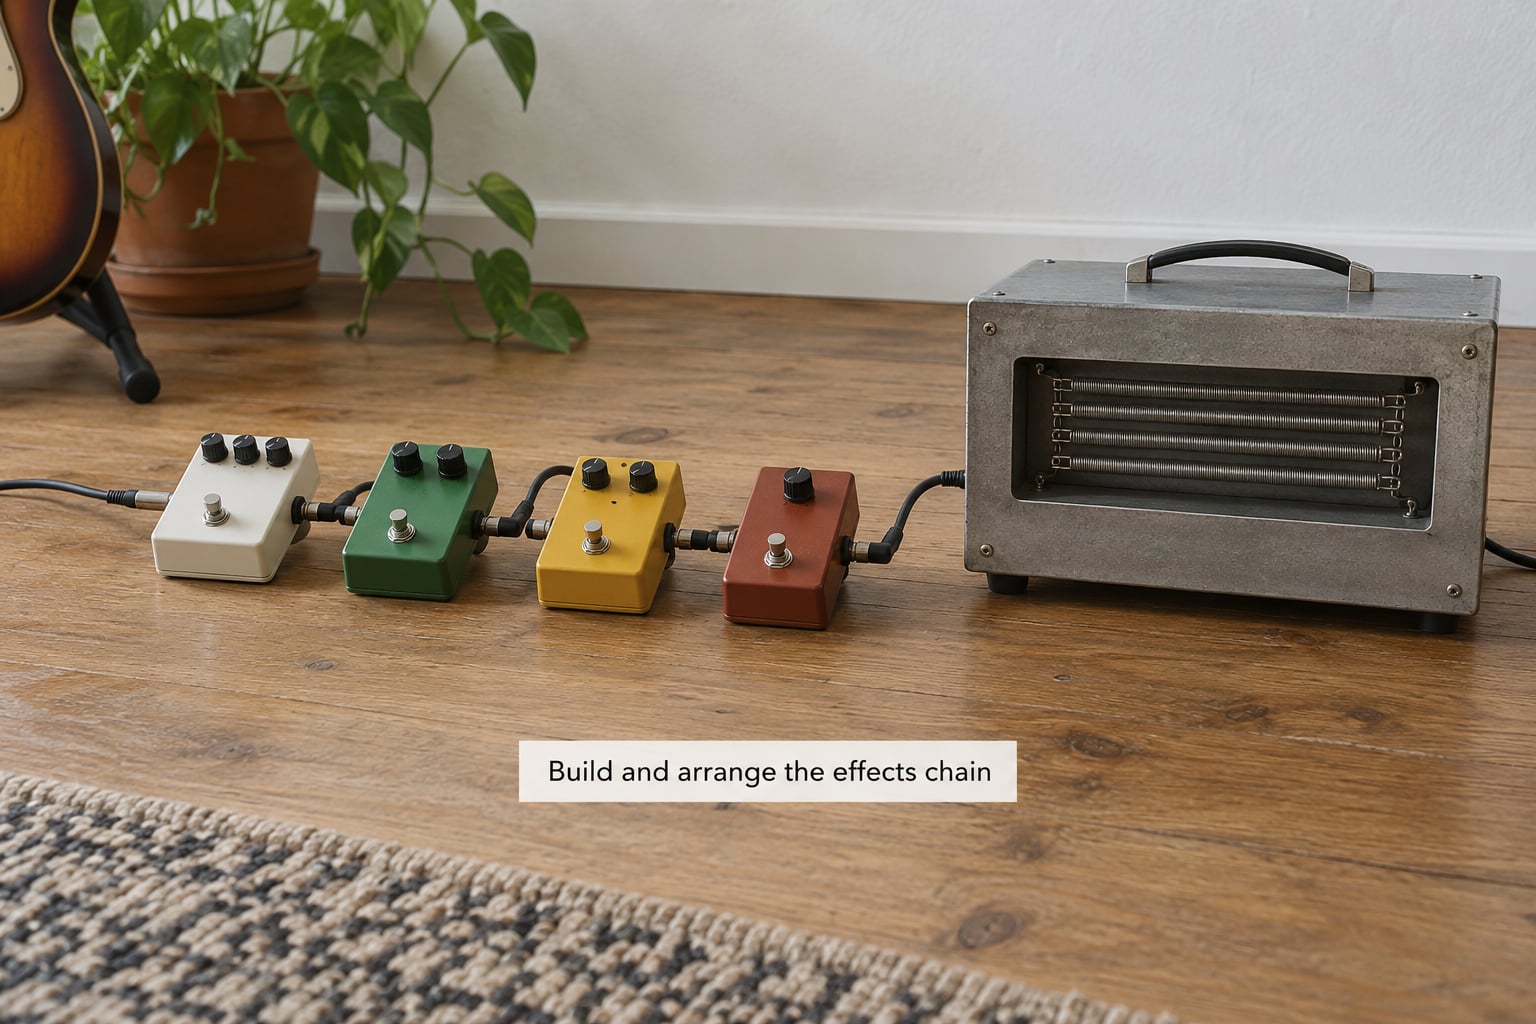
In a surf amplifier, tremolo sits before the reverb. That order gives you a wet signal that pulses in volume, which is why the wash breathes. Putting a tremolo pedal after the reverb instead makes the whole wash swell and fade, which sounds underwater and loses the sense of a note being played.
A working order from the guitar outward: overdrive, then the amplifier’s preamp section with its reverb and tremolo, then the outboard tank or cabinet if you have one, then the speaker. With pedals, put the drive pedal first, the tremolo pedal next, and the reverb pedal after tremolo so the spring effect sits in front of the wet signal. Keep the chain short, and keep every cable as short as the board allows, because long unbalanced runs eat the top end that makes a spring sound bright.
Set your levels as you add each box rather than at the end. If reverb output drops the guitar level, the tank is being overdriven and will sound muddy no matter what the mix knob says. Back the output down and raise the mix instead.
7. Play with a controlled, articulate technique
Gear gets you close; the right hand finishes the job. Players who nail this tone with modest equipment share a few habits.
Palm muting on the low strings keeps the bass notes short so the reverb tail belongs to the melody instead of the whole chord. Clean, deliberate chord endings let each phrase decay naturally rather than being chopped off. Tremolo picking, a light rapid down-up motion, adds movement through the sustain rather than through an effect. And restraint in the picking hand is what stops a big reverb from sounding cartoonish, because a well-played part under a wash stays musical while a badly played part underneath the same wash just sounds louder.
Common Mistakes
Almost every bad surf tone comes from one of six things.
- Too much gain. Fix: pull the amp volume back until a full chord is clean, then add the drive pedal at low gain.
- Reverb you can barely hear. Fix: raise the mix until you can clearly hear the tank, then stop. If it goes past that point, back off.
- An overly deep tremolo. Fix: depth around three or four, speed near the middle. Pulse should be felt, not counted.
- Harsh high frequencies. Fix: turn the tank tone control down, and lower the treble on the amplifier. Spring tanks get brighter the harder you push them.
- Muddy spring reverb. Fix: less dwell and lower input into the tank, plus a pullback on the amplifier’s bass. Muddiness comes from feeding the tank too much low end.
- A chain that loses clarity. Fix: check cable length and gain staging first, then reduce the number of boxes. Most chain problems are level problems, not order problems.
One more worth naming: putting the tremolo after the reverb. It is an easy habit from other genres and it produces the underwater sound that listeners often mistake for a bad reverb setting.
Frequently Asked Questions
Can I get a surf guitar sound with a solid-state amplifier?
Yes, with care. Solid-state amps stay clean and firm, which is exactly what a spring tank needs, but most have no tremolo and their tone stacks vary widely. Run the reverb on the amplifier if it has a spring option, add an optical tremolo pedal, and keep the volume low enough that nothing clips. Plenty of bedroom players build a convincing surf rig this way.
Is reverb better before or after overdrive for a surf sound?
After, for a spring reverb effect. Placing the reverb first keeps the tank clean and bright, then the overdrive rounds the edges and adds compression on the way out. Putting the drive before the reverb pushes the tank harder and can sound muddy. The exception is an amp that overdrives internally, where the reverb is always downstream of the clipping.
Do I need a Fender-style amplifier to play surf guitar?
No. The tone matters more than the badge. What you are after is a bright, scooped response, plenty of clean headroom, and either built-in reverb or room for an outboard tank. Several modern tube amplifiers and quality digital modelling amps cover the territory well, and a solid-state amp with the right pedal can get there too.
What type of tremolo do surf guitarists usually use?
Amplitude tremolo, which changes the volume of the signal rather than its pitch. Most classic surf amplifiers include it, and optical or amplitude pedals are the usual stand-in on a pedalboard. Vintage Fender amplifiers often label the pitch-based effect as vibrato, so read the manual carefully before you buy anything for the job.
How do I make spring reverb sound brighter and less muddy?
Reduce the amount of low end going into the tank first, since muddiness usually starts there. Then raise the dwell control until the tank engages with a bright splash on each chord, and turn the tone control down if the top end gets fizzy or splattery. On the amplifier, pull the bass back and slightly increase the treble. Pushing the tank harder with gain is the last resort, not the first one.
Should I use a surf guitar with humbuckers or single-coil pickups?
Single-coils are the traditional choice and give the clarity the genre needs under heavy reverb. That said, the sound comes from the amplifier and the tank far more than from the pickup type. A humbucker with a bright tone control setting works, particularly for rhythm parts, and players chasing thicker lead tones often use one. Try both and keep whichever lets the reverb do its work.
Conclusion
The chain that produces the sound is short: a firm, clean amplifier, a spring tank set with modest mix and enough dwell to splash, a touch of overdrive placed after the reverb, and tremolo before the wet signal so the wash breathes.
Start there. Get the dry chord sounding good before you add any reverb at all, raise the mix only as far as you need it, and keep the tremolo shallow. Once the wash sits behind your playing instead of on top of it, that is the sound, and the rest is just arrangement.