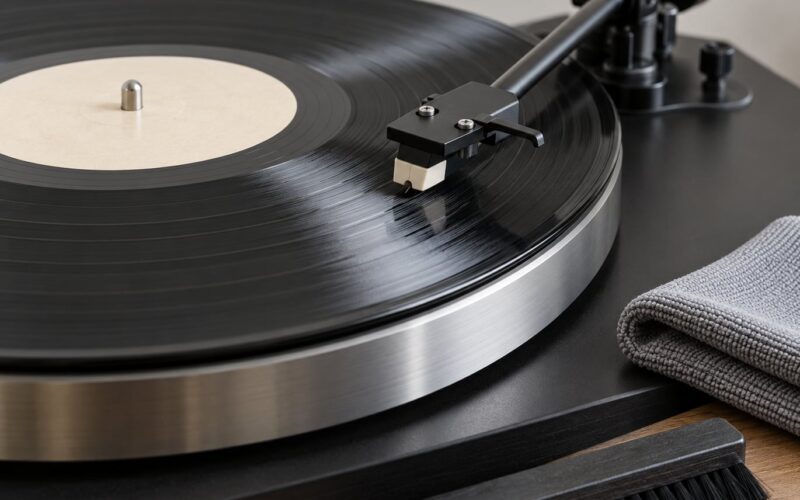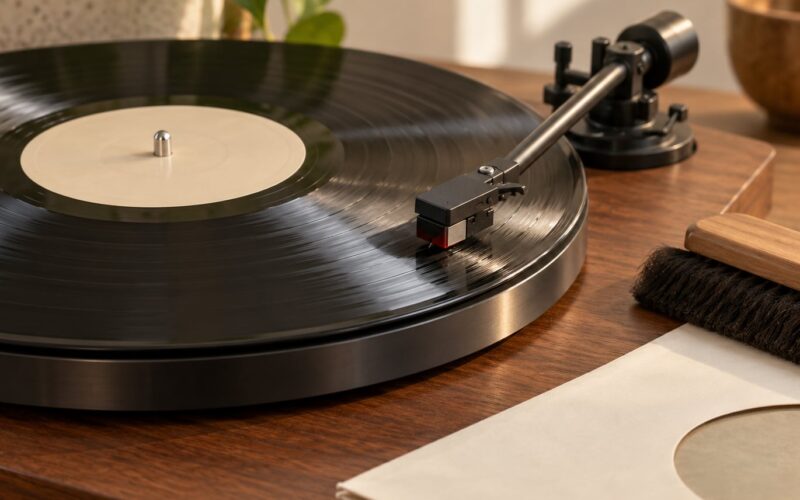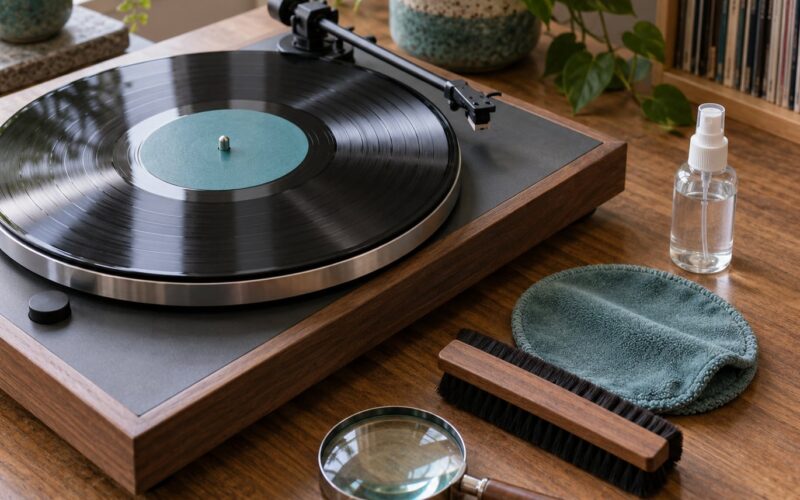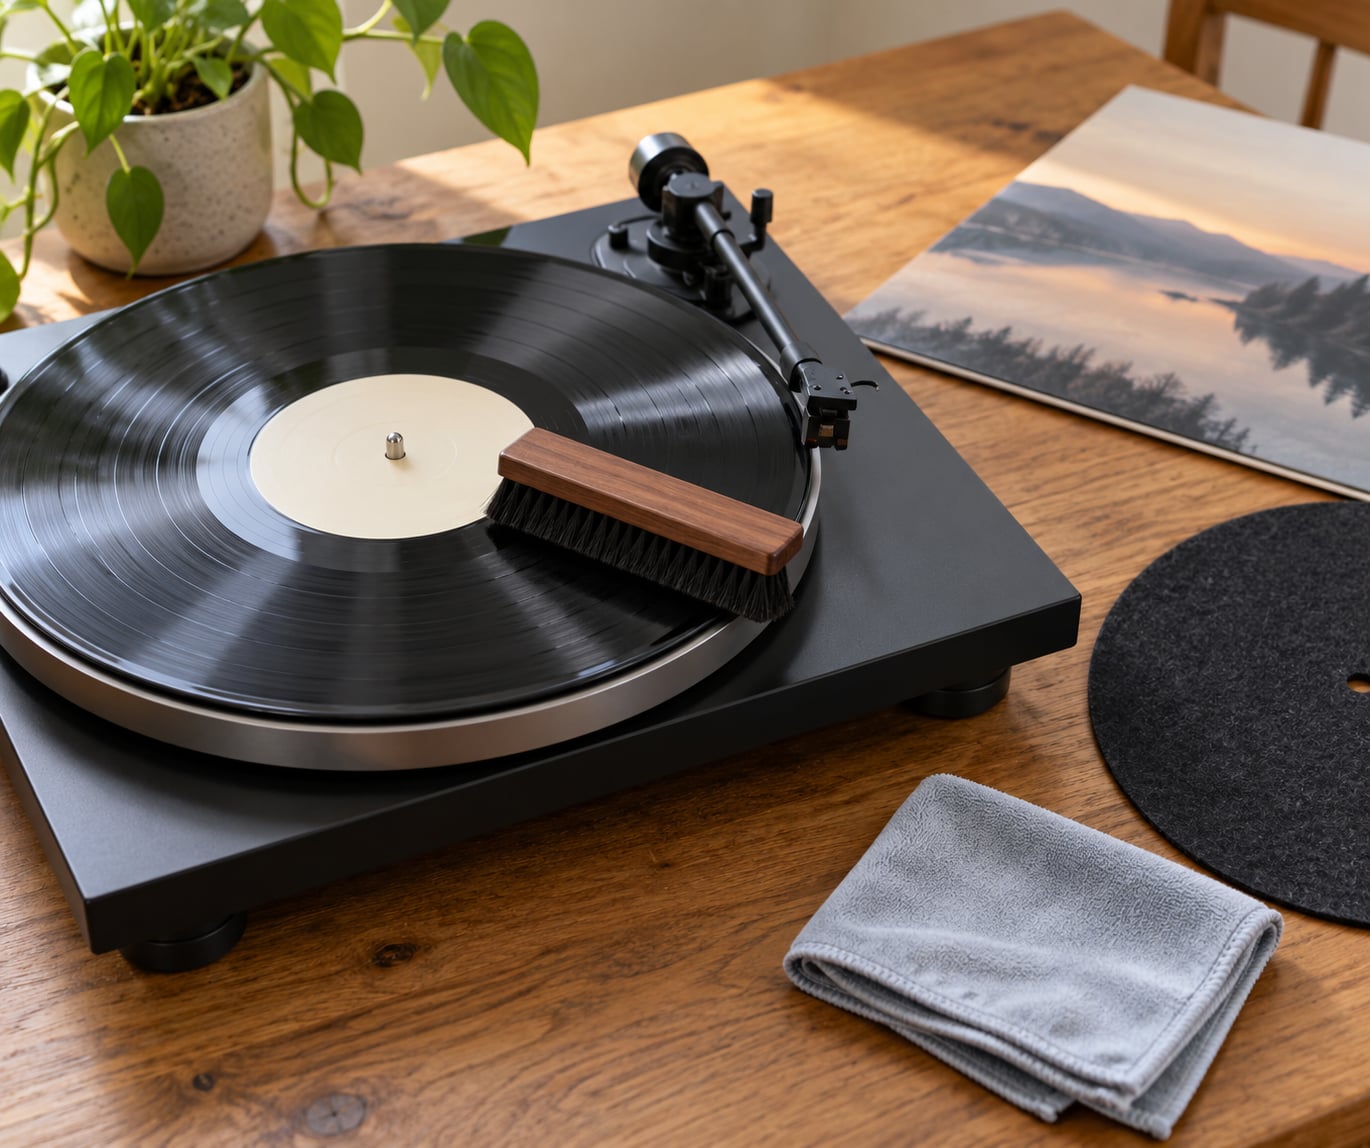
An anti static brush discharges the charge sitting on a vinyl record and lifts loose dust off the groove walls while the record spins. Hold it by the handle, set the bristles down perpendicular to the grooves, use barely any pressure, and let the platter do the work for two to four rotations. It takes about two minutes per side and needs no fluid at all.
That last part matters. A brush is maintenance, not a deep clean. It handles surface dust and the pops that come with static charge. It does nothing for grease, fingerprints or the calcium carbonate that settles at the bottom of a groove, and no amount of brushing will shift those. Knowing which job you are doing saves you from the most common mistake in the hobby, which is scrubbing a dirty record harder instead of cleaning it properly.
Table of Contents
- What You Need
- Step-by-Step: How to Use an Anti Static Brush
- 1. Prepare the Record and Work Surface
- 2. Hold the Anti Static Brush Correctly
- 3. Brush the Grooves in One Direction
- 4. Rotate the Record and Repeat
- 5. Check for Dust and Store the Record
- Common Mistakes
- Frequently Asked Questions
- Do anti-static record brushes actually work?
- Can a carbon fibre brush scratch vinyl records?
- Should I brush a record while it spins or while it is stopped?
- Why is a line of dust left behind when I lift the brush?
- Can you use an anti-static brush on electronics?
- How often should I clean vinyl records with a brush?
- Conclusion
What You Need
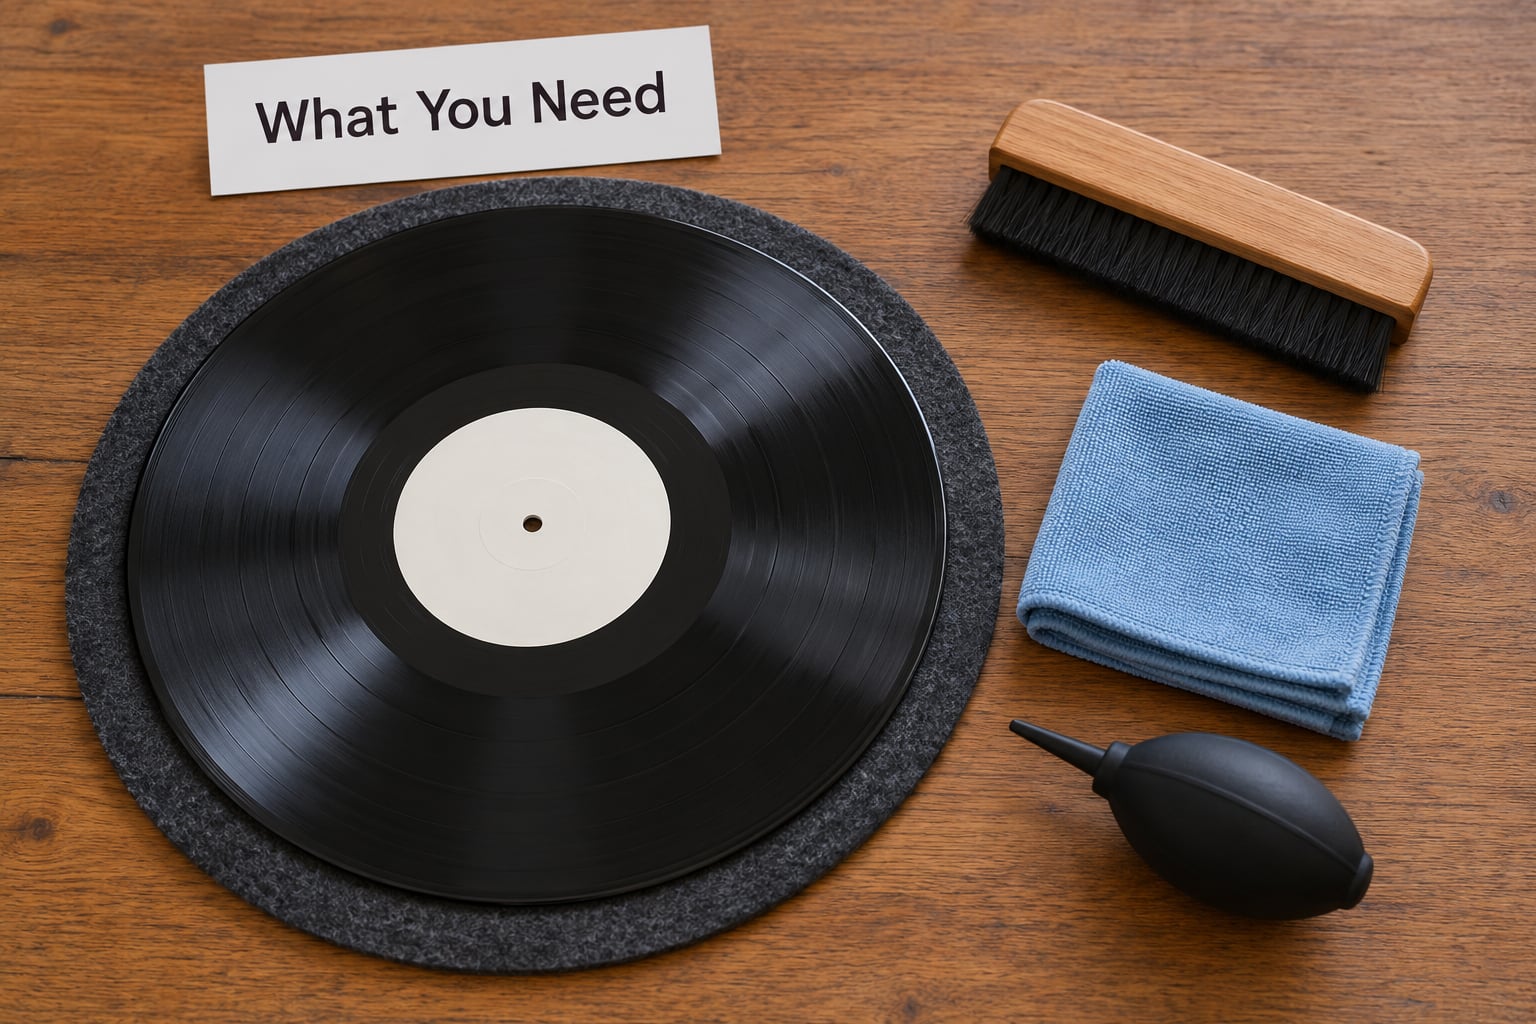
A short list does the job. Anything beyond it is optional.
- A dedicated anti static record brush. Carbon fibre bristles are the standard. Velvet brushes work as well, but they pick up dust rather than conducting it away, so they treat the symptom and leave the cause.
- A clean, flat work surface. A felt mat or an anti static mat on top of a table works. Avoid a bare glass table, because a record slid across it can pick up fresh dust in the time it takes to move it.
- A soft microfibre cloth. For wiping the brush handle and checking the record surface afterwards.
- A small hand blower or soft brush. To clear dust out of the sleeve before the record ever comes out.
- A turntable, or anywhere flat to lay a record. The brush works on a spinning platter, but a slow rotation from a turntable is the version most people find easiest to get right.
On brush material, ignore anything described as a household paintbrush. Those bristles are coarse, often flagged at the tips, and sized for wood and metal rather than a soft vinyl surface. What you want is a row of fine, evenly cut carbon fibres that flex on contact and spring back. A conductor in the handle is a real bonus, because touching the metal part before you start lets any charge on your hands bleed away first.
A brush with a cleaning mechanism built into the handle is worth having. Small card sleeves and comb-style cleaners inside the handle let you clear dust off the bristles between records, which stops the brush from becoming the thing that re-deposits the dirt it just picked up.
Step-by-Step: How to Use an Anti Static Brush
1. Prepare the Record and Work Surface
Clear the sleeve first. Open it, hold the record by its edges with both hands, and set it down without letting your fingers reach the playing surface. Give the brush a few taps against the mat or into your palm to shed anything it collected last time.
Look at the record in angled light before you touch it. Fingertip smudges and a dull patch in the groove area mean this record needs more than a brush, and you will know that now rather than after ten minutes of work.
2. Hold the Anti Static Brush Correctly
Grip the handle only. Keep your fingers well clear of the bristle block, because skin oil on the bristles is exactly what you are trying to remove from the record. If the brush has a metal end cap, touch it before you bring it near the vinyl.
Set the brush down with the row of bristles crossing the grooves at a right angle. Perpendicular is the whole point. Angle the brush even slightly and the tips catch the groove walls instead of skimming the tops of them, which is how a careful pass turns into a scratch.
3. Brush the Grooves in One Direction
Start at the outside edge and work in toward the label, or start near the spindle and move out. Pick one and stay with it for the pass. Light, consistent strokes with barely any downward force do the cleaning; the rotation does the rest.
Never scrub in circles or work back and forth over the same strip. Repeated passes over an already cleaned area grind loose particles into the vinyl rather than lifting them out. Feather pressure means you can feel the bristles but not flatten them.
4. Rotate the Record and Repeat
Two to four rotations is the range most collectors settle on. Let the record turn at 33 rpm rather than running it up to 45, because the slower rotation gives the bristles more dwell time on each section of groove.
Move the brush inwards in small increments after each rotation so you cover new territory, and do not go back over ground you have already cleaned. Keep the tonearm parked out of the way while you work. On a turntable with a short or fixed arm, such as the Audio-Technica AT-LP120x, you may not be able to reach the inner groove without swinging the arm across the record. Work the outer two thirds first, then release the arm rest and use your free hand to keep the record turning while you reach in.
When you come to the end, lift the brush at about 45 degrees rather than pulling straight up. Pulling straight off drags the loaded bristle tips across the vinyl and leaves a visible ring of dust at the point where you set down and picked up. An angled lift-off lets the dust fall away from the record instead of trailing across it.
5. Check for Dust and Store the Record
Stop the platter, lift the record by its edges and tilt it under a lamp or a window. Dust shows up as a light haze against the light. Wipe the bristles clean on the cloth, tap out the dust, and repeat the pass only if you can see something left behind.
Slide the record back into its sleeve, ideally inside a poly-lined or anti static inner sleeve, and store the collection upright rather than stacked so the sleeves do not press on the record faces. Stand it in a clean, stable place away from direct sun and heat.
Common Mistakes
Pressing too hard. This is the habit that actually damages records. Pressure does not remove more dirt; it pushes surface dust down into the groove where a brush can never reach it. If you can hear the bristles squeaking, you are pressing too hard.
Brushing a dirty record. Grit, grease and fingerprints need a wet clean first. Brushing them just relocates the mess across the surface and pushes it into the grooves, which makes the next wet clean harder.
Using a household paintbrush. Coarse, uneven or flagged bristles are the main source of scratch reports attached to carbon fibre brushes. The debate about whether carbon fibre scratches vinyl is largely a debate about bristle quality, not about the material.
Touching the playing surface. Fingers leave oil that attracts dust, and the oil itself traps dirt against the vinyl. Hold records by the edges every time, including when you are lining them up.
Working in circles. Circular scrubbing grinds particles into the groove walls and dulls the brush. Straight, single-direction passes are faster and safer.
Leaving a ring where you lifted. Covered above, and it is the single most complained-about detail in collector forums. Angled lift-off solves it.
Putting fluid on the brush. Carbon fibre is not a wet-cleaning tool. Fluid on the bristles makes them clump, smears residue across the record and can leave streaks that no brush will remove afterwards.
Expecting a brush to fix recurring static. If dust reappears minutes after a clean, the room is the problem, not the record. Dry winter air rebuilds charge quickly. Keeping relative humidity around 40 to 50 percent, using poly-lined inner sleeves, and storing records away from synthetic fabric all do more for a quiet record than brushing alone.
Frequently Asked Questions
Do anti-static record brushes actually work?
Yes, for surface dust and static discharge, which are the two things most often blamed on record condition. The conductive carbon fibres draw the charge off the vinyl and into the handle while their tips skim the groove tops and push loose particles outward. They do nothing for grease, fingerprints or dirt already sitting at the bottom of a groove, so a brush complements a wet clean rather than replacing one.
Can a carbon fibre brush scratch vinyl records?
Poorly made ones can, and the cause is bristle finish rather than the carbon fibre itself. Bristles that are cut and left sharp or flagged can catch groove walls. Rounded or polished tips on fine, dense fibres bend instead of catching. Keep the brush perpendicular to the grooves, use feather-light pressure, and stop if the bristles squeak. Many collectors inspect their routine under a 60x loupe or USB microscope and see no marks after several rotations.
Should I brush a record while it spins or while it is stopped?
Spin it. Rotation moves the vinyl past a stationary brush, so the bristles stay aligned with the grooves and you apply pressure in one place instead of dragging them sideways. A slow 33 rpm is the usual speed. You can finish with the platter stopped for a careful check pass if dust is still visible, but the main cleaning should always happen while the record is turning.
Why is a line of dust left behind when I lift the brush?
Because lifting straight up drags loaded bristle tips across the vinyl and drops part of their dust in a ring. Lift the brush away at roughly 45 degrees instead, so the particles fall free of the record. Working with the record sitting on its sleeve or on an anti static mat, and doing one final sweep in the opposite direction, keeps that dust from being picked up and redeposited elsewhere on the surface.
Can you use an anti-static brush on electronics?
Yes. The same tool is sold as an ESD brush for circuit boards, camera sensors, optics and film negatives, because conductive bristles shed charge from sensitive surfaces without scratching them. Two differences apply. Keep it away from lenses and coated sensors, and never brush a powered circuit board, since you can move components or contaminate the board. For vinyl, use a brush with a wide, soft bristle block; electronics brushes are narrower and stiffer.
How often should I clean vinyl records with a brush?
Before every play is the standard advice, and the whole routine takes about two minutes per side. Think of it as maintenance that keeps surface dust from settling into grooves and stops static from pulling airborne dirt onto a record you just cleaned. If a record has been sitting in a dusty shelf, play a record you care about first, get familiar with the brush, then work through the collection one side at a time.
Conclusion
Start with a record you know well, brush it for two to four rotations with the bristles perpendicular and barely any pressure, and lift away at 45 degrees so nothing trails back across the vinyl. Clean the bristles on the cloth when you finish. Repeat that before every play and most dust and static problems simply stop appearing.
If the pops come back within minutes, the problem is the room rather than the record. Check humidity, add poly-lined inner sleeves and an anti static mat, and reach for wet cleaning only when the record itself is dirty rather than charged.