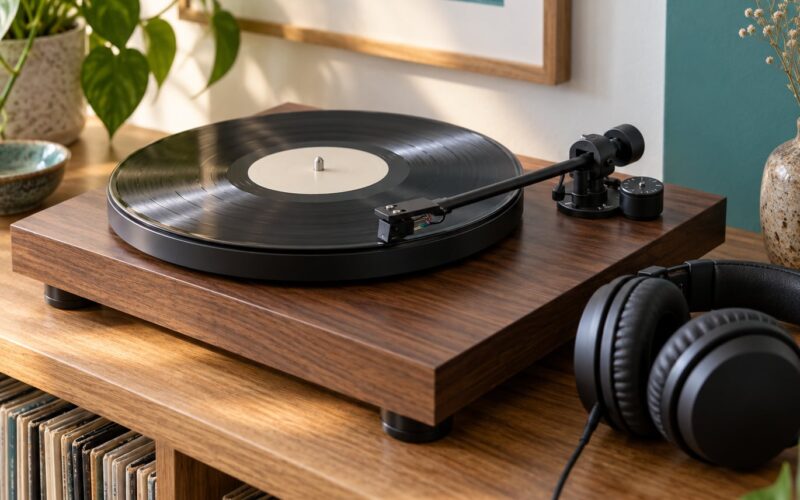
How to reduce vibration under a turntable comes down to three things: finding the source, making the furniture under the deck stop moving, and putting a compliant layer between the deck and that furniture. Most warble, skip and feedback problems are solved in the first ten minutes by moving a speaker or tightening a loose cabinet joint.
The rest take a little more work. This guide walks through six fixes in the order I would try them, cheapest and least invasive first, and tells you how to tell whether each one actually worked.
Before you start, rule out the usual setup errors. A deck that was never level or had tracking force set wrong will produce symptoms that look exactly like vibration, and no amount of foam fixes those.
Table of Contents
- What You Need
- Step-by-Step: How to Reduce Vibration Under a Turntable
- 1. Confirm That the Problem Is Under the Turntable
- 2. Find and Eliminate Direct Vibration Paths
- 3. Level and Stabilize the Support
- 4. Add the Right Isolation Material
- How to reduce vibration under a turntable with pads and platforms
- 5. Reduce Resonance in the Cabinet
- 6. Reset the Turntable and Test the Result
- Common Mistakes
- Frequently Asked Questions
- What is the best material to reduce vibration under a turntable?
- Should a turntable sit directly on a concrete floor?
- Do thicker isolation pads work better than thin ones?
- Can a turntable be placed on a foam or rubber mat?
- How do I tell if vibration comes from the floor or the speakers?
- When does turntable vibration indicate a problem inside the deck?
- Conclusion
What You Need
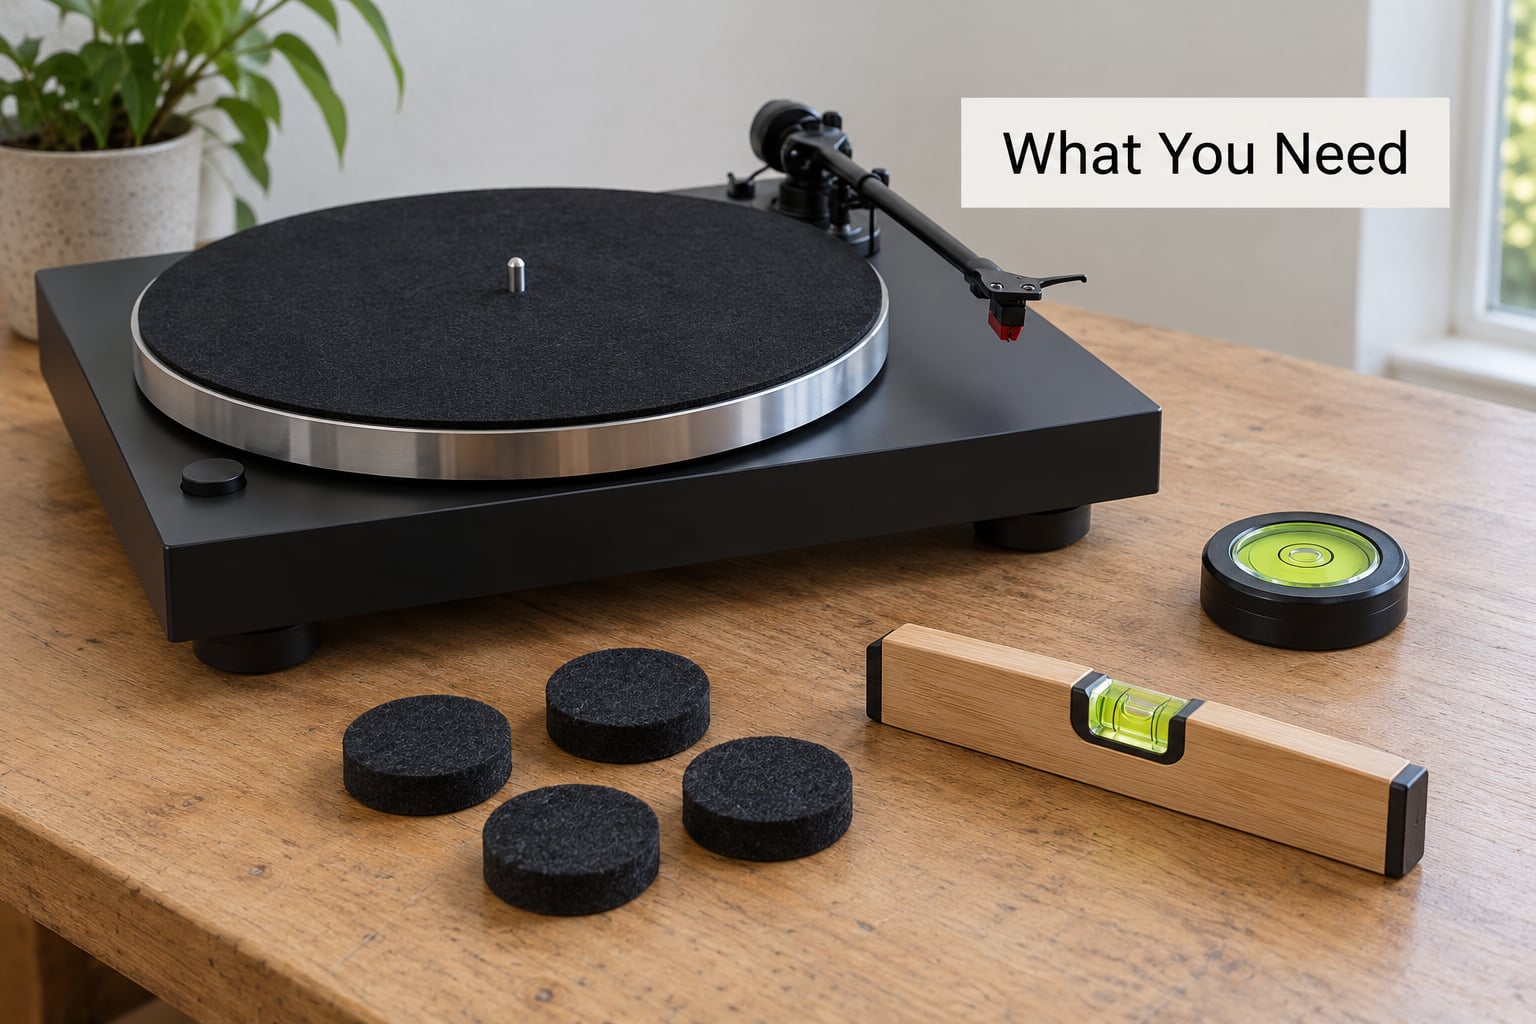
None of this is mandatory. The first two steps need a flat palm and five minutes of your time. Everything after that is optional and depends on what your diagnostic turns up.
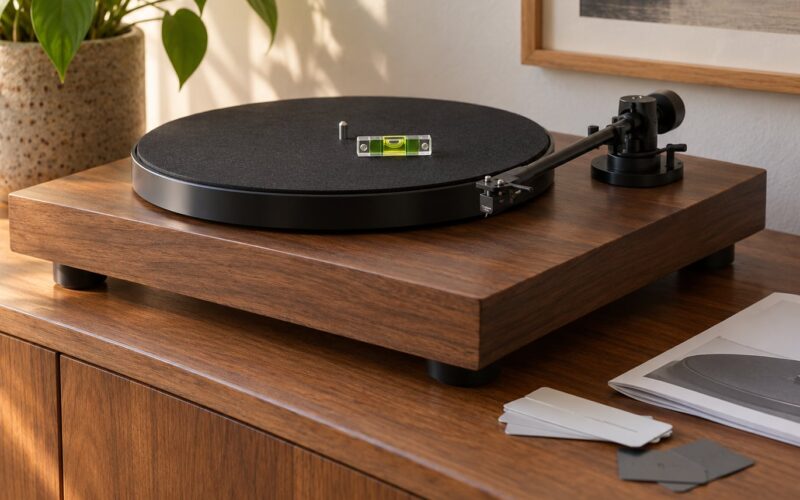
- A small bubble level or a spirit level. A cheap 9 inch bubble level from a hardware shop does the job. If you have neither, a marble on a flat tray tells you whether a surface tilts.
- Isolation pads. Purpose-made sorbothane or neoprene feet sized for your deck, or a closed-cell foam mat as a stand-in. Readers report that the thin rubber feet supplied with entry-level turntables play almost no role in dampening, so replacing them is a fair first purchase.
- A platform to build an isolation deck on. A heavy MDF or plywood offcut roughly 10 to 15 cm larger than the plinth on all sides works. A thick chopping board is the classic budget version.
- Hardware for structural fixes. Angle brackets, wood screws, a wall-mount shelf and the right fixings for your wall type. A stud finder or a masonry bit, depending on whether you are fixing into studs or brick.
- Long-tail items, only for stubborn setups. Springs and eye hooks for a suspended shelf, or jack posts for a suspended wooden joist floor. These are the last resort, not the first.
You never need to open the deck. Nothing here involves touching the power supply, the motor or the wiring, so there is no electrical risk and no warranty implication.
Step-by-Step: How to Reduce Vibration Under a Turntable
Work through these in order. Each step costs a little more effort than the last, so you stop as soon as the warble stops.
1. Confirm That the Problem Is Under the Turntable
Put a record on, drop the needle, and press your palm flat on the cabinet under the deck. Now walk across the room, or have someone walk past the doorway. If you can feel the thump travel through the furniture into your hand, you have structure-borne vibration under the turntable.
That hand test is the one people on AudioShark and Audiogon come back to. The tip is to play something with real low-end, put a hand on the wall behind the speakers, and feel whether the wall itself is moving. If it is, the speakers are shaking the building and the building is shaking your deck.
Rule out the alternatives before you buy anything. A record skipping everywhere on every track is more likely a tracking or cartridge alignment problem, not vibration, and no amount of foam will fix it. Mains hum that arrives the moment you power on is electrical, not mechanical.
You have confirmed vibration under the turntable if the deck moves when you press on the furniture, and the symptom changes depending on where a person stands in the room.
2. Find and Eliminate Direct Vibration Paths
Move the speakers. Bass-heavy music played loudly drives the cabinets, which shakes the floor, which shakes the stand, which shakes the tonearm. A user on r/vinyl described wall mounting the deck on a load-bearing wall and finding they could play as loud as they liked and jump up and down in front of the turntable with no trouble at all.
Practical moves, in order of how often they solve it:
- Increase the distance between the speakers and the deck. One report in the AudioShark thread describes a heavy 22 kg deck sitting about 6 feet from the nearest speaker with no vibration issues at high volume. Distance alone does a lot of work.
- Put isolation under the speaker feet so cabinet energy stops going straight into the floorboards. Do not spike speakers rigidly to a shelf if your problem is bass-driven feedback; that couples them harder.
- Stand the subwoofer on decoupling material. In a modern system the sub is usually the dominant source of low-frequency energy, and people forget about it entirely until they switch it off.
- Relocate the stand away from doorways and hallways. Footfall is the single most repeated complaint in these threads, and a hallway with a closing door next to the deck is a footfall machine.
- Watch your playback level. At around 100 dB at the listening position, the sound pressure itself becomes a vibration source. Turning bass down on the channel and up on the speakers takes the load off the cabinet.
3. Level and Stabilize the Support
An uneven cabinet does two bad things at once: it rocks, which upsets speed stability, and it tilts the platter so the tonearm drags on one side. Put the bubble level on the cabinet top first, then on the plinth itself once the deck is back on.
Work the joint, not the surface. If the wobble is in the legs or the frame rather than the top, tighten the fixings and add an angle bracket at each corner. Hollow cheap furniture with a particleboard top flexes like a trampoline when it is pushed; a solid piece with a proper frame does not.
On a suspended wooden joist floor, a stand in the middle of the room behaves very differently from one next to a wall. Positioning matters more than the furniture you chose. If the cabinet is bouncing under footfall, mass helps: a back-loaded shelf or a plinth on top adds mass loading without adding softness.
This step worked if a firm push on any corner produces no movement anywhere in the cabinet, and the bubble sits centred for 24 hours.
4. Add the Right Isolation Material
Isolation means inserting a compliant layer between the vibration source and the turntable so the energy is dissipated as heat instead of carried into the platter and tonearm. It works best against higher-frequency movement like footfall, and least well against slow, heavy mass shifts.
How to reduce vibration under a turntable with pads and platforms
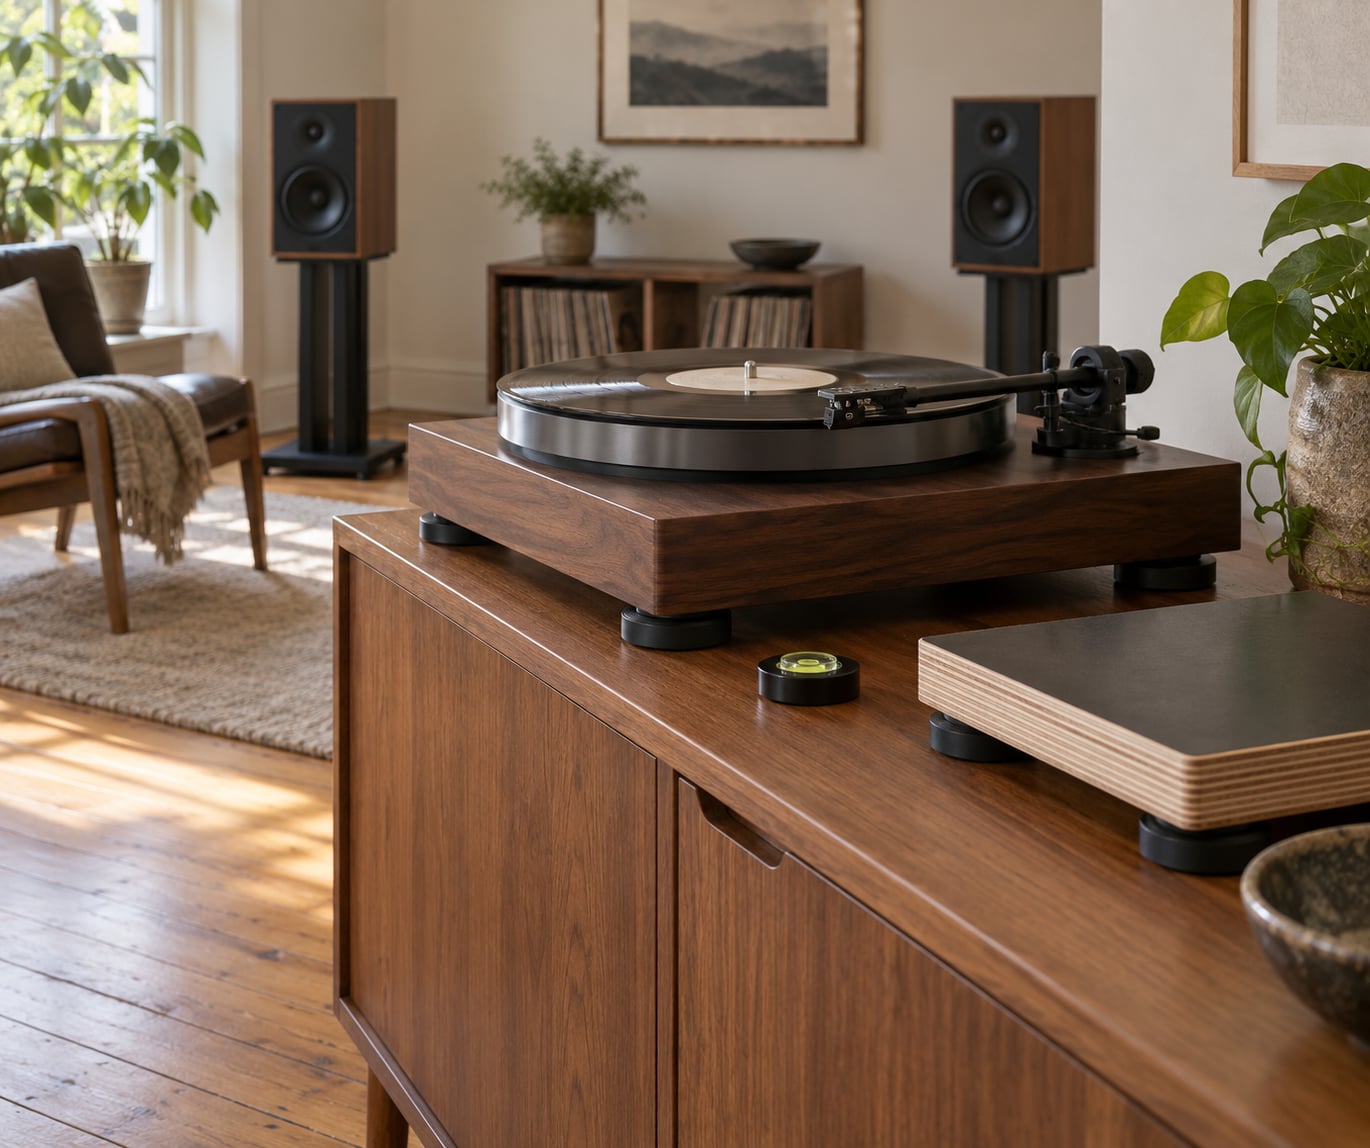
Build the layer in two stages. The first stage decouples the deck from the surface; the second stage gives that surface its own mass that can move independently of the cabinet. One stage on its own usually helps. Both together help considerably more.
| Material | What it absorbs | Stability risk | Best for |
|---|---|---|---|
| Sorbothane pads | Footfall and mid-frequency structure-borne vibration | Low at 10 to 20 mm, higher when stacked | Most decks, most floors |
| Closed-cell foam mat | Footfall, air and light structure-borne vibration | Medium: can compress over time and let the deck rock | Cheap first test |
| Neoprene or rubber feet | High-frequency buzz and rattle through the cabinet | Very low | Replacing the thin feet that ship with a deck |
| Heavy MDF or plywood platform on pads | Footfall plus the cabinet’s own resonance | Low if the platform is level and pads are equal height | Shared-cabinet setups |
| Granite or marble slab | Adds mass loading and damps the platform’s resonance | Low, but heavy enough to check the cabinet’s load limit | Already-decoupled setups needing more mass |
| Cork or felt slip mat | Nothing structural. Only controls record-to-platter contact | None | Reducing static cling, not vibration |
A practical DIY stack that gets quoted often: a three-quarter inch plywood floating top resting on sorbothane pads, with the deck’s own feet landing on yoga-mat foam. The plywood gives the pads something wide to grip, and the extra mass of the slab stage does the rest.
Keep it level. Cut pads to the same height or use adjustable feet, then check with the bubble level on top of the finished platform. An isolation layer that leaves one corner high will make the deck rock slowly in slow motion, and you will hear it as speed wobble.
This step worked if you can push the deck gently and it settles rather than bounces, and the level stays true over a full side of a record.
5. Reduce Resonance in the Cabinet
Mass loading is not the same as isolation. A heavy object on top of a hollow cabinet stops the cabinet resonating, but it does not block vibration coming up through the legs. You often need both: something heavy to kill the cabinet’s own resonance, and something compliant underneath the deck to break the path.
Three things to try, cheapest first:
- Add mass to the top. A plinth, a slab or a filled cabinet at the top of the stand raises the resonant frequency of the surface and reduces its movement under load. Check the weight limit of the furniture first.
- Brace the cabinet. If you build or modify furniture, a cross-brace between the legs turns a floppy frame into something stiff. This is furniture work, not deck work, so it carries no warranty risk.
- Change the furniture. Sometimes the correct answer is a different piece entirely. A solid, well-joined cabinet on a concrete or slab floor is very hard to improve on.
The extreme version, for suspended joist floors in old houses, is supporting the stand independently of the floor. One AudioShark user drove jack posts up from a basement to hold a stand and both speakers directly under the joists, which solved a footfall problem outright. That is structural work and belongs in the hands of someone who knows what a load-bearing joist is.
6. Reset the Turntable and Test the Result
Installing a soft isolation layer changes how the plinth sits, so reset the deck before you judge anything. Follow the manufacturer’s instructions for removing and refitting the platter. Lock the platter back down, check the bubble level on the plinth, and set tracking force and anti-skate to the cartridge’s recommended values.
Then test repeatably rather than by vibe. Use the same bass-heavy track at the same level and the same position in the room every time, and note whether it skips. If you have a strobe or a phone app that reads speed, check it at rest and again while the deck is playing; a visible swing in pitch means the isolation is too soft for the weight of the deck.
A permanent fix on a suspended floor is a wall mount on a load-bearing wall. It removes the floor from the signal path entirely, which is why it comes up so often in the forums. One r/turntables builder combined a floating wall shelf with an isolation base on top and reported zero skips. Fixings and wall type are a safety question, so if you are unsure whether the wall is load-bearing, have someone check before you drill.
You are done when the same track plays clean at the same level with people walking past, and the strobe stays steady.
Common Mistakes
Stacking the deck on soft foam until it rocks. Very soft foam can make a lightweight deck unstable, producing speed wobble and, at high levels, stylus hopping. The symptom looks like a tracking fault and gets chased as one. Fix: keep the isolation layer under 20 mm unless you are isolating a heavy plinth, level it, and re-check the strobe.
Over-isolating everything at once. If the speakers, the stand and the deck all float independently, the stand becomes the weak link and picks up whatever the room is doing. Fix: isolate one stage at a time and listen after each change.
Blocking ventilation. Phono stages and power supplies need airflow. Basing the deck on a solid slab that seals the surface is a different matter from burying the back panel in foam. Fix: keep every vent and heat sink clear, and follow the manual.
Putting the deck next to the speakers. Close placement maximises both airborne sound pressure and direct cabinet coupling. Fix: increase the distance, then isolate the speakers.
Adding weight without checking the load limit. A marble slab can exceed what a small flat-pack cabinet will carry at its joints. Fix: confirm the furniture’s rated load, or move to something sturdier first.
Treating electrical hum as vibration. A hum that appears the instant the deck powers on is a grounding or cable issue and no amount of foam touches it. Fix: note that the noise is continuous rather than triggered by footfall, and address the electrical side.
Maintenance is simple. Keep the isolation layer clean and flat, dust the cabinet feet so the deck sits evenly, check the level every few months in a room with big seasonal temperature swings, and leave the dust cover open while playing. Players report the cover adds enough mass and coupling to make a difference, so it is worth trying both ways with the same record.
Frequently Asked Questions
What is the best material to reduce vibration under a turntable?
Sorbothane pads, in the 10 to 20 mm range, are the best all-round choice for footfall vibration on most furniture. They stay stable under a deck and do not compress. Closed-cell foam is a cheaper first test but can creep over time. Marble or granite adds mass rather than isolation, so it works best layered on top of pads. Test one at a time.
Should a turntable sit directly on a concrete floor?
Yes, and a concrete slab is the easiest floor to work with because it barely moves. The usual problem is not the floor but the resonance of the furniture sitting on it, so add mass to the cabinet top and a compliant layer under the deck. Direct contact is fine as long as you have not introduced rock or wobble.
Do thicker isolation pads work better than thin ones?
Not automatically. Thicker, softer pads isolate low-frequency movement better but make the deck less stable, which shows up as speed wobble and stylus hopping on loud passages. Most decks are best served by pads in the 10 to 20 mm range, with equal height at all four corners. If you need more isolation, add a second stage with a heavier platform rather than more foam.
Can a turntable be placed on a foam or rubber mat?
A foam or rubber mat is a reasonable diagnostic test because it costs very little and takes seconds to set up. If it removes the warble, you have confirmed a structure-borne path and can move up to a proper platform. Do not leave a soft mat in place if the deck rocks on it, and never place it over a ventilation opening.
How do I tell if vibration comes from the floor or the speakers?
Play a bass-heavy track and put a flat palm on the wall behind the speakers, then on the floor near the stand. If the wall moves more than the floor, the speakers are driving the structure. Switch the subwoofer off and repeat: if the skipping stops, the sub is the main source. Walking across the room tests footfall on a suspended wooden floor.
When does turntable vibration indicate a problem inside the deck?
Suspect an internal problem when the symptom never changes with room conditions: it skips at the same track at the same volume whatever you do to the placement. Vibration responds to distance from the speakers, to people walking past and to the isolation layer. A bent tonearm, worn stylus or dirty record produce fixed, repeatable faults instead.
Conclusion
Start by identifying the source: press on the cabinet, walk across the room, switch off the sub. If the speakers are driving the structure, move them and decouple them first. If the cabinet itself is the problem, level and stiffen it, then add a modest isolation layer under the deck. Only when free changes have failed is a wall mount on a load-bearing wall the sensible next move, and you should never have to open the turntable to solve a vibration problem.